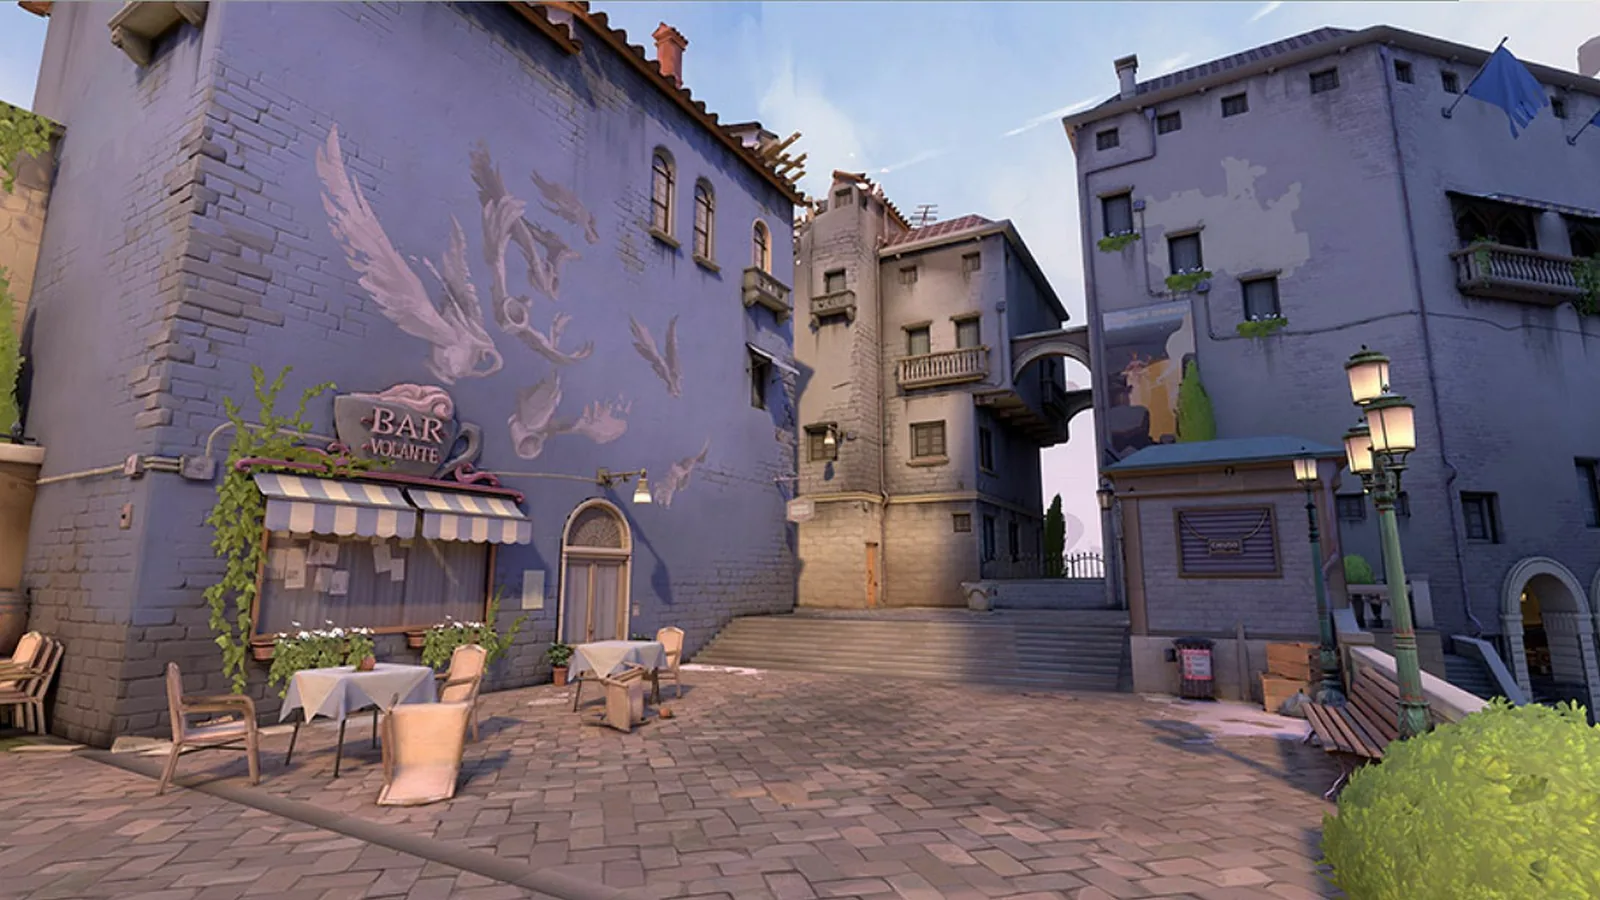
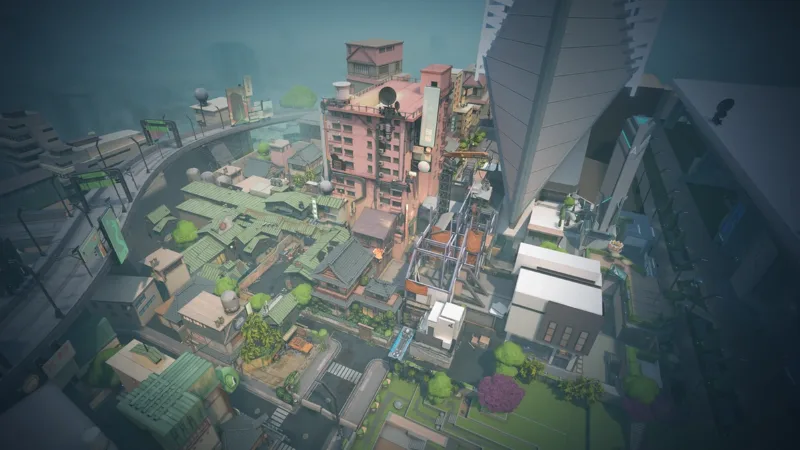
Pearl is a map with no mechanic at all: no teleporter, no rope, no door. Everything on it rests on one middle area, Mid Plaza, which connects to almost every zone of the map.
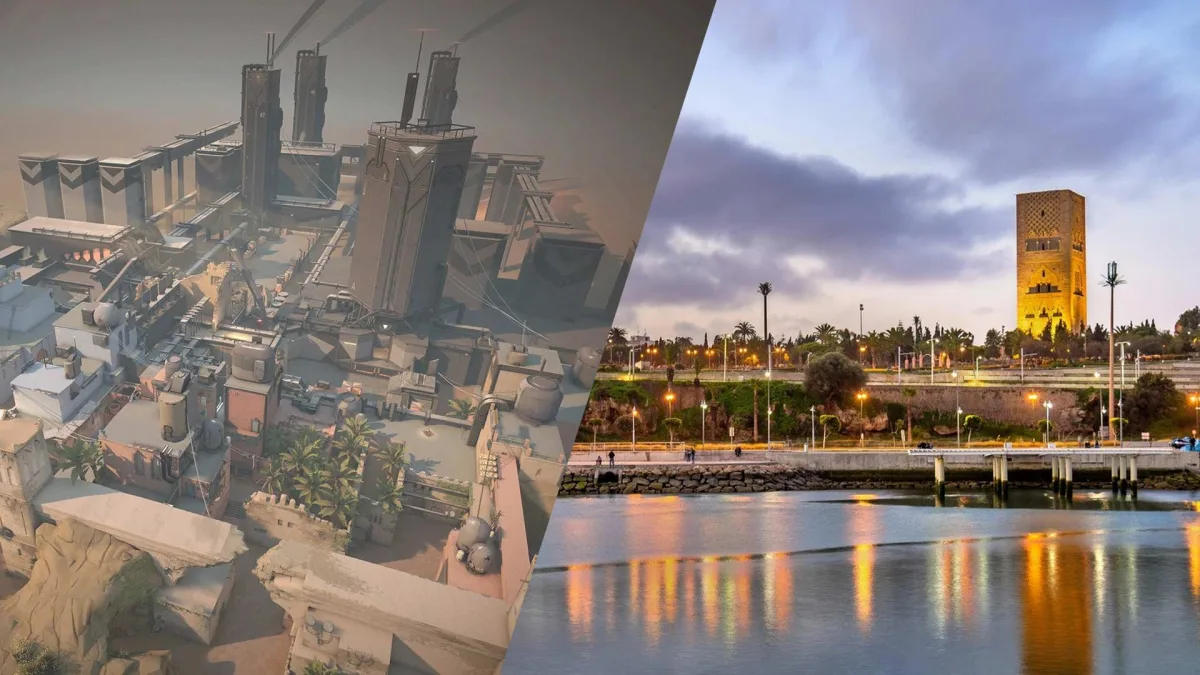
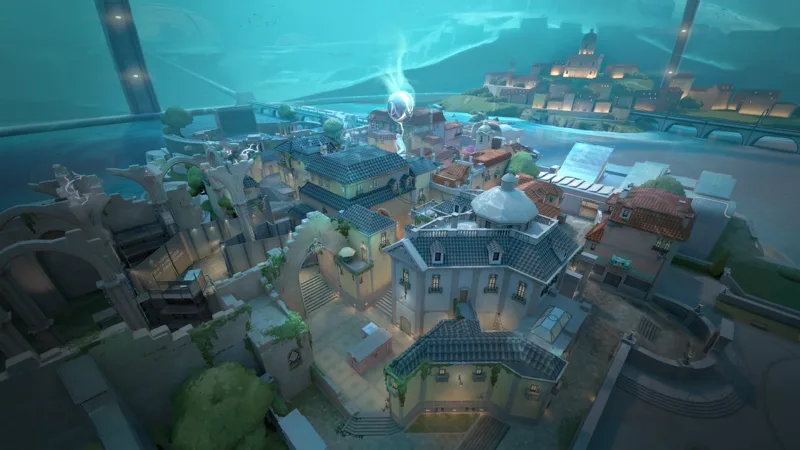
Pearl puts two spike sites face to face, linked by a wide middle with many branches. A Site is approached frontally through A Main and from the side from mid, while B Site is played over longer distances, starting from B Ramp. In the lore, the map sits in Lisbon, in Portugal, in a city placed under a dome at the bottom of the ocean.
A SiteA frontal entrance through A Main, preceded by A Restaurant, and a side access through A Art then A Link from mid. The defenders have several retake routes here, Flowers and Secret among them, which makes holding the site after the plant delicate.
MidMid Plaza is the heart of the map: this open plaza connects to almost every zone, either directly or through Doors and Connector. Winning it means being able to threaten both sites, losing it means condemning yourself to the frontal entrances.
B SiteA site approached through B Ramp then B Main, over longer distances than anywhere else on the map. B Tower and B Hall give the defenders holding angles and retake routes.
Vocabulary
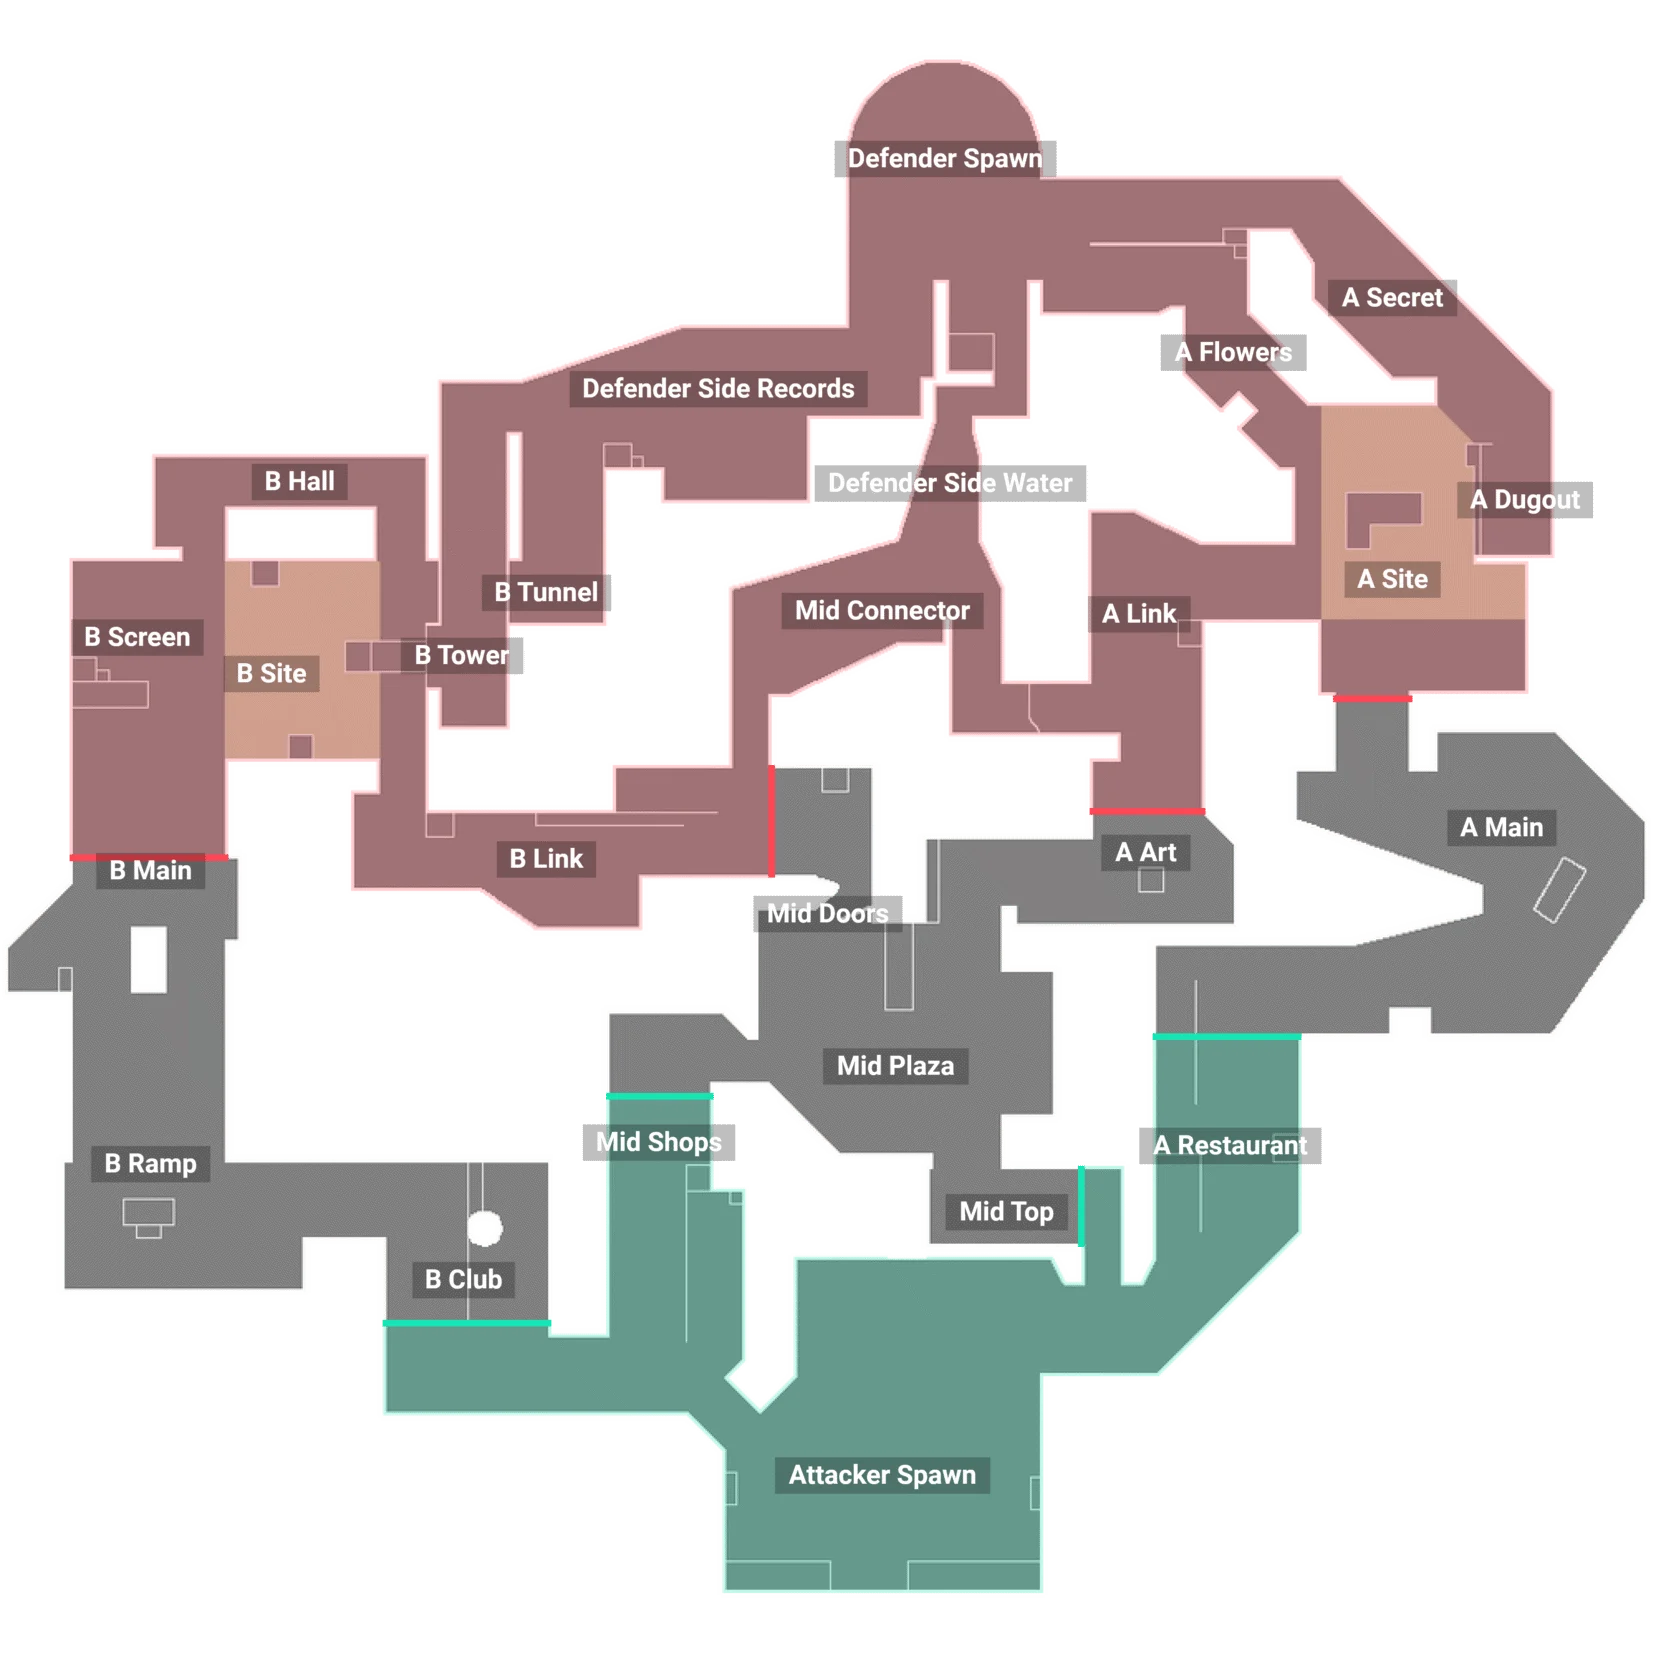
ALL THE CALLOUTS ON PEARL
The middle of Pearl branches out a great deal: in the calls, saying where the pressure is coming from counts for more than naming the site being targeted.
Callout
In plain English
Tactical role
A Main
A main entrance
The frontal attacking route into A Site. It arrives facing the defensive angles, so it is rarely crossed without a smoke or a flash.
A Restaurant
The restaurant
The area the attackers move through before reaching A Main. It has several nooks that the defenders can hold in an advanced position.
A Art
The gallery
A small room linking Mid Plaza to A Link. A key way through for attacking A Site from the side instead of entering frontally.
A Link
The A link
A bent corridor linking A Site to mid and to the defender spawn. It gives very little cover, which makes it dangerous to cross without a smoke.
A Dugout
The dugout on A
A recess on A Site. A holding position for the defenders and an angle to clear before planting.
A Flowers
The flowers
The flowered area on the edge of A Site, on the defender side. A frequent retake route after a plant.
A Secret
The secret passage
A discreet access to A Site from the defender side. It allows a retake that the attackers rarely expect.
Mid Top
The top of mid
The corridor that brings the attackers onto Mid Plaza, slightly above it. The starting point of any take of the center.
Mid Shops
The shops
A row of shop fronts on the edge of mid, on the attacker side. It serves as a support to contest the plaza without exposing yourself in it.
Mid Plaza
The central plaza
The large open plaza at the heart of the map, linked to almost every zone. It is the most important duel of the round, and it shapes what follows.
Mid Doors
The doors in mid
The double door leading from Mid Plaza towards B Link. Be careful, it is a simple way through and not a door that can be operated.
Mid Connector
The connector
The set of corridors linking A Link to B Link, passing close to the defender spawn. It is the fastest rotation route on the map.
B Club
The nightclub
The room the attackers move through before B Ramp. Its large central pillar can be shot through.
B Ramp
The ramp on B
The first point of contact on the B side, between Club and B Main. The duels there are fought at long range, and the visible cover does not stop every bullet.
B Main
B main entrance
The open area linking B Ramp to B Site. The mandatory way through for a frontal attack on this side.
B Link
The B link
The corridor linking B Site to mid through Mid Doors. Hard to force, because the defenders have many nooks in it.
B Hall
The hall on B
The corridor on the defender side opening onto B Site. A retake route or a holding angle depending on the moment in the round.
B Tower
The tower above B
The raised position watching over the approaches to B Site. To be dealt with using utility before committing to the site.
B Screen
The screen on B
The large screen near B Site, which creates an angle of cover. It can be shot through, so it only protects from sight.
The callouts of Pearl, with their zone and their tactical role.
Remember
THE KEY POINTS OF THE MAP
Mid
Mid Plaza
The plaza connects to almost every zone of the map. Winning it opens both sites from the side, losing it condemns the attack to the frontal entrances.
A Site
A Art and A Link
The route that lets you attack A other than through A Main. Without it, the entry happens in a single direction, which is what the defenders expect.
B Site
B Ramp
The first contact on the B side, over a long distance. The apparent cover does not stop bullets, which makes it an area where you move up with utility, not at random.
Gameplan
THE COMMON STRATEGIES
Attacking
Win the plaza, then choose your side
Invest in Mid Plaza early in the round, since the plaza gives access to both sites from the side.
Smoke A Art and the entrance to the Connector in order to take the plaza without being taken from behind.
Attack A through A Main and through A Link at the same time once mid is held, rather than from a single direction.
Move up onto B Ramp behind smokes, because the distance there is too long for an improvised duel.
Defending
Deny the plaza, retake as a group
Contest Mid Plaza early with utility, then fall back as soon as the information is gathered.
Keep a player on A Art, who gathers information on the plaza and covers the flank of A Site.
Use the Connector to rotate quickly from one site to the other without going through mid.
Organize the retakes of A Site as a group through Flowers, Secret and Link, rather than going in one by one.
Composition
THE AGENTS THAT SHINE ON PEARL
No mechanic to exploit, an open middle and sites with several entrances: Pearl rewards balanced compositions, the ones that know how to smoke a plaza and to gather information on a site before entering. Here are six that stand out on it, with the reason for each one.
An omnipresent central plaza and no mechanic: what players most want to know about Pearl.
Yes, it is one of the most approachable maps in the game. It has no mechanic to take in, no teleporter, no rope, no door, so nothing that comes on top of the fundamentals. Its difficulty comes solely from the number of routes that open onto the central plaza, which calls for rigor in the calls. A beginner therefore works there on exactly what matters at the start, namely positioning, listening and the value of mid control.
No, and that is a choice its designers made deliberately. There is no teleporter, no rope, no zipline and no door that can be operated: everything is played on positioning, on utility and on the duel. One useful clarification, the Mid Doors callout refers to a simple double leaf way through, not a door that can be opened or closed as on Ascent or Sunset. That is also what makes the map readable: what you learn on it transfers directly to the other classic maps.
Because the plaza connects to almost every zone of the map, either directly or through the doors and the connector. A team that holds it can attack A Site from the side, swing onto B, or simply prevent any discreet rotation by the opponent. Conversely, an attack that neglects it ends up having to enter a site frontally, in the only direction the defenders are watching. That is why the first duel of the round almost always happens there, and why it is prepared with utility rather than with reflexes.
The classic layout of the map suits balanced compositions, with no constraint tied to a mechanic. A controller matters for contesting the central plaza, which is too open to be taken in a plain duel. An initiator able to gather information at range gives a lot here, because the sites have several entrances and several retake routes. A sentinel usefully completes the whole by watching the connector and the discreet accesses to A Site, which are the main flanking routes.
THE MAPS OF VALORANT
Every map in the game, filterable by number of sites and by mechanic, each with its own detailed page.