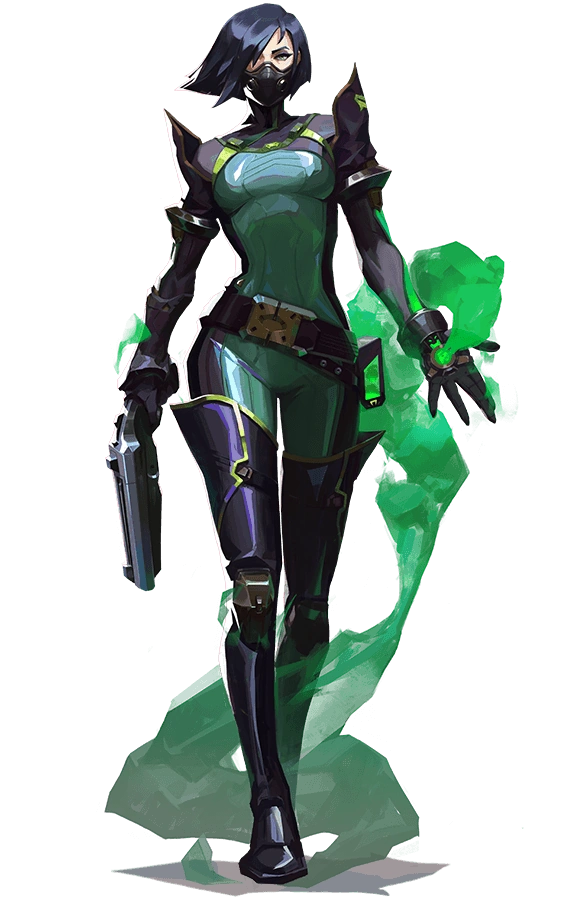
The informant who already knows where you are
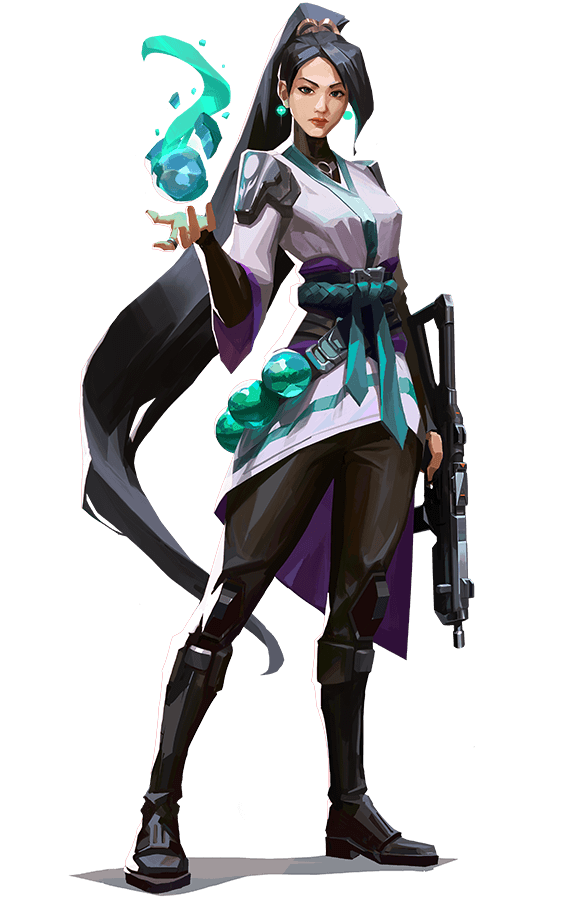
See the agent page →Agent figurines, engraved LED crystals, keycaps and apparel. The part of your setup that will never win a duel.
From the discovery of Radianite to the conflict between the two Earths, the complete timeline of the VALORANT Protocol.
Follow the timeline →

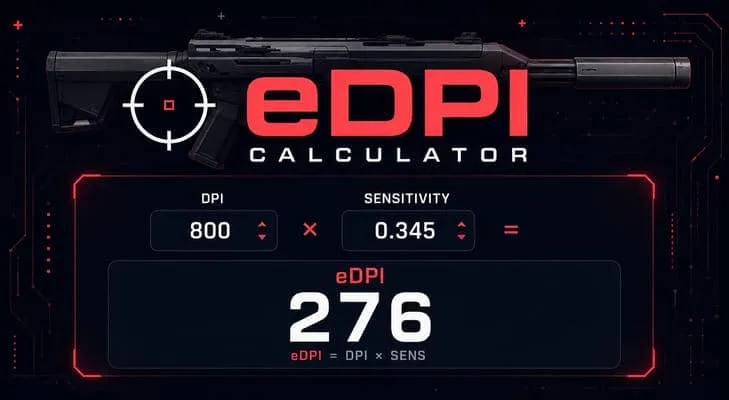
Type your DPI and your in-game sensitivity: your eDPI, the distance for a full 360° and the mousepad width you need show up straight away.
Try the calculator →Breeze is the largest map in the game, made of long distances and open ground. You cross almost nothing here without a smoke, and a duel is often lost before it has even started.
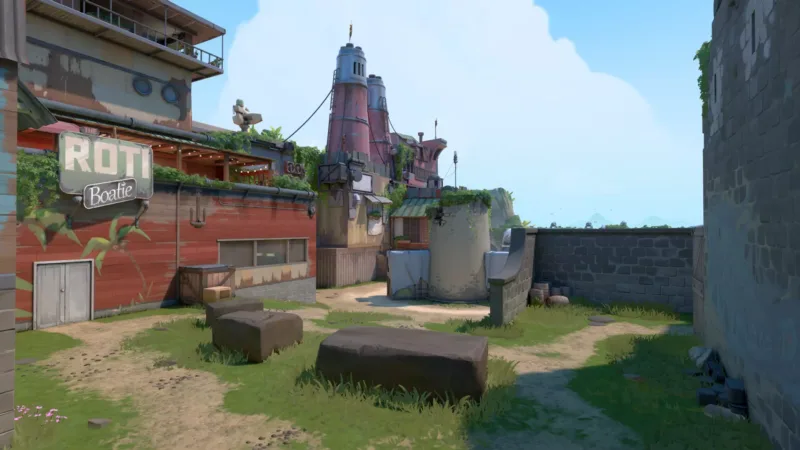
Breeze puts two spike sites face to face, separated by a huge middle that is on its own bigger than many whole maps. A Site can be taken from several directions, including a raised corridor, while B Site narrows around a single choke point. In the lore, the map sits on a tropical island, around a radianite mine and a cargo ship run aground on the beach.
The special features of Breeze are all gathered on the A side. A rope at the back of A Site lets you climb to Bridge and then to Hall, which gives the defending side quick access to height. Hall also has an automatic door that opens as soon as a player comes near it, from either side, and that reacts to thrown objects as well: it <strong>makes a very recognizable sound as it opens</strong>, which rules out using it quietly.
On Breeze, callouts are vital: the distances are so long that a badly called position sends a teammate to hold an angle that is of no use.
| Callout | In plain English | Tactical role |
|---|---|---|
| A Main | A main entrance | The main attacking route into A Site, wide and open. The first contacts of the round often happen there at long range. |
| A Shop | The shop | A side area on the edges of A Site. It gives the attackers an extra axis so they do not arrive from a single direction. |
| A Cave | The cave | The recess on A Site, popular with defenders. An angle to clear before the plant, or you get taken from behind. |
| A Pyramids | The pyramids | The two structures that cover A Site. They serve as cover for the defenders and as a landmark for locating a position on the plant area. |
| A Bridge | The walkway above A | The raised walkway linking the back of A Site to Hall. It is reached by the rope behind the site. |
| A Switch | The switch | The area named after the mechanism on the A side. A useful landmark for saying where pressure coming from above is arriving. |
| A Rope | The rope on A | The rope that lets you climb to the height on the A side. It shortens the trip to Hall considerably. |
| Mid Top | The top of mid | The upper part of mid, on the attacker side. The starting point of any attempt to take the center. |
| Mid Bottom | The bottom of mid | The lower part of mid, more sheltered. It lets you move up without exposing yourself to the long sightlines straight away. |
| Mid Nest | The nest | The raised position dominating mid. A formidable holding angle, and one of the first areas to smoke on attack. |
| Mid Pillar | The pillar | The large pillar that shapes mid and splits it into two halves. The reference cover for crossing the area. |
| Mid Doors | The doors in mid | The passage linking mid to A Site. It is the side access to the site for whoever has taken the center. |
| Mid Hall | The hall | The raised corridor linking mid to the A side, often called simply Hall. It holds the automatic door of the map. |
| Mid Chute | The chute | The shaft dropping from Hall down to mid. You also hear it called Vent, and using it is audible from far away. |
| B Main | B main entrance | The main entrance to B Site, and the major choke point of the map. A well placed defender delays a whole team there. |
| B Tunnel | The tunnel into B | The second way into B Site, narrower. It lets you pinch the site instead of entering only through B Main. |
| B Pillar | The pillar on B | The central pillar of B Site. It covers the plant area and serves both as a post plant position and as a retake point. |
| B Back | The back of B | The back part of B Site, where the defenders fall back. An area to clear every time on an entry. |
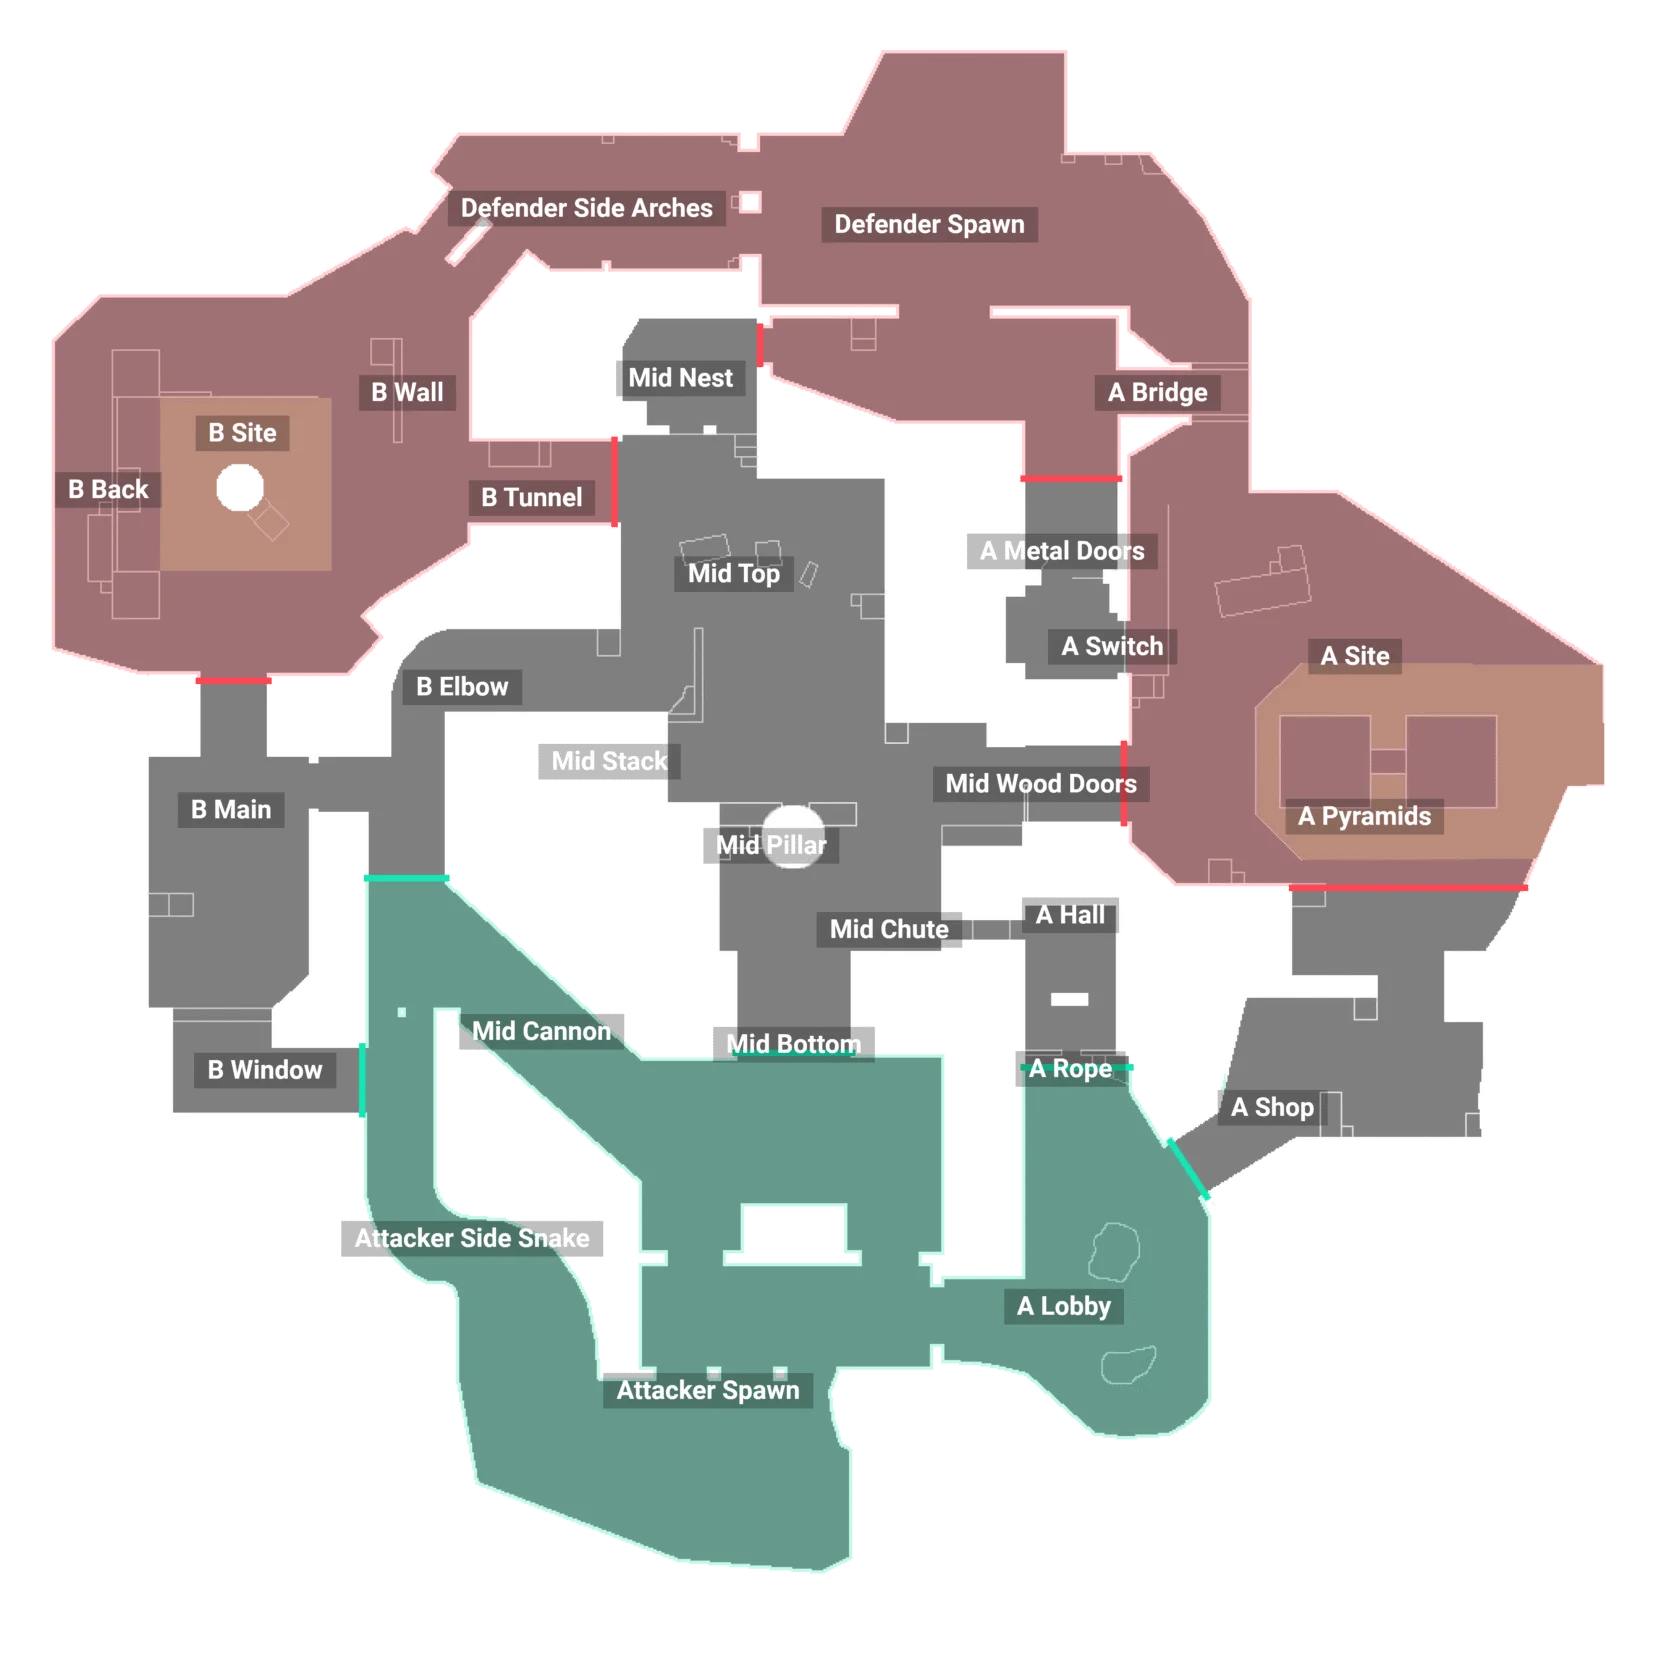
The callouts of Breeze, with their zone and their tactical role.
The pillar shapes mid, the nest watches it from above. Dealing with both together is the only way to cross the center without leaving a player behind.
The raised corridor leading to the A side. Its automatic door is audible from far away, so going through it always tells the enemy: you take it knowing exactly that.
The sharpest choke point on the map. It is held with few players, which forces the attackers to open a second axis through the tunnel.
Riot Games' official map overview, useful for picturing the volumes and the heights before you set foot on it.
The video only loads when you click, so it does not slow the page down.
Long distances, an automatic door and long range duels: what players approaching Breeze ask about most.
It is hard, but for a reason that is easy to understand. Its structure is not complicated at all, two sites and a middle, but its distances are far longer than anywhere else. A beginner therefore loses a lot of duels without knowing why, for want of having smoked a sightline or picked the right angle. It is, on the other hand, an excellent place to learn the value of utility, since the map punishes anyone who moves up without putting something down.
They are all gathered on the A side. A rope at the back of the site lets you climb to the walkway and then to Hall, which gives quick access to height. Hall for its part has an automatic door that opens as soon as a player comes near it, from both sides, and that reacts to thrown objects as well. Opening it produces a very recognizable sound, which means the crossing is always announced: you take it to move fast, never to surprise anyone.
Because they change the order of priorities. On a compact map you can move up and then react; here a placement mistake is paid for before you have even seen the opponent. The consequences are concrete: smokes are not only there to enter a site but to cross the ground, and information is worth more than elsewhere since moving to go and look costs time and often a player. That is also why precision weapons are more common here than on the other maps.
The map asks above all for the ability to block wide areas. A controller whose utility covers a whole distance completely changes the way you cross the ground, and many teams play two of them. An initiator who can gather information from a distance matters just as much, since going to look for information yourself is risky here. Finally, a player who is comfortable at long range finds more opportunities on this map than anywhere else, whether that is a mobile duelist or a sentinel armed with a sniper rifle.
Every map in the game, filterable by number of sites and by mechanic, each with its own detailed page.