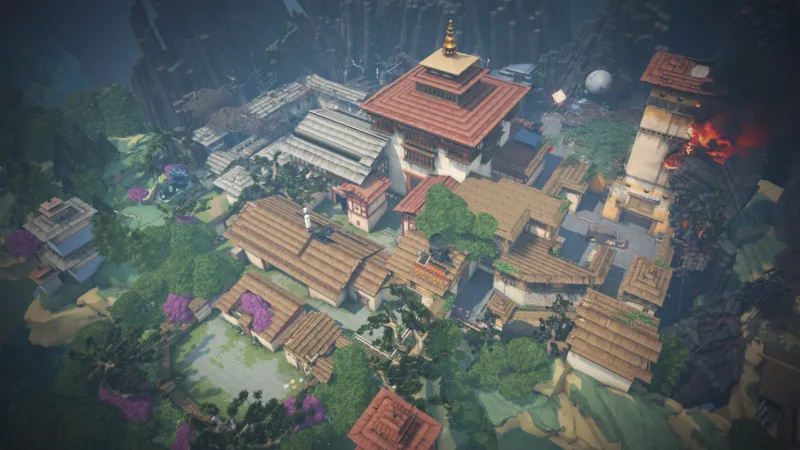
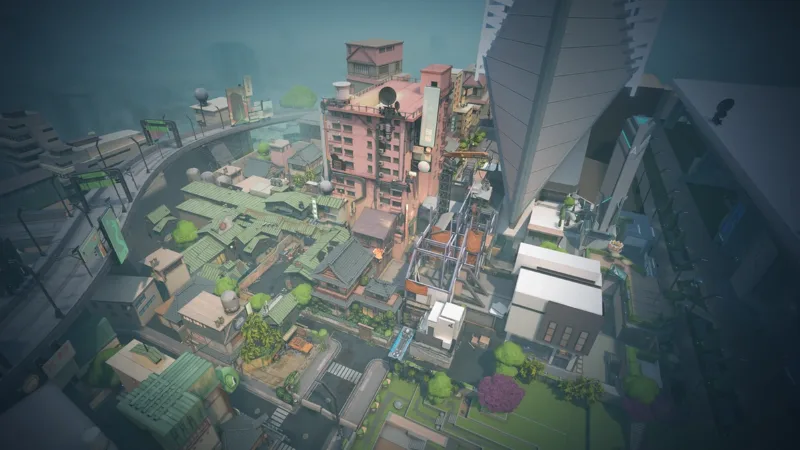
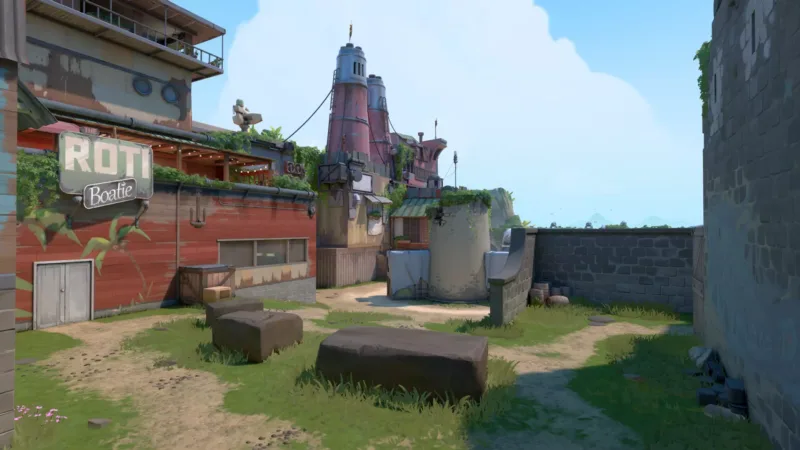
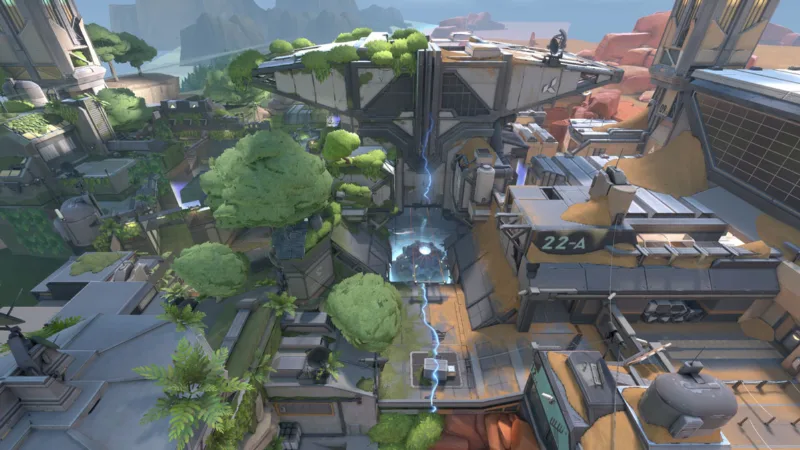
Icebox is the map where you fight up high as much as on the ground: both of its spike sites are played on two levels, linked by ropes. Calling an opponent without saying whether he is up high or down low is of almost no use here.
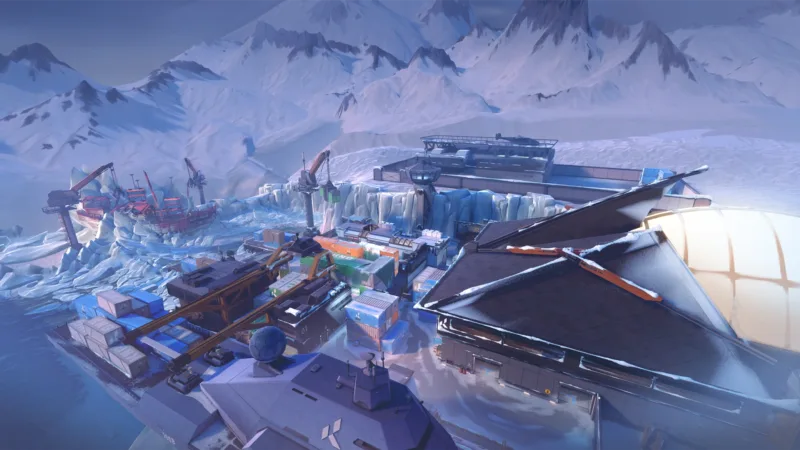
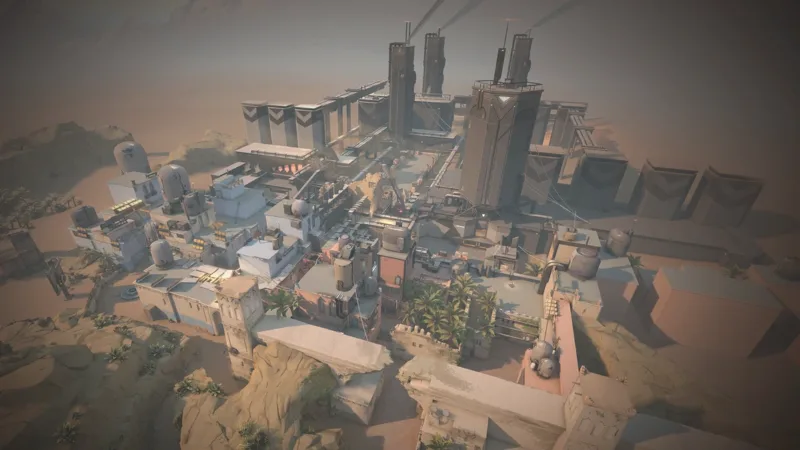
Icebox puts two spike sites face to face, linked by a tight middle, on a three lane layout. Its special feature is elevation: each site has a raised platform on which the Spike can be planted, reached by ropes, and A Site also has a horizontal zipline. In the lore, the map sits on an island in the Russian Arctic, around a container port and a dig site kept secret.
A SiteA fully covered site, made of containers and walkways, where the fights happen at short range. The high positions of Nest, Belt, Pipes and Rafters stack up there, and the zipline lets you reach that height quickly.
MidA tight corridor shaped by Blue, Boiler and Pallet, with a long sightline running across the whole area. It gives the fastest access to the edges of both sites, which makes it the area the defenders try to deny first.
B SiteAn open air site, wider, approached by two parallel routes separated by containers, plus the link through Kitchen and Tube from mid. As on A, a raised platform lets you plant the Spike overlooking the ground.
The height, the ropes and the zipline
Icebox is the first map in the game where the spike sites are played on two levels: each site has a raised platform, reached by ropes, on which the Spike can be planted. A Site also has the first horizontal zipline in the game, which links its high positions. The thing to remember is that a player traveling on the zipline is perfectly visible and practically defenseless: you never take it in the open, but behind a smoke or while the team keeps the defense busy elsewhere.
Vocabulary
ALL THE CALLOUTS ON ICEBOX
On Icebox, callouts obey one extra rule: every call comes with an indication of height. Saying A tells nobody anything until you have said Belt, Nest or the ground.
Callout
In plain English
Tactical role
A Main
The bottom of A Site
It refers to the lower level of A Site, as opposed to the platforms. It is the detail that is most often missing from a beginner's calls.
A Belt
The conveyor belt
A long platform fitted with a conveyor belt, running alongside A Site. A prime position for taking a duel at range and then falling back into cover.
A Nest
The nest on A
The raised platform overlooking A Site, reached by a rope and by the zipline. The Spike can be planted there, which changes the retake entirely.
A Pipes
The pipes
A raised position on the flank of A Site. It gives a view of the back of the site and often serves as a support position after the plant.
A Rafters
The rafters on A
The high area at the back of A Site, on the defender side. A flanking route and a favored retake angle.
A Screen
The screens
A landmark on the ground of A Site, near the control screens. A corner to clear before planting.
Mid Blue
The blue area
The mid area on the attacker side, named after the color of the containers. It links the spawn to mid, and then mid to Tube.
Mid Boiler
The boiler room
The position on the defender side that watches the whole length of mid. You only expose your head there, which makes it a very profitable angle.
Mid Pallet
The pallet
A landmark at the center of mid. Useful for pinning down a position in an area that is otherwise hard to describe.
B Green
The green area
The first of the two parallel routes towards B Site, on the attacker side. A narrow corridor lined with containers.
B Orange
The orange area
The second route towards B Site, reached from mid. It is the default entrance once the center is under control.
B Yellow
The yellow area
The large yellow container on B Site. A position that absolutely has to be cleared before planting, or the plant is made under watch.
B Garage
The garage
The covered space on the attackers' way to B. It serves as a staging point for regrouping before the entry.
B Snowman
The snowman
A landmark at the back of B Site, on the defender side. A retake angle and a common flanking position.
B Kitchen
The kitchen
The large room that links mid to B Site. Holding it lets you watch Tube and Orange at the same time, which makes it a major defensive post.
B Tube
The tube
The duct that goes down from mid towards the edges of B Site. A fast flanking route, often blocked by a wall on defense.
B Hall
The hall on B
The corridor extending Kitchen towards B Site. It lets you arrive above the defenders set up on the site.
B Back
The back of B
The back part of B Site, the furthest from the entrances. A fallback area for the defenders and a post plant position for the attackers.
B Cubby
The cubby on B
A small recess on B Site. A holding position after the plant, from which you can take a shot and then get back into cover.
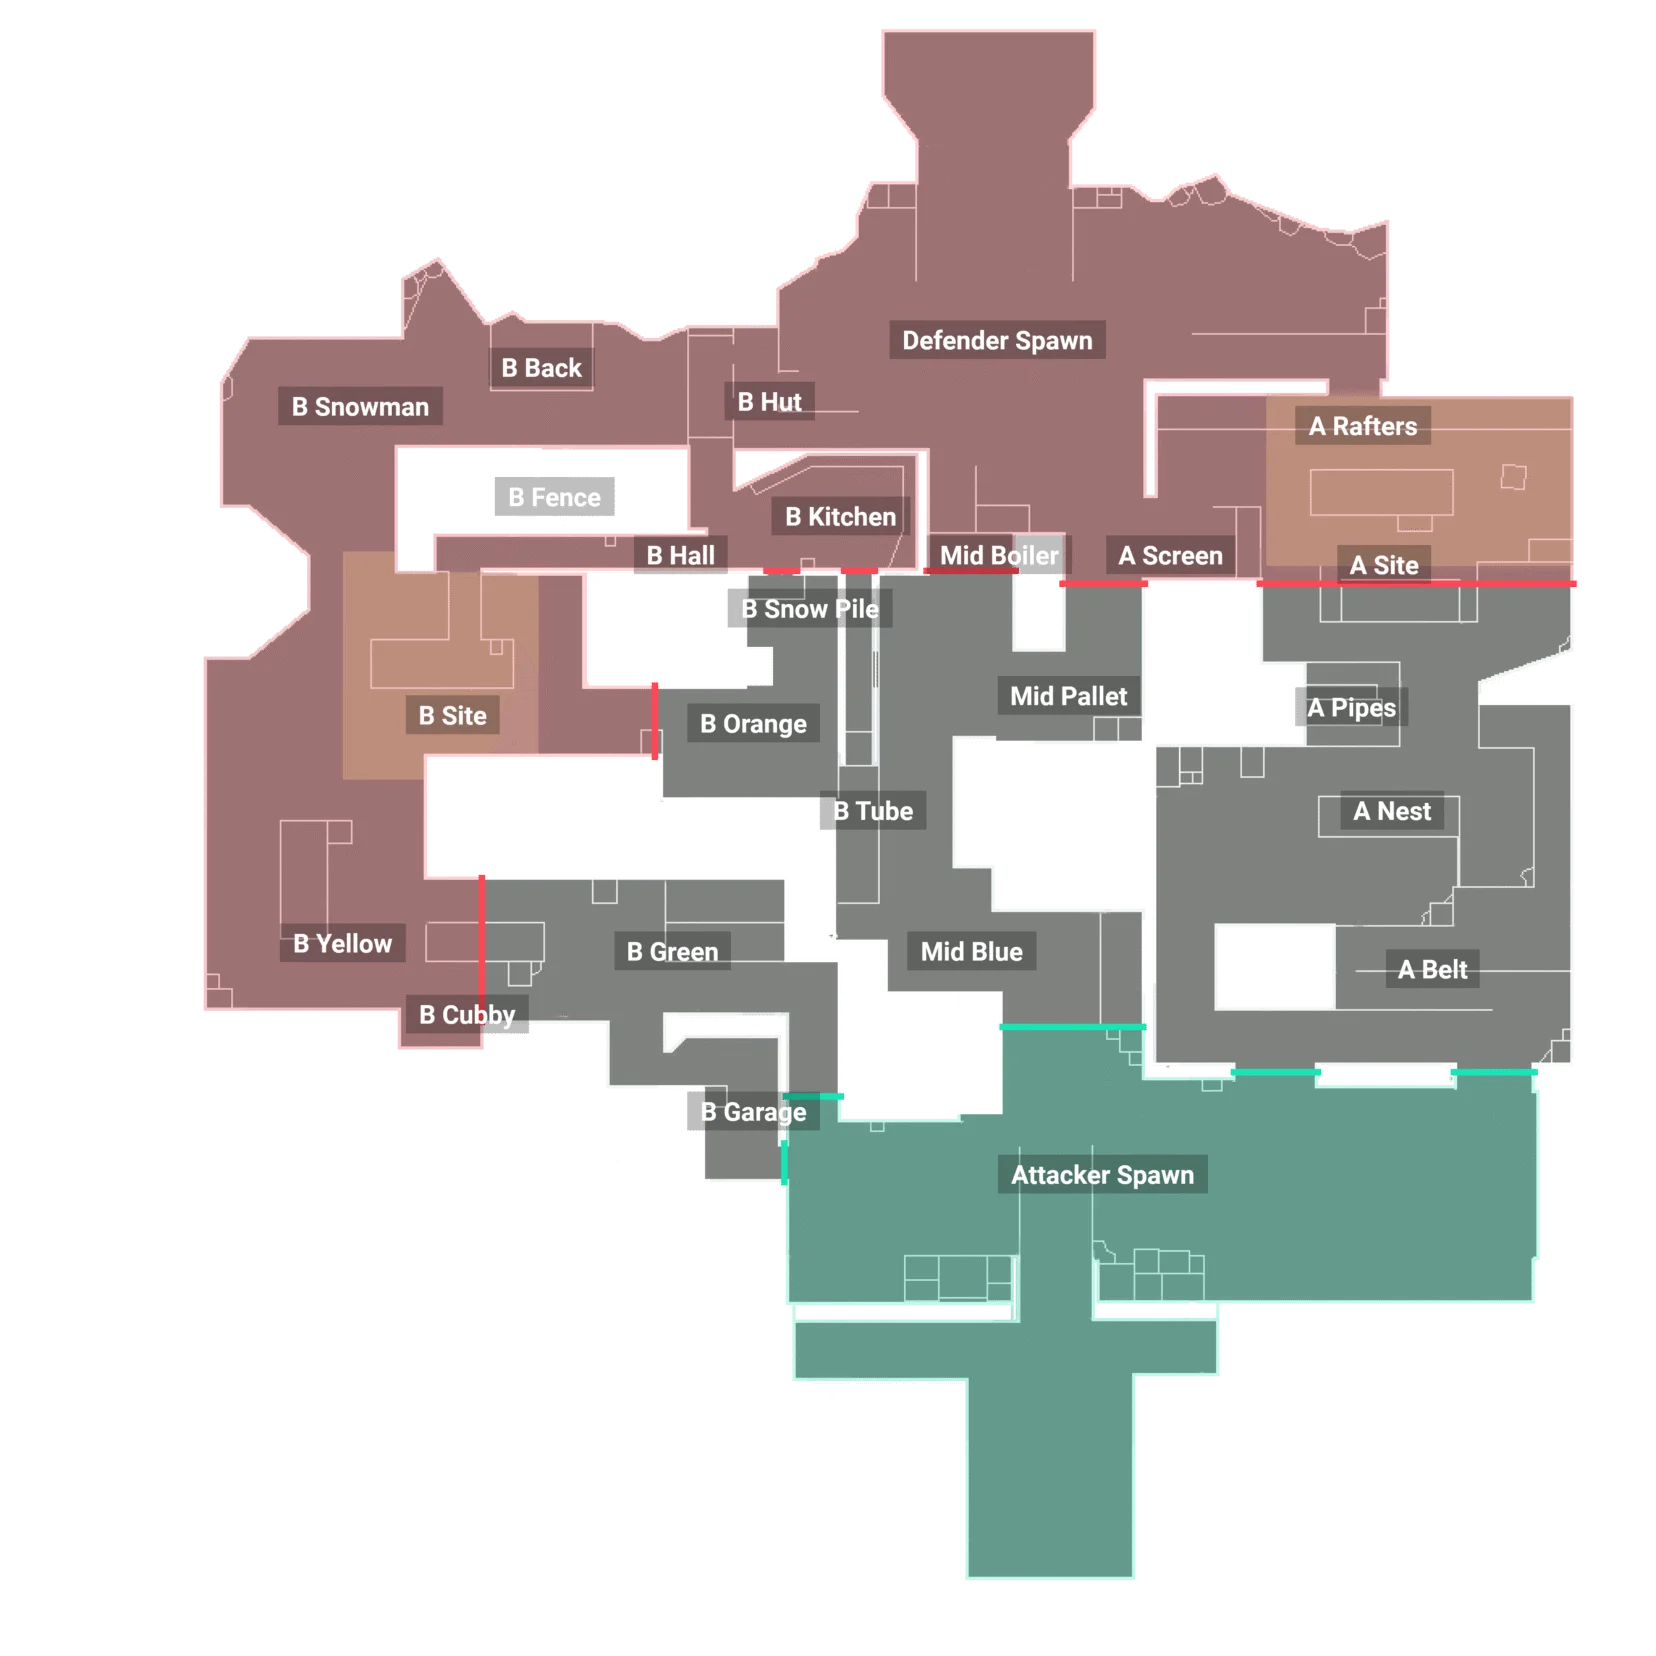
The callouts of Icebox, with their zone and their tactical role.
Remember
THE KEY POINTS OF THE MAP
A Site
A Nest and A Belt
The high positions that command A Site, and the place where the plant is most often played. Neglecting them means planting under a defender's feet.
B Site
B Yellow
The large yellow container, to be cleared before any plant on B. A plant made without having dealt with it is defended from a position that is already being watched.
Mid
Kitchen and Tube
The link between mid and B Site. Holding it on defense lets you watch two entrances with one player, taking it on attack opens an arrival from above.
Gameplan
THE COMMON STRATEGIES
Attacking
Take the height before planting
Clear the platforms before entering, since a plant on the ground under a high position is untenable.
Deal with B Yellow every time the attack targets B Site, before even thinking about the plant.
Take the zipline behind a smoke or while the team is making noise, never in the open.
Go through Kitchen and Tube to arrive on B from above rather than lining everyone up in the parallel corridors.
Defending
Stack the angles, deny mid
Occupy a high position and a low position on the same site, to force the attackers to deal with two levels.
Hold Kitchen, from where you watch Tube and Orange without moving.
Block Tube with utility to remove the arrival from above onto B Site.
Use Boiler to gather information on mid, since the position exposes almost nothing and lets you disengage easily.
Composition
THE AGENTS THAT SHINE ON ICEBOX
Sites on two levels, containers everywhere and a narrow middle: Icebox rewards the agents who isolate a portion of the ground and the ones who gather information on an area before the entry. Six names stand out, each for a different reason.
Multi level sites, a zipline and calls that have to say the height: answers to the questions asked most often about Icebox.
It is rather demanding, without being incomprehensible. Its three lane structure stays classic, but the fights are played on two levels, which asks for a reflex that the other maps do not impose: checking the high positions before the corners on the ground. The many containers also create a lot of short angles, and therefore fast duels. A beginner mainly progresses here by working on their calls, because on this map a position with no indication of height means almost nothing.
The ropes let you climb onto the raised platforms of both sites, the ones from which the Spike can be planted. The zipline, for its part, is on the A Site side and links its high positions horizontally; it is the first of its kind to have appeared in the game. What the two have in common is vulnerability: while you are traveling, you are visible, predictable and very hard to defend. So you take them covered by a smoke, or at the moment when the defense is busy elsewhere, never out of habit.
Because the spike sites are played on two levels, which is unique to this map. Planting up high forces the defenders to climb in order to defuse, and therefore to expose themselves in a confined space, whereas a plant on the ground is easily watched from a platform. On defense the consequence is symmetrical: occupying a high level and a low level on the same site forces the attackers to deal with two problems instead of one. That is also why calls have to say the height, without which a piece of information is of no use.
The map asks for utility able to isolate a portion of the ground, because it is rarely possible to clear every angle of a site before planting. A controller who knows how to cut a site in two therefore completely changes the cost of an execute. An initiator able to gather information from a distance is valuable too, since the opponent can be above you as well as below. Finally, sentinels take on particular value here, both for holding a site with few players and for blocking the narrow links that the attackers use to get around.
THE MAPS OF VALORANT
Every map in the game, filterable by number of sites and by mechanic, each with its own detailed page.