The informant who already knows where you are
See the agent page →Agent figurines, engraved LED crystals, keycaps and apparel. The part of your setup that will never win a duel.
From the discovery of Radianite to the conflict between the two Earths, the complete timeline of the VALORANT Protocol.
Follow the timeline →

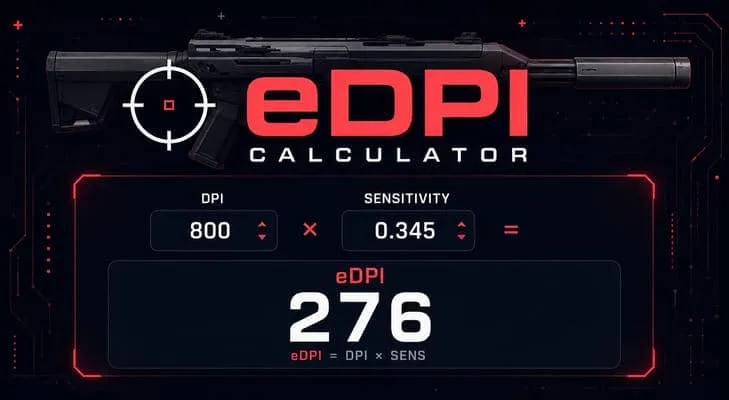
Type your DPI and your in-game sensitivity: your eDPI, the distance for a full 360° and the mousepad width you need show up straight away.
Try the calculator →Fracture is the only map where the attackers come from both sides at once, with the defenders placed in the center. You never defend a direction here, you defend against being surrounded.
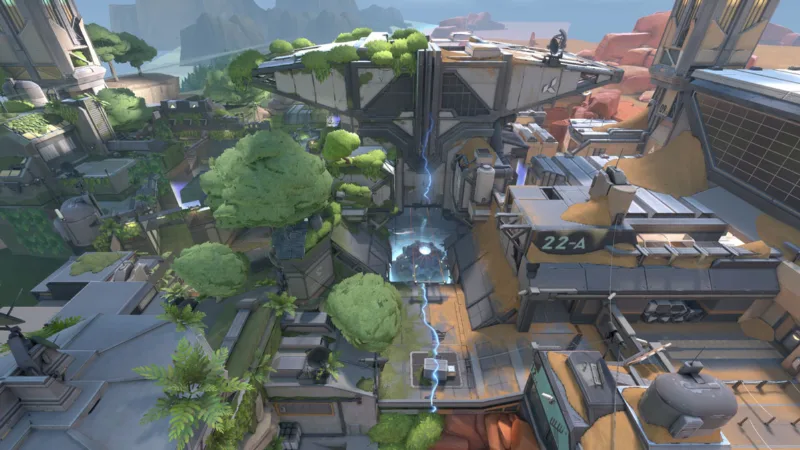
Fracture reads like an H: two spike sites at the ends, the defender spawn in the center, and the two halves of the attacking ground linked by ziplines that run underneath. There is no middle to contest in the usual sense, since the only way between the two sites is the enemy spawn. In the lore, the map sits in New Mexico, on a research facility split in two by a failed experiment.
Two parallel one way ziplines run under the defender spawn and directly link the two halves of the attacking camp. You take them by walking onto them and they move the player automatically, but <strong>you cannot shoot, use an ability or get off during the trip</strong>: slowing down is the only thing available. The map also has classic verticality, with the rope at A Rope and the drop at A Drop.
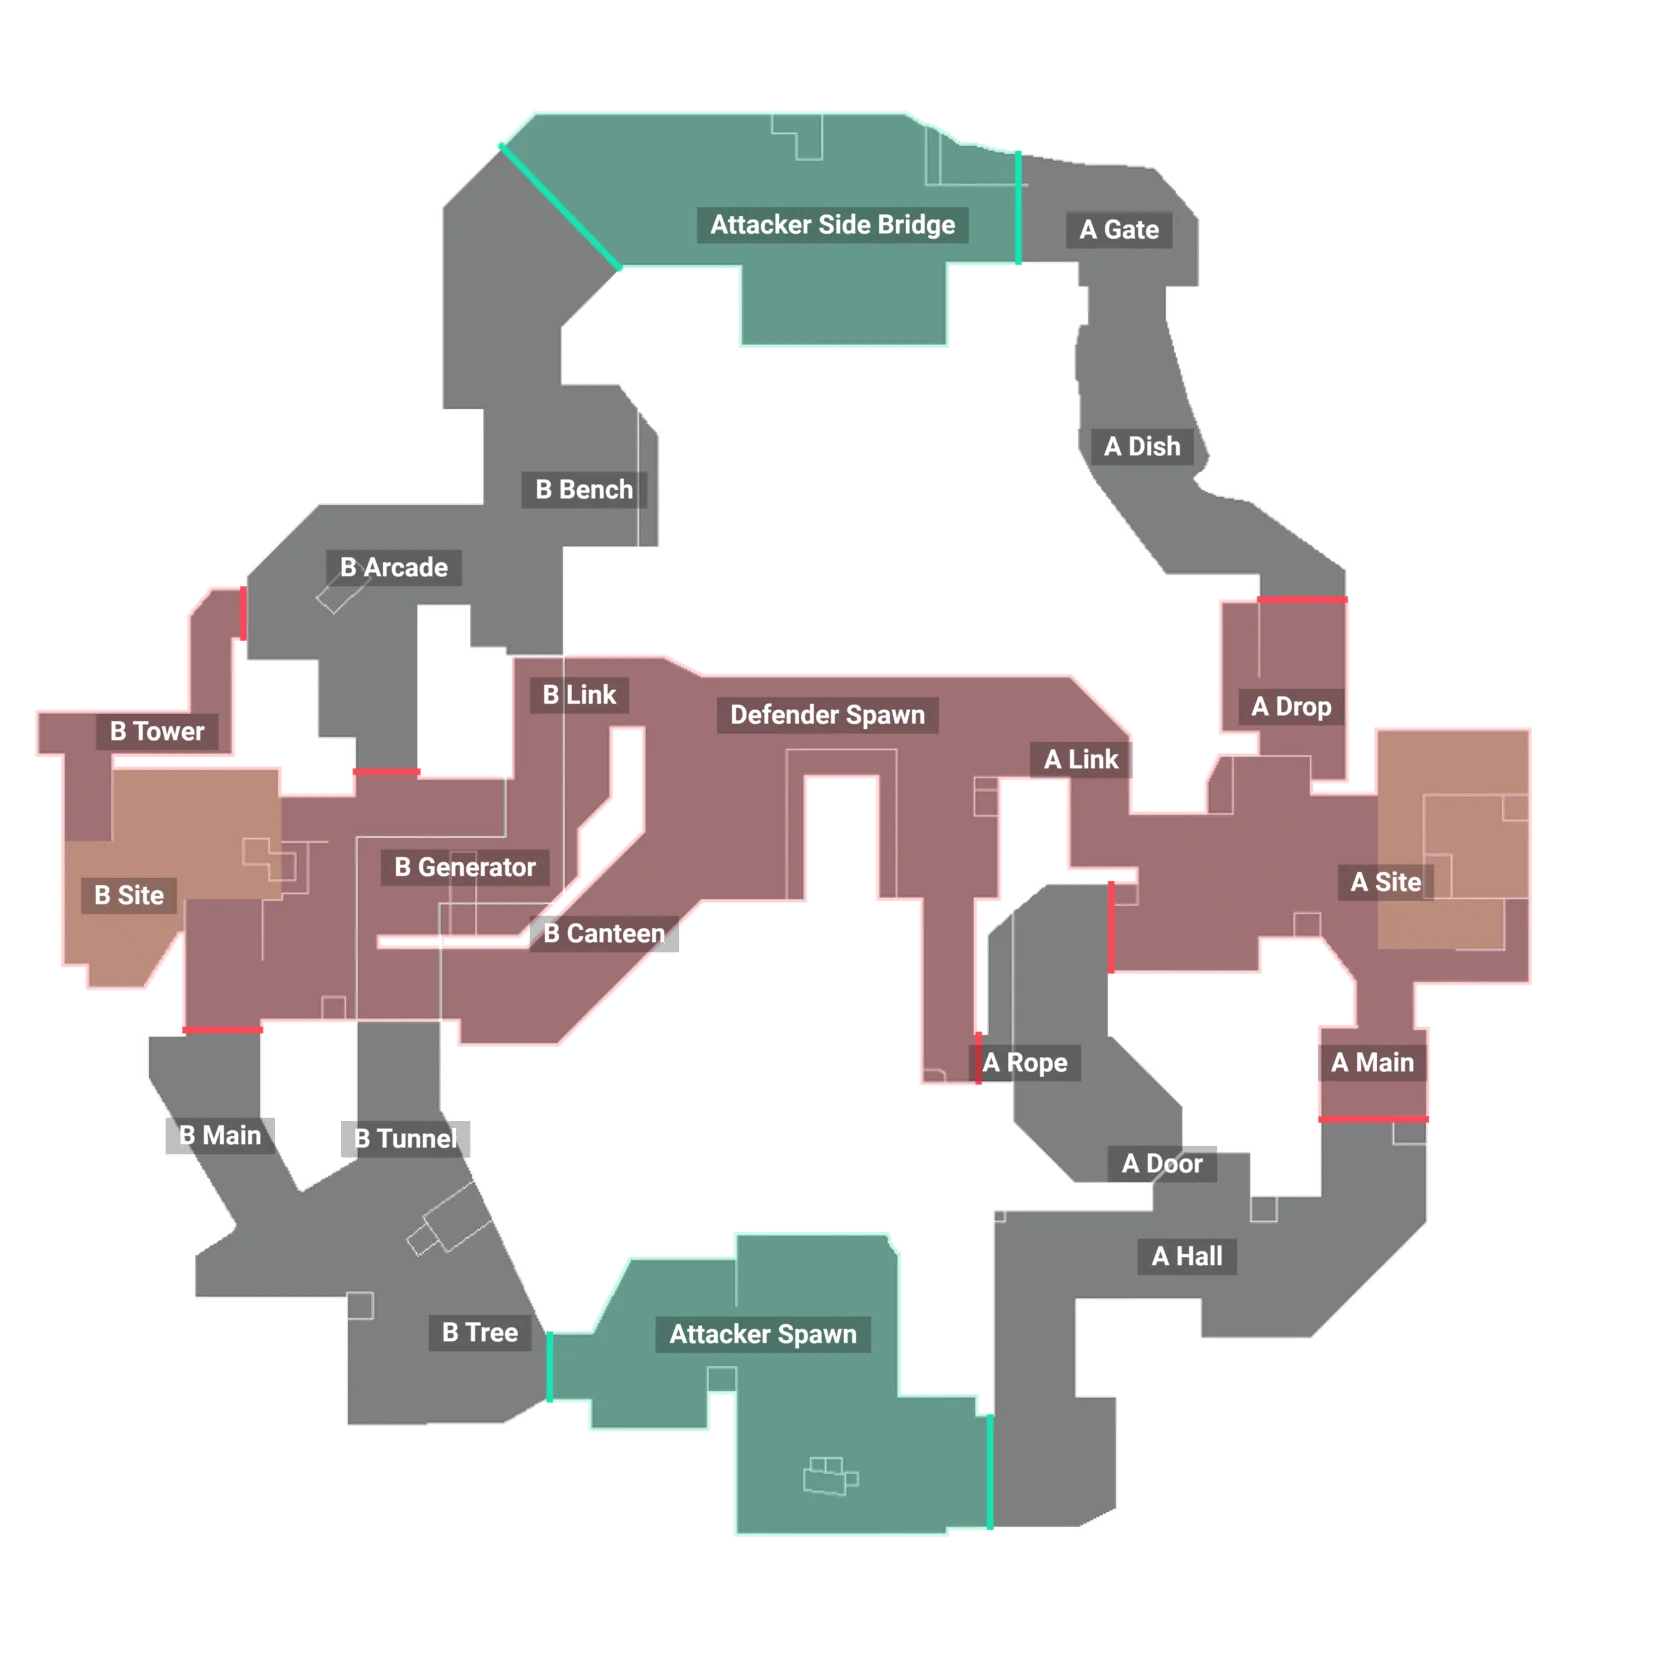
The callouts on Fracture serve less to locate an opponent than to say which side the pressure is coming from, since the attack can come from both at once.
| Callout | In plain English | Tactical role |
|---|---|---|
| A Hall | The hall on A | The large approach to A Site from the upper half of the attacking ground. It feeds several entry angles instead of a single corridor. |
| A Door | The door on A | The opening that carries A Hall on towards the site. A key way through for anyone who wants to vary the entry angle rather than arrive through A Main. |
| A Main | A main entrance | The direct way into A Site. Simple but heavily anticipated, so costly without a smoke or a flash. |
| A Rope | The rope on A | The rope that lets you climb to the upper part of the A side. It opens access to the window and to A Link. |
| A Link | The A link | The raised passage linking the A side to the defender spawn. One of the rare paths to the other half of the map. |
| A Drop | The drop onto A | The drop that brings you onto A Site from the lower part. The classic way through for an attack coming from A Dish. |
| A Dish | The satellite dish | The area of the large satellite dish, on the lower half of the attacking ground. You also hear it called Satellite, and it is where the second pincer on A comes from. |
| A Gate | The gate on A | The gated way through on the edges of A Site. A useful landmark for saying where pressure is coming from. |
| Attacker Side Bridge | The bridge on the attacker side | The way that links the two halves of the attacking camp from above. Together with the ziplines, it is what lets you rebuild the team on one side or the other. |
| Defender Spawn | The defender spawn | The central area where the defenders spawn, and the only direct link between the two sites. Controlling it after a plant cuts off every fast retake. |
| B Tree | The tree on B | A landmark area on the upper half of the B side. It leads to B Main or to the tunnel depending on the plan chosen. |
| B Main | B main entrance | The frontal way into B Site from above. Long and exposed to B Tower, so rarely crossed without utility. |
| B Tunnel | The tunnel under B | The underground passage that goes around B Site and comes out below. A quiet flanking route, and a retake angle for the defenders. |
| B Canteen | The canteen | The room next to B Site, full of cover. A holding area for the defenders and a fallback after the plant. |
| B Generator | The generator | The raised corner of B Site, around the generator. A frequent plant position, but hard to defend without B Tower. |
| B Tower | The tower above B | The high position dominating both B Arcade and the entrances to the site. It is the most contested point on the map, and the one that sets the pace of the rounds on B. |
| B Link | The B link | The passage linking the B side to the defender spawn. A rotation route for the defenders and a retake angle after a plant. |
| B Arcade | The arcade on B | The approach to B Site from the lower half of the attacking ground. It takes the site from the opposite side to B Main, which makes double pressure possible. |
| B Bench | The bench on B | A small landmark on the edges of B Site. Useful for pinning down a position without having to describe the whole area. |
The callouts of Fracture, with their zone and their tactical role.
The most profitable position on the map: it sees B Arcade and the entrances to the site at the same time. Taking it on attack decides almost every plant on B.
The only direct link between the two sites. Controlling it after a plant means removing the enemy rotations and turning a retake into a race against the clock.
The two opposite approaches to A Site, one from above, the other from below. Playing them together is the simplest way to understand what the map asks for.
Riot Games' official map overview, useful for picturing the volumes and the heights before you set foot on it.
The video only loads when you click, so it does not slow the page down.
Pincer attacks, ziplines and a central spawn: the questions Fracture raises for everyone discovering it.
It is one of the most disorienting maps in the game, but not one of the hardest to play. Its unusual structure simply asks you to drop one reflex: here you do not defend a direction, you defend in the middle of being surrounded. A beginner gets lost mostly at the start, until it becomes clear which side matches which half of the ground. Once that reference point is acquired, the map becomes very readable, because there is no complex mechanic to absorb on top.
Two parallel ziplines run under the defender spawn and link the two halves of the attacking camp. Each one works in a single direction, and walking onto it is enough to be carried automatically. The important point is that a player in transit cannot shoot, use an ability or get off before arriving: he is completely vulnerable for the whole crossing. So you take them to rebalance the team between the two sides, never to arrive in an area you know is held.
It is the feature that defines the map: the defenders spawn in the center, the attackers on either side. The direct consequence is that each site has two opposite approaches, which makes pincer attacks natural rather than exceptional. For the defenders it means that no single position covers every angle, and that you have to play information and then the retake rather than pure holding. That is also why the defender spawn matters so much: it is the only direct way from one site to the other.
The map asks for a lot of smokes, because a pincer attack means covering two entrances at the same moment. A controller able to place several zones at once therefore changes the cost of an execute. An initiator geared towards short angles is preferable to a long range recon agent, since the sightlines are rarely long. Finally, a sentinel gains a lot of value here, less to lock a site down than to watch the flanking routes, the tunnel and the links, that both teams move through.
Every map in the game, filterable by number of sites and by mechanic, each with its own detailed page.