The informant who already knows where you are
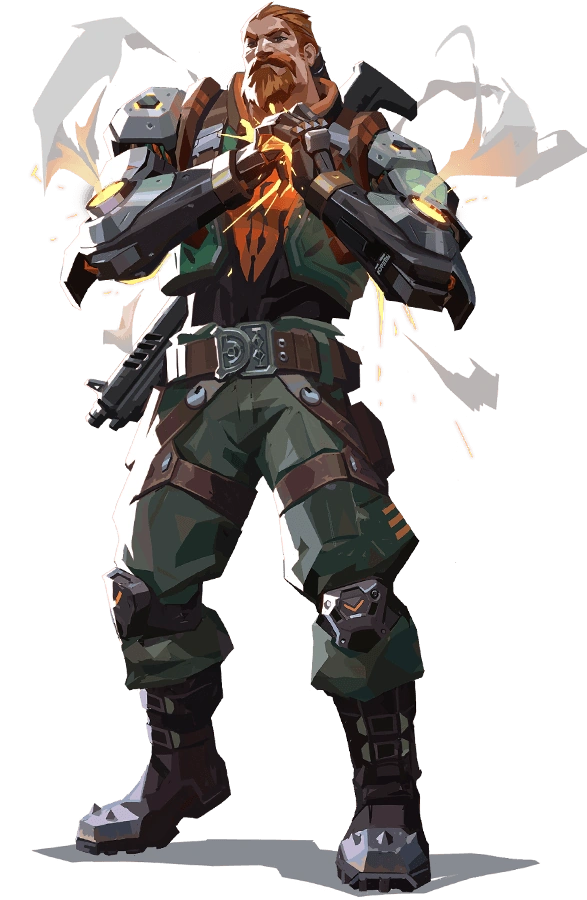
See the agent page →Agent figurines, engraved LED crystals, keycaps and apparel. The part of your setup that will never win a duel.
From the discovery of Radianite to the conflict between the two Earths, the complete timeline of the VALORANT Protocol.
Follow the timeline →


Type your DPI and your in-game sensitivity: your eDPI, the distance for a full 360° and the mousepad width you need show up straight away.
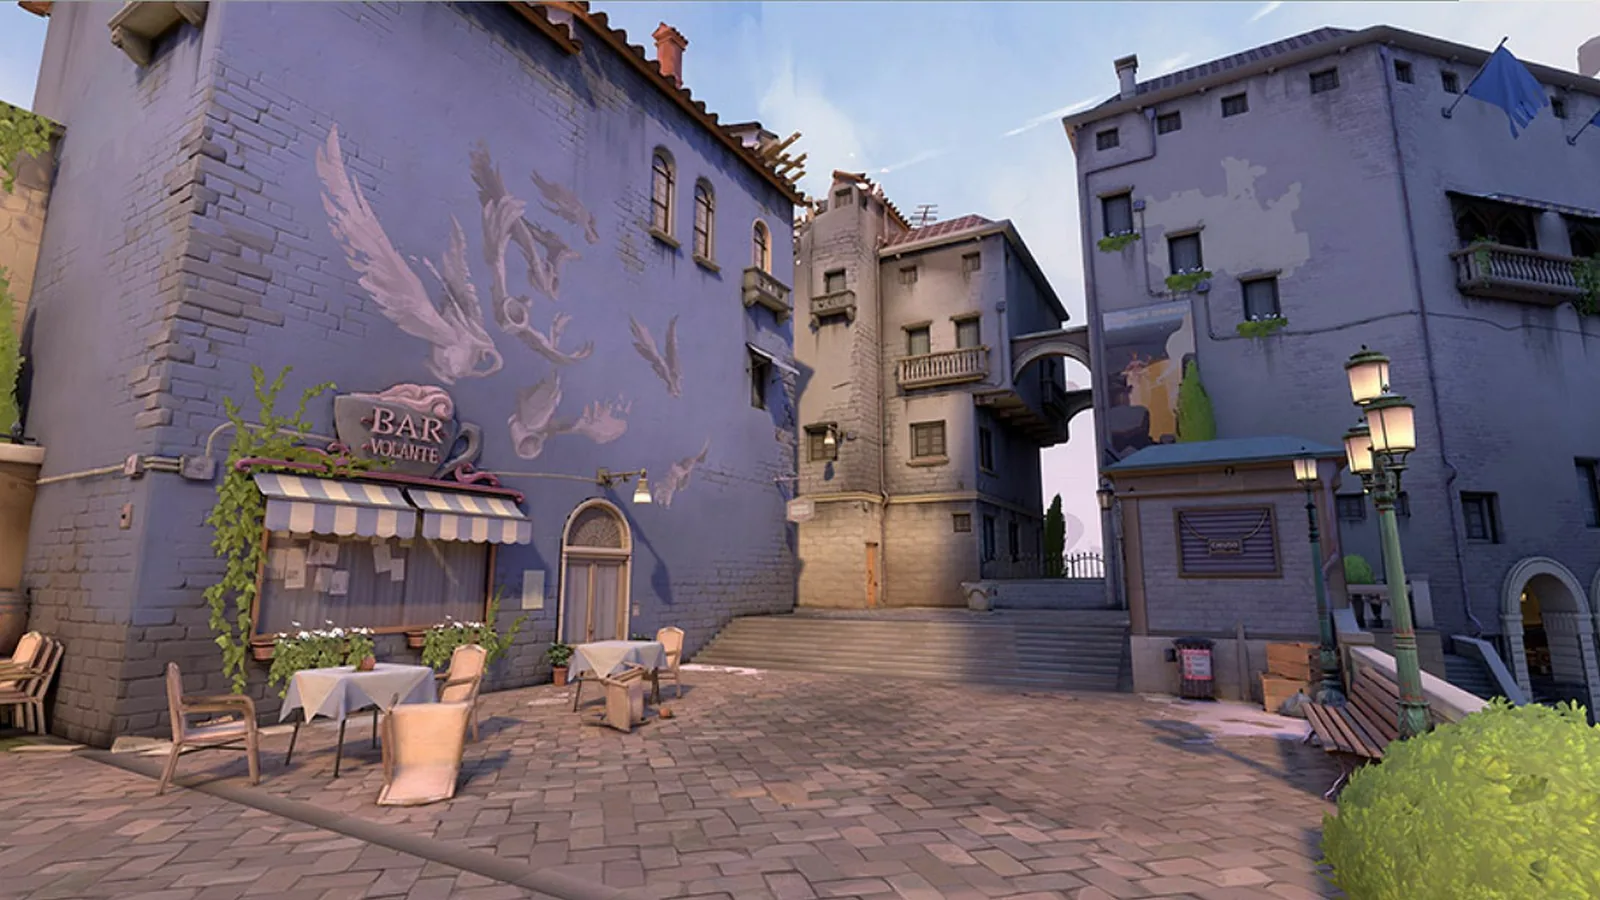
Try the calculator →Haven is the only map in Valorant that offers three spike sites. Five defenders for three sites means there is always a less guarded place: the whole round consists of finding it before it closes up again.
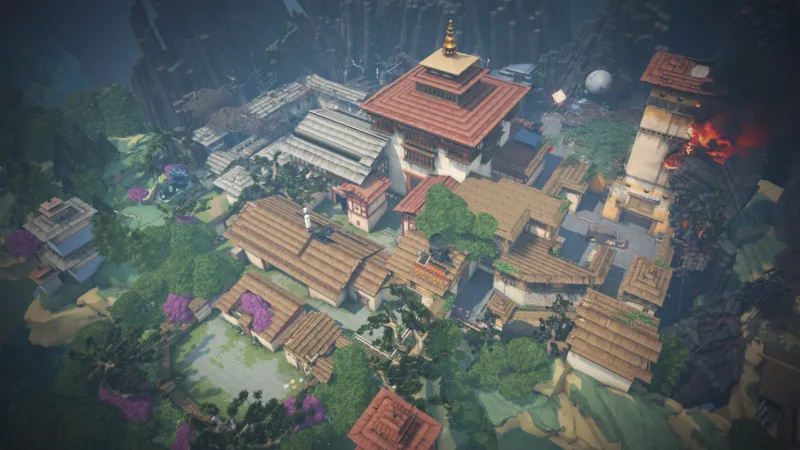
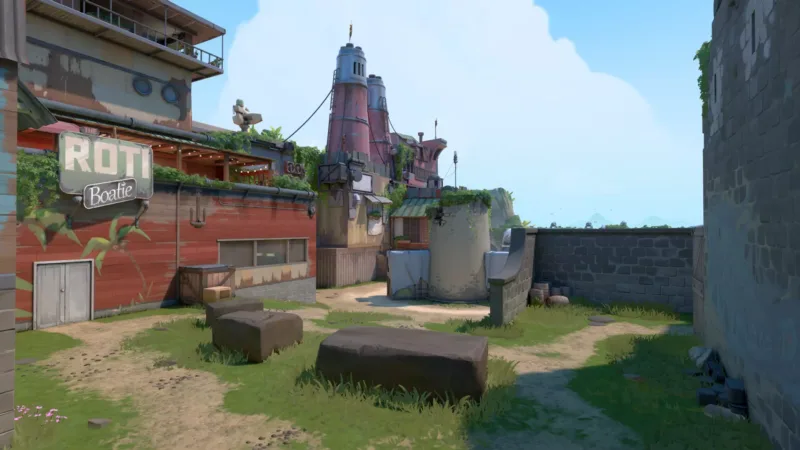
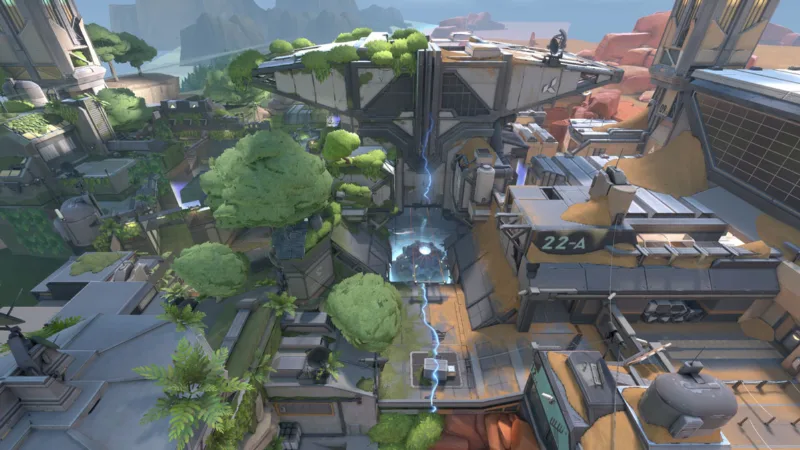
Haven lines up three spike sites, A, B and C, linked to one another by short passages that players call the links. The middle opens onto a large central courtyard that serves both B Site and the Garage, itself the gateway to C. In the lore, the map sits in Bhutan, in a mountain monastery turned into a secret facility.
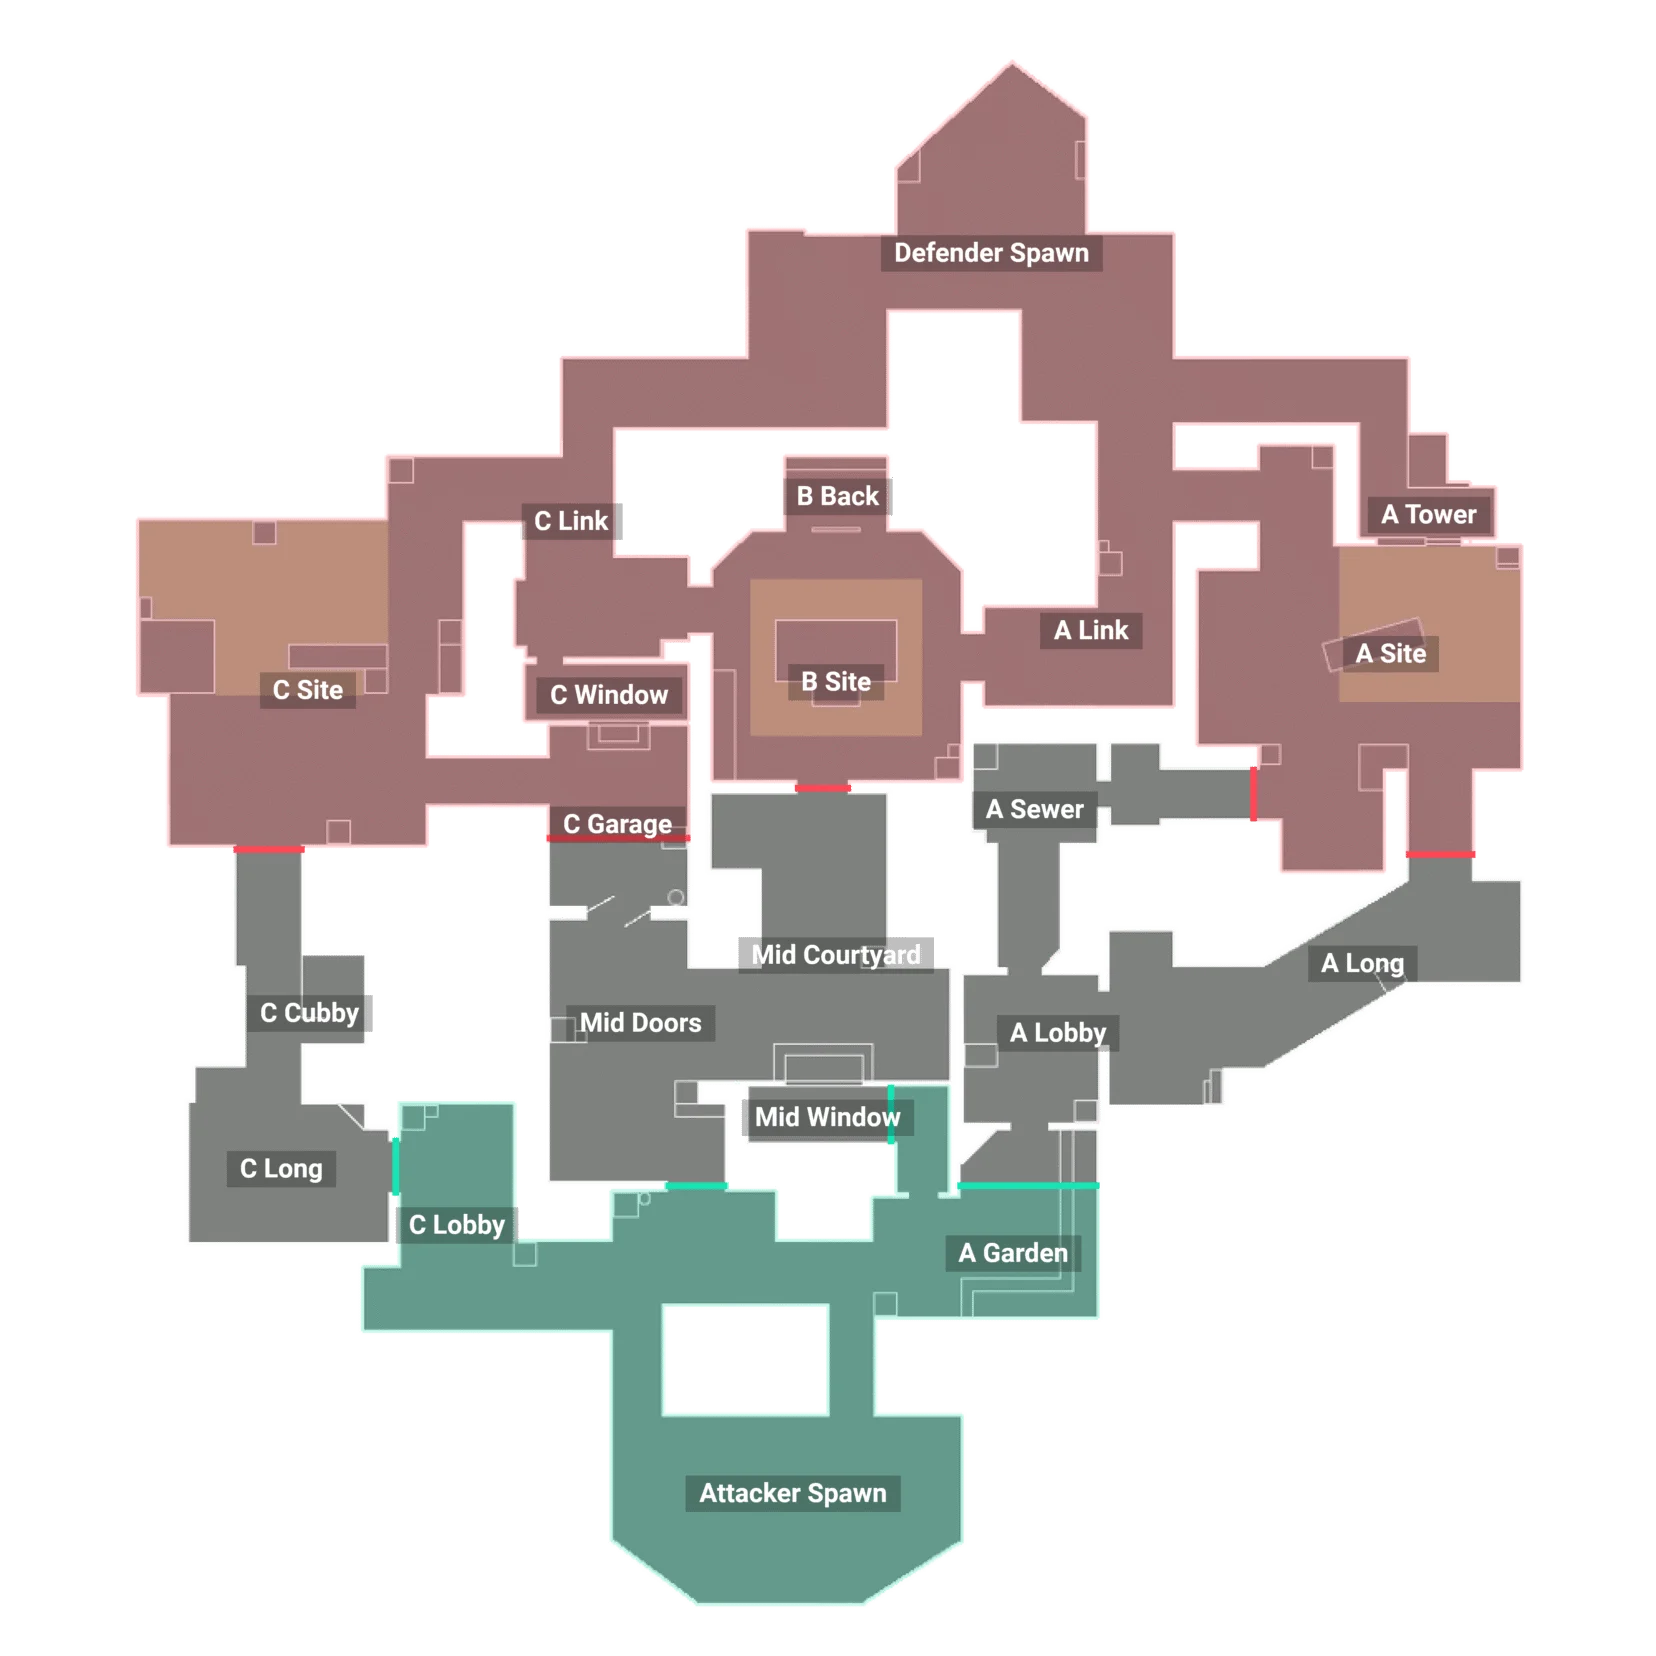
On a map with three sites, callouts count double: passages that look alike, and a vague call that sends the whole team to the wrong place.
| Callout | In plain English | Tactical role |
|---|---|---|
| A Lobby | The A lobby | The first area the attackers cross on their way to A. It opens onto A Long and is easily watched with utility from the site. |
| A Long | The long way into A | The main attacking route into A Site, long and open. The defenders take long range duels there from the site or from Hell. |
| A Short (Sewers) | The short way into A | The second way into A Site, from the central courtyard. Short is the name heard most often, and Sewers stays very common in writing. |
| A Heaven | The balcony above A | The raised position overlooking the whole plant area of A Site. A well placed defender sees both entrances from there and forces a flash or a smoke before the entry. |
| A Hell | Under the balcony on A | The area located under Heaven, also called Bottom A. It offers cover facing A Short and a view of the players arriving through A Long. |
| Bricks | The bricks | A forward recess in A Long, named after the pile of bricks on the ground. An aggressive position for the defenders looking for information early in the round. |
| Mid Doors | The doors in mid | The passage between the central courtyard and the Garage, often called Double Doors. A noisy and narrow way through, and therefore easy to trap. |
| Mid Courtyard | The central courtyard | The large grassy area at the center of the map, which feeds B Site, the Garage and A Short (Sewers). Crossing it without a smoke amounts to exposing yourself to several angles at the same time. |
| Mid Window | The window in mid | The opening overlooking the central courtyard on the defender side. One of the best information positions on the map, and one of the first to smoke on attack. |
| Garage | The garage | The covered space that links the central courtyard to C Site. Taking it opens a second entrance onto C and cuts the defense in two. |
| B Main | B main entrance | The frontal entrance to B Site from the central courtyard. Narrow and anticipated, it is rarely crossed without smokes and flashes. |
| A Link | The A link | The corridor linking A Site to B Site. A major rotation route for the defenders and the favored retake axis after a plant on B. |
| C Link | The C link | The symmetrical corridor linking C Site to B Site. Together with A Link, it lets the defenders come back onto B from both sides at once. |
| B Back Site | The back of B | The back part of B Site, sheltered by a partition that bullets go through. A holding position for the defenders and a post plant position for the attackers. |
| C Lobby | The C lobby | The attacker starting area on the way to C Long. It is far from everything else, which makes the trip back towards mid very slow in case of a swing. |
| C Long | The long way into C | The long, almost straight corridor leading to C Site. The only genuinely long sightline on the map, and therefore the natural ground of the Operator. |
| C Cubby | The cubby in C Long | A small recess along the way through C Long, the only cover in the corridor. Much used to hold a forward angle or to cover the Spike after the plant. |
| Connector | The connector | The passage that goes down from the Garage towards C Site. It gives the attackers a second entry axis once the Garage is under control. |
| C Platform | The platform on C | The raised platform at the back of C Site. It covers C Long and the Connector while still allowing you to disengage backwards. |
| C Back Site | The back of C | The back part of the site, where the Logs and Ninja corners are also found. An area to prefire systematically on a retake. |
The callouts of Haven, with their zone and their tactical role.
The pivot of the map: it links the central courtyard to C Site through the Connector. The team that holds it chooses where the round is going to be played, the other one suffers it.
The two corridors that frame B Site. Planting on B without having smoked or watched them amounts to accepting a retake from both sides at the same time.
The balcony overlooking A Site. A single defender sees both entrances from there, which forces the attackers to spend utility before they even enter.
Three sites to cover with five players: Haven rewards the agents who produce information and the ones who hold an area on their own. These six picks make the difference here, and here is why.
A video to discover the map, useful for picturing the volumes and the heights before you set foot on it.
The video only loads when you click, so it does not slow the page down.
Three sites, a contested garage and constant rotations: what players ask most often about Haven.
Yes, provided you accept that there are more names to remember than anywhere else. The map asks for no particular mechanic: no teleporter, no door, no zipline, only corridors and sites. A beginner can therefore concentrate on the fundamentals, that is to say crosshair placement, listening and communication. The third site simply makes the calls more important: saying B while you are on C costs the round.
Because five defenders cannot cover three sites with the same density. There is always a site held by a single player, and the job of the attackers is to find which one before the rotations get organized. That makes fakes far more effective than on a map with two sites: noisy pressure on A can be enough to empty C. On defense the consequence is the opposite, you have to delay everywhere and regroup in the right place rather than hope to win every one on one duel.
The Garage is the most useful area on the map, but entering it in the open is a bad calculation. It links the central courtyard to C Site through the Connector, and holding it gives the attackers two entry axes onto C instead of one. On the defending side, losing it does not lose the round, provided you know it in time and pull the players concerned back. The right approach is to contest it with utility, smokes, flashes or traps, rather than by committing to it blindly.
The logic of the map pushes towards a team that produces information and knows how to hold a site with few players. A sentinel able to lock a site down on their own immediately frees a player up for mid, and an initiator gives the information that triggers the right rotation. A controller remains essential for cutting off A Link and C Link around B Site, which is impossible to keep otherwise. The duelist, in turn, serves mainly to dislodge the players hidden in the many corners of the map rather than to open up wide spaces.
Every map in the game, filterable by number of sites and by mechanic, each with its own detailed page.