Map · 2 sites

Ascent

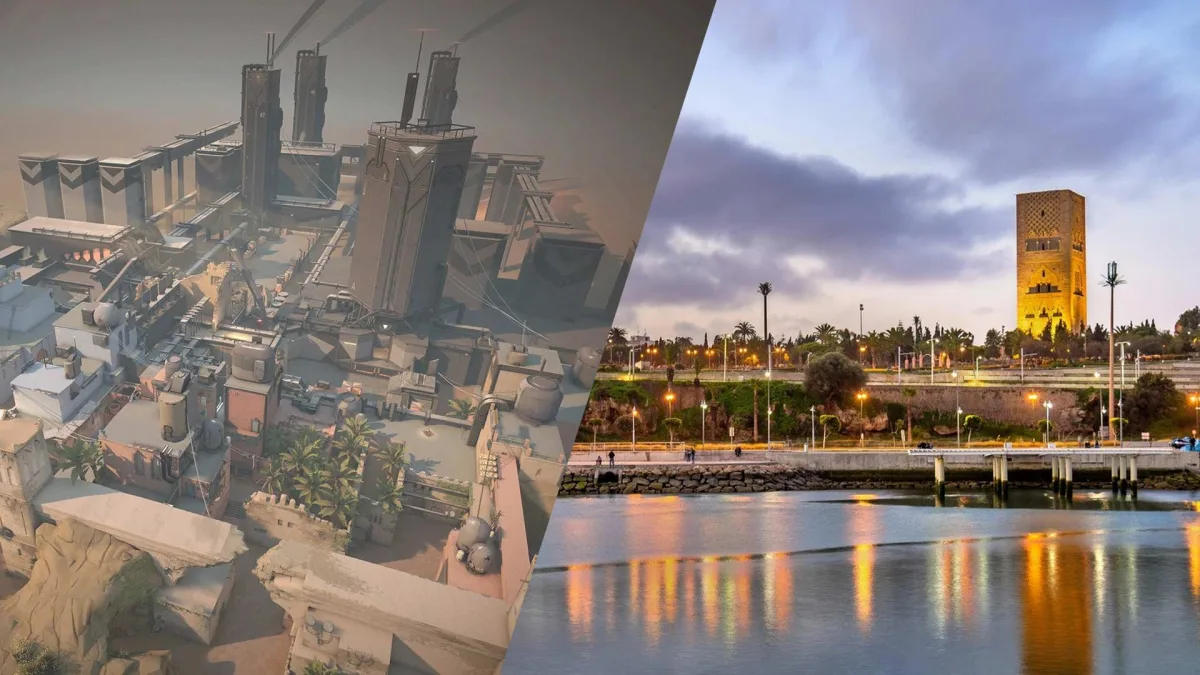
🇮🇹 Venice, Italy

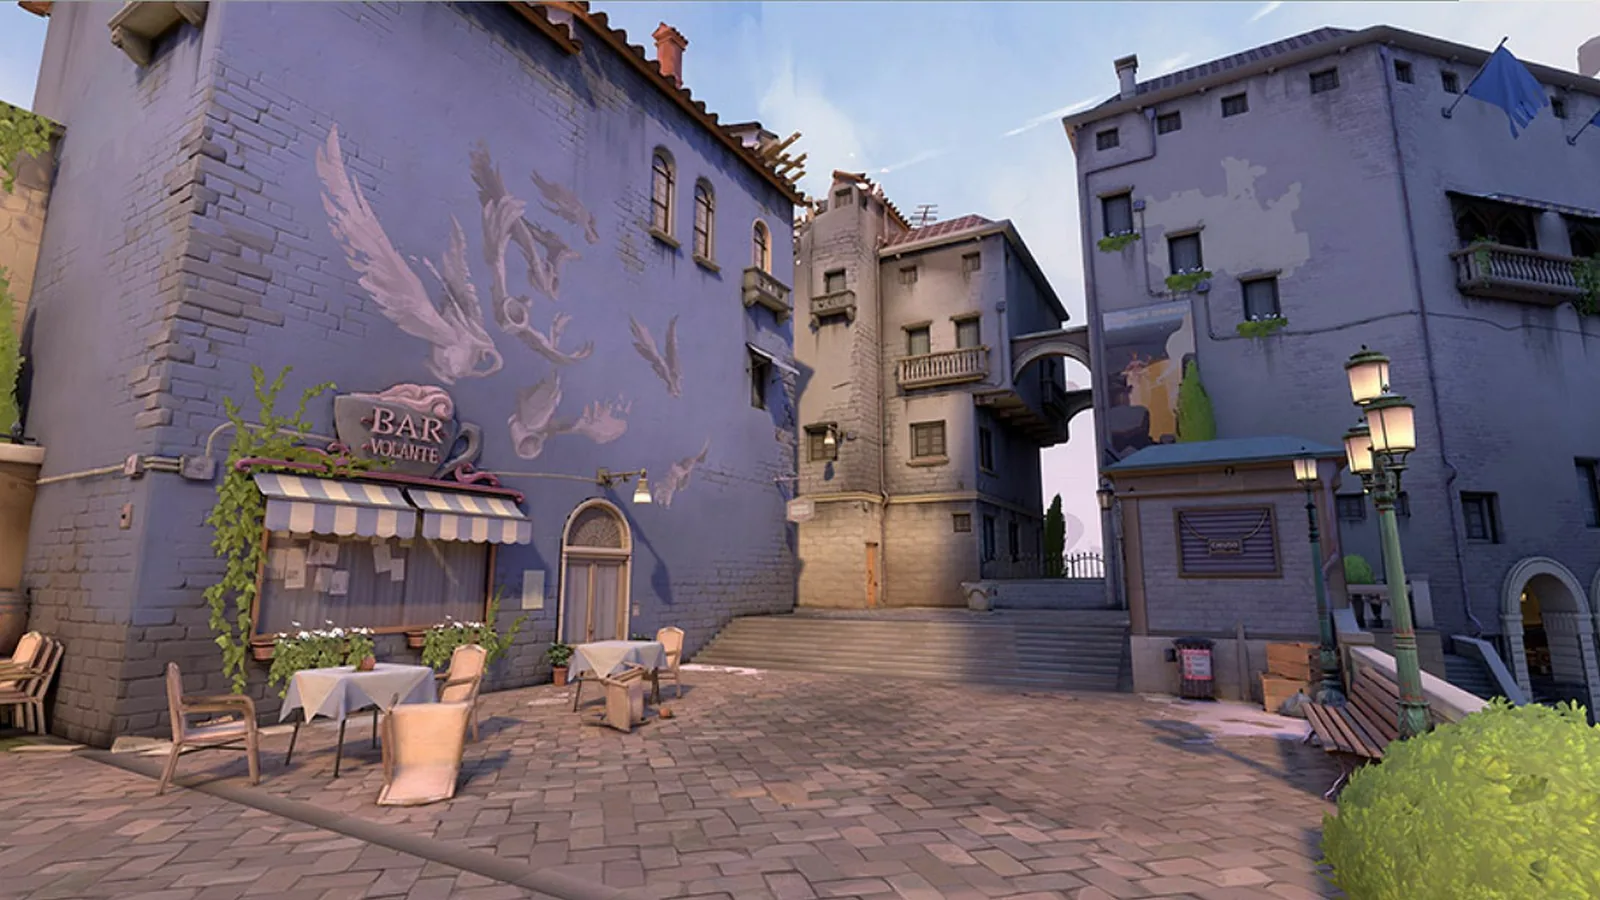
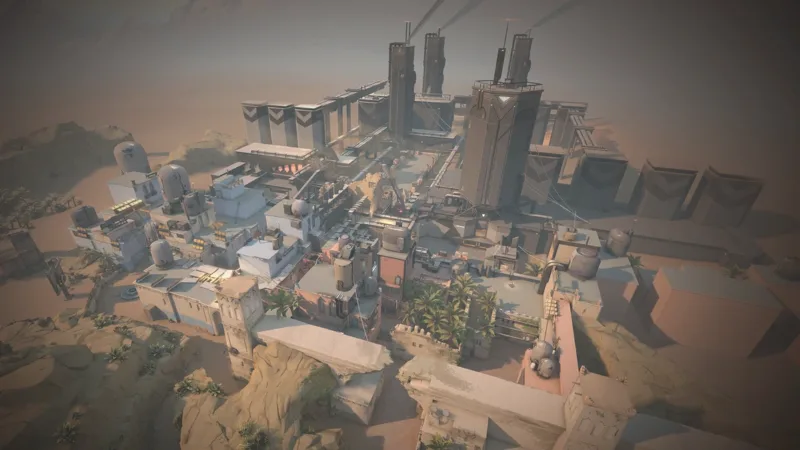
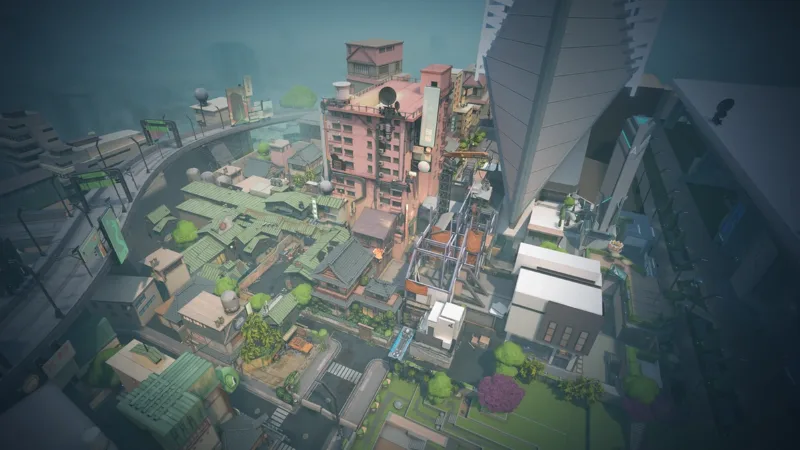
At the center of Ascent sits an open courtyard that both teams fight to control, because holding it is what keeps rotations between the sites quick and safe.

The Ascent map in Valorant
LocationVenice, Italy
Spike sites 2 sites
LayoutThree lanes
Mechanic Doors
Added in2020
The ground

THE ASCENT MAP LAYOUT

Ascent puts two spike sites face to face, linked by one wide central courtyard. It is the three-lane layout in its purest form: one main entrance per site, an open middle between them, and almost no shortcut to get around that pattern. In the lore, the map sits on an Italian square in Venice, suspended above the water.

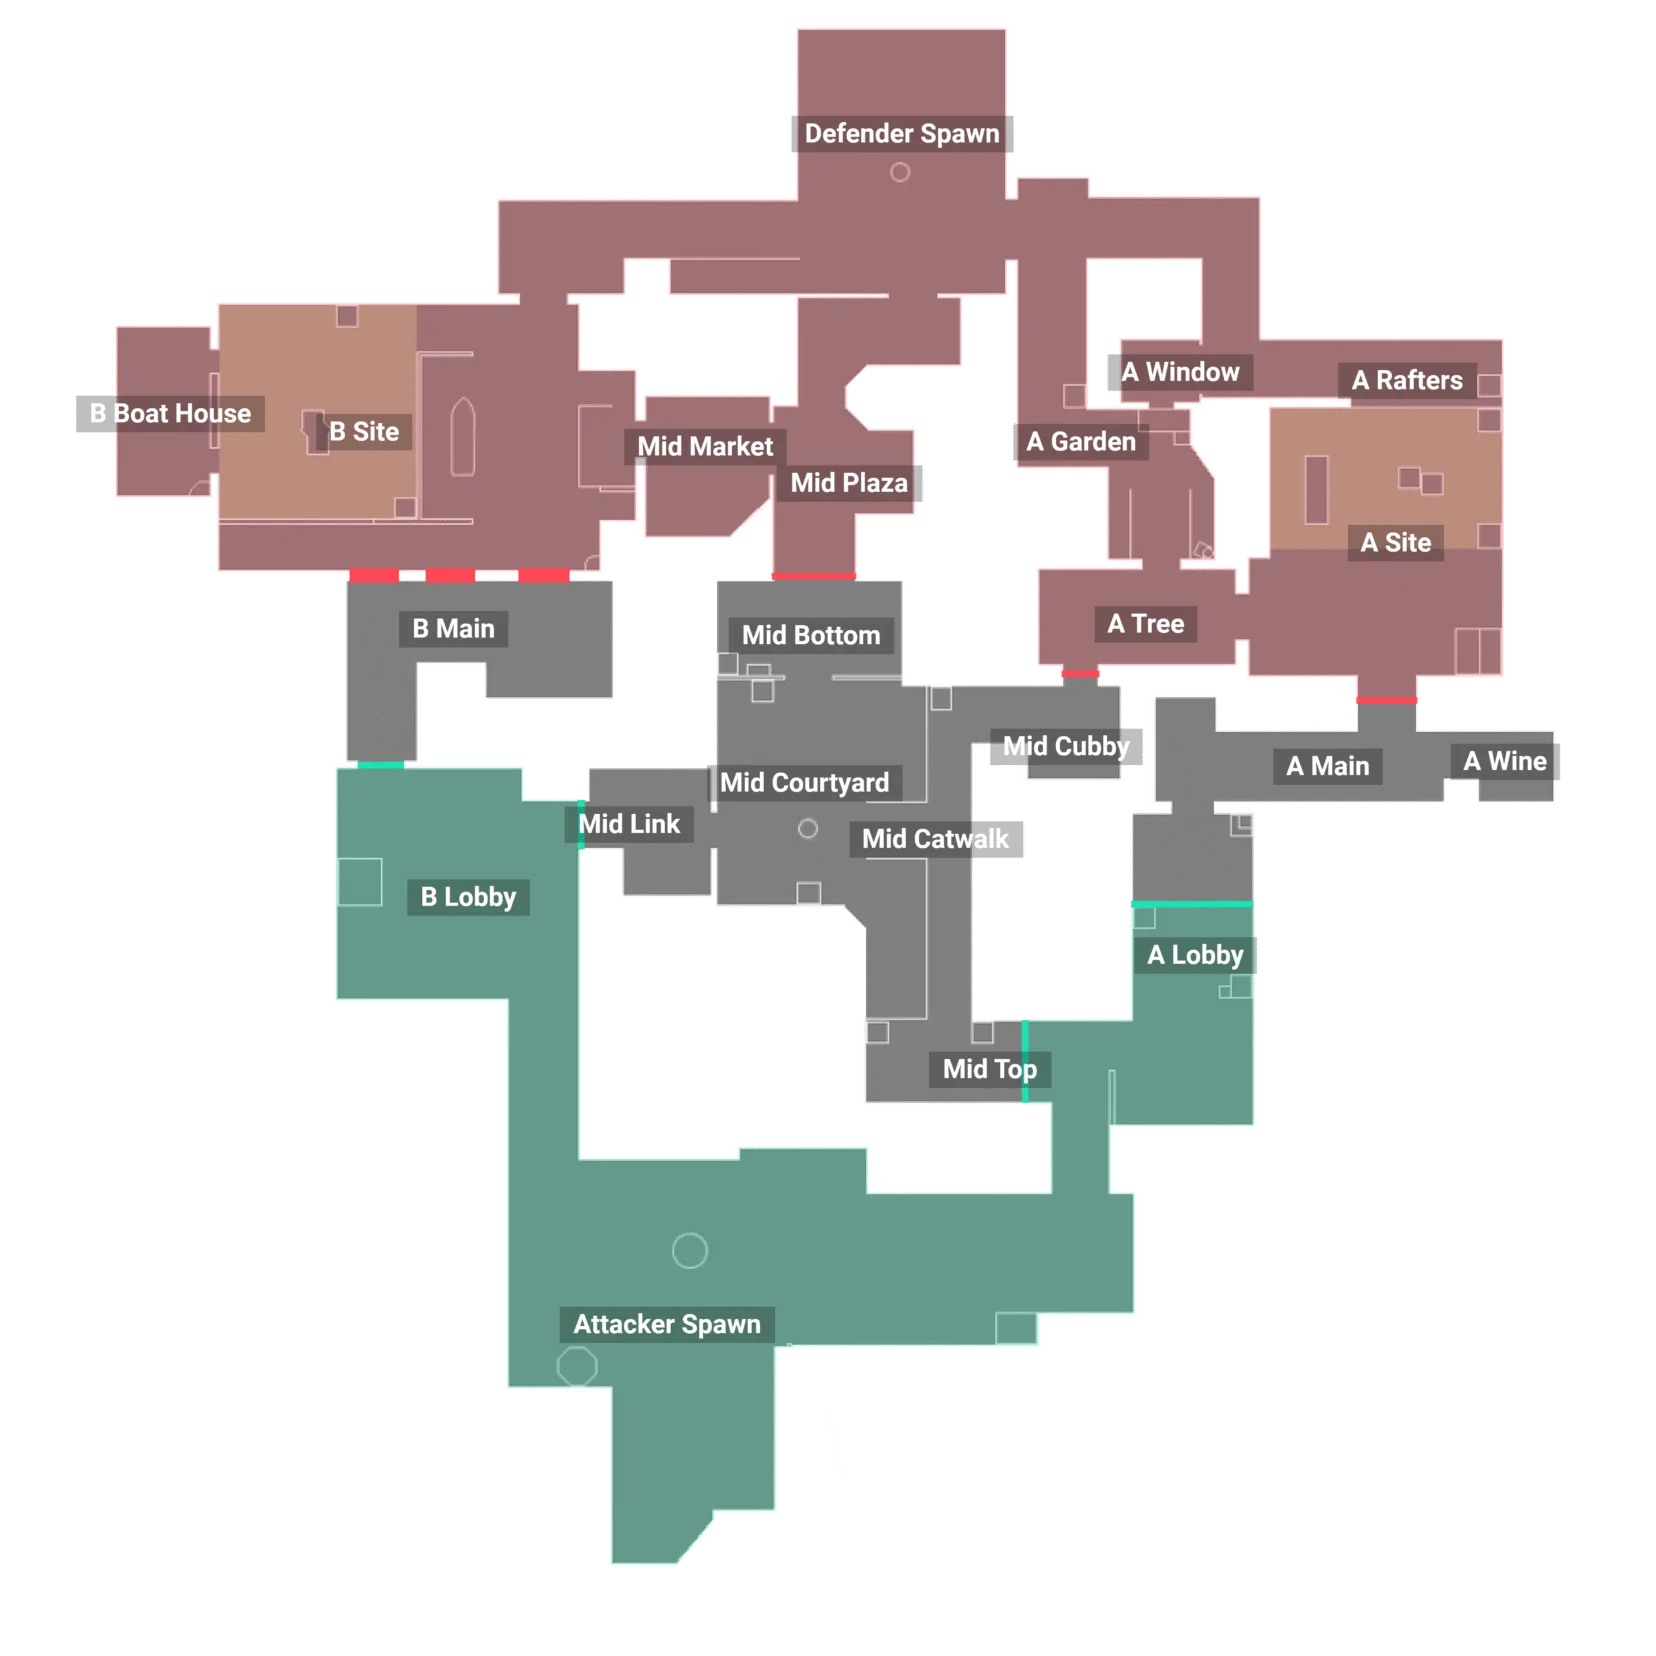
Annotated callout map of Ascent
A Site Reached through A Main, and through A Short from mid. Ruled by Heaven, a raised position that is hard to contest.
Mid The open courtyard linking both sites. The most contested area on the map, and the one that sets the pace of the round.
B Site A narrow entrance through B Main, with Market as a secondary route. A site that holds with few players but is hard to take back.

The mechanical doors

Each site has a door that defenders can close from a switch nearby. Attackers then have to shoot it down, which takes time and makes noise. It does not lock the site away, it buys a delay and it announces the entry.

Vocabulary

ALL THE CALLOUTS ON ASCENT

Callouts are the names the community gives to each area of the map. They let you report a position in one word instead of a vague sentence. Learning them is the cheapest upgrade you can make to your comms, and it is the first thing a team notices when you have done it.

Callout In plain English Tactical role
A Main A main entrance The main attacking route into A, wide and covered by the defenders holding the back of the site.
A Short The short way into A The short link from mid to A. Often called Tree, after the tree standing in it.
A Heaven The balcony above A The raised position overlooking A. A major defensive angle, hard to clear without utility.
A Rafters The beams above Heaven The beams above Heaven. A rare spot, but a nasty one for a player who knows how to sit in it.
A Generator The generator on A A big piece of scenery on A, used as cover while the Spike goes down.
Garden The garden before A The buffer zone between A Main and the site. The classic staging point before an execute.
Wine The wine cellar alcove A small alcove that gives an unexpected angle onto A.
Catwalk The walkway up from mid The link between mid and A Short. Take it and you open a fast second way into A.
Courtyard The open middle The open heart of the map, contested by both teams from the first seconds of the round.
Market The market building The building connecting mid to B. A key route for rotations and for pinching the site.
Mid Link The corridor from mid to B The corridor running from mid towards B. Lets you cut off a rotation.
Pizza The pizza shop corner A small corner in mid, a classic hiding spot for a player waiting to ambush.
B Main B main entrance The main attacking route into B, narrow and therefore very dependent on utility.
B Lane The lane along B The long lane running alongside B, usually held by a defender playing back.
B Stairs The stairs up to B The climb up to B, a must-check on any retake.
Boathouse The boathouse on B The structure on the B side, used as cover and as a fallback angle by the defenders.

The callouts of Ascent, with their zone and their tactical role.

Remember

THE KEY POINTS OF THE MAP

Mid

Mid Top and Mid Bottom

Two key areas for controlling the center of the map. Hold them and you decide which way the round goes.

B Site

B Main

A major attacking route into B. Narrow, so you need utility to get through it without losing bodies.

A Site

A Heaven

The balcony overlooking A. A defender sitting there sees the whole plant area and forces a flash or a smoke before you enter.

Gameplan

THE COMMON STRATEGIES

Attacking

Take mid first

  • Control mid so you can move freely between the two sites.
  • Take Catwalk to open a second way into A and split the defense.
  • Go through Market to pinch B rather than pushing B Main on its own.
  • Break the doors early once the execute is called, so you do not lose time on the entry.
Defending

Delay and rotate

  • Use the doors on A and on B to cut the attackers off or slow them down.
  • Hold Heaven on A, so you can contest the plant without exposing yourself on the ground.
  • Keep one player back on mid to spot a swing and call the rotation in time.
  • Do not contest mid in the open at the start of the round without utility to fall back on.
Explore

THE OTHER MAPS

FREQUENTLY ASKED QUESTIONS ABOUT ASCENT

The questions that come up most often from players discovering this map, or trying to read it better.

Yes, it is one of the two best alongside Sunset. The layout is classic, three lanes and two sites, with no special mechanic to learn on top of the fundamentals. You can put your attention where it actually pays off early on: learning the callouts, understanding why mid control matters, and working on your crosshair placement. The mechanical doors are the only quirk, and one game is enough to get them.

Each site has a mechanical door that the defenders can close from a switch nearby. Once shut it blocks the way completely, but attackers can shoot it down. So it is less about denying access than about buying time and making noise: while the attackers break it, the defenders get to reset or bring a rotation across.

Because mid opens straight onto both sites. The team holding it can swing from one site to the other in seconds, fake an execute, and above all stop the other team from doing the same. Losing mid on defense means letting the attackers pick their target freely. Losing it on attack means going through the main entrances, which are the easiest areas for the defense to hold.

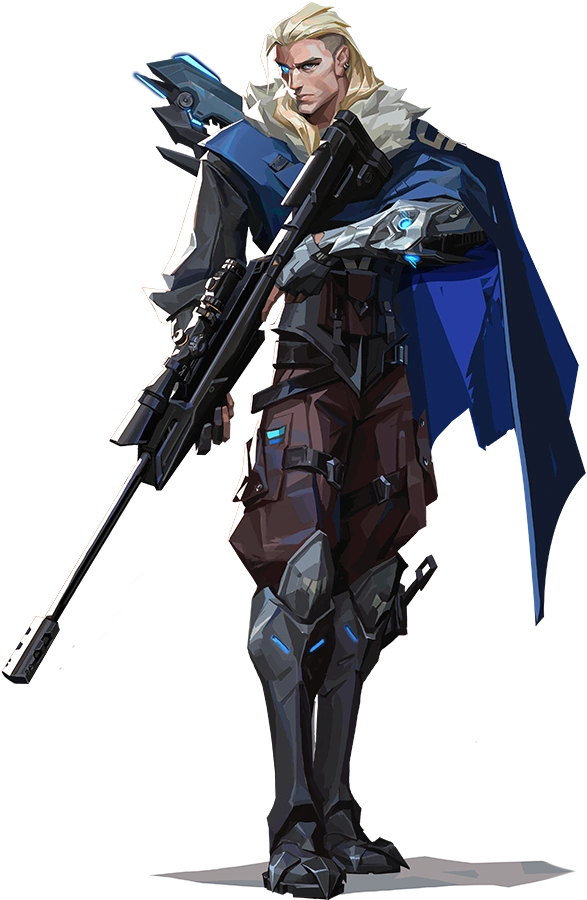
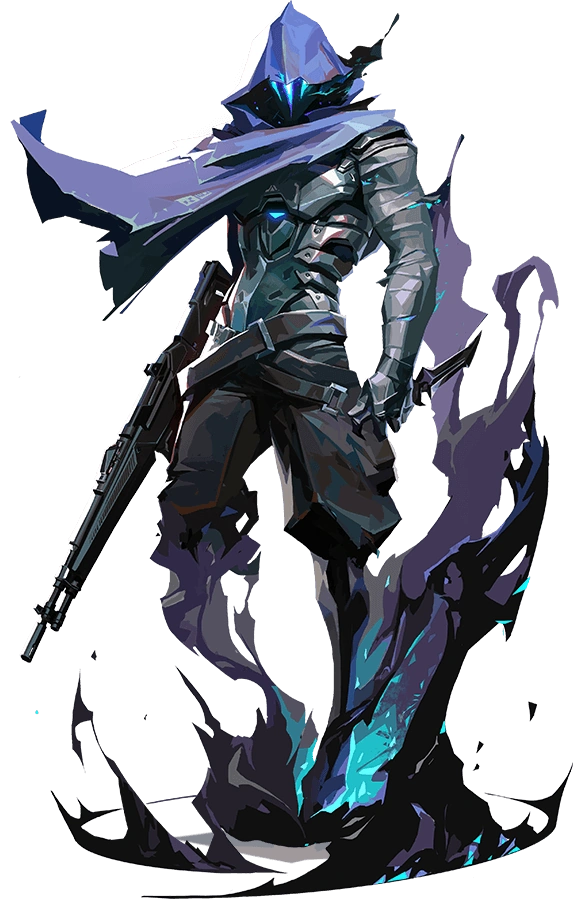
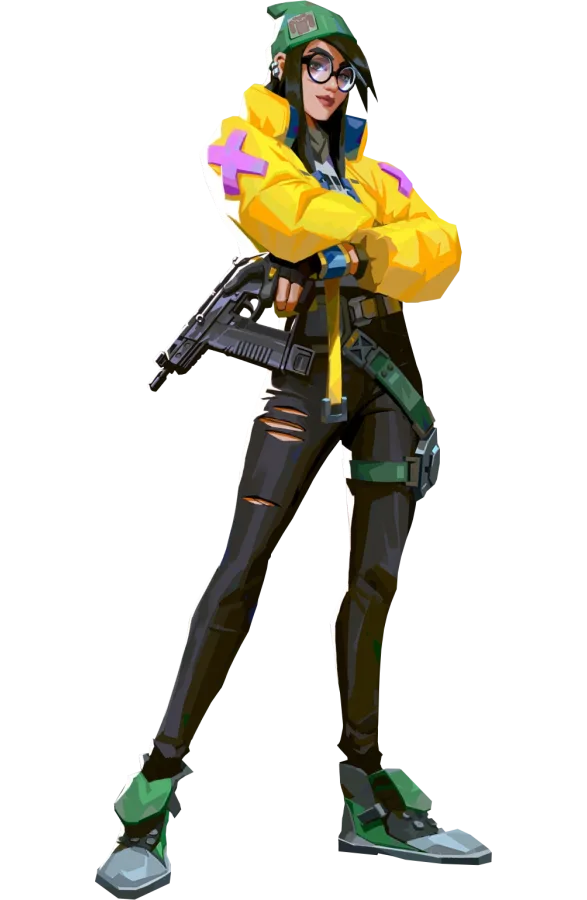
Sova has always been the signature agent here: his Recon Bolt lines cover mid and both sites from safe positions. A controller like Omen or Astra is a must to contest mid, a sentinel like Killjoy or Cypher holds B with very few players, and Jett makes the most of the long sightlines with the Operator. A balanced composition works better here than on the more unusual maps.

THE MAPS OF VALORANT

Every map in the game, filterable by number of sites and by mechanic, each with its own detailed page.

See every map →