Map · 2 sites

Split

🇯🇵 Tokyo, Japan

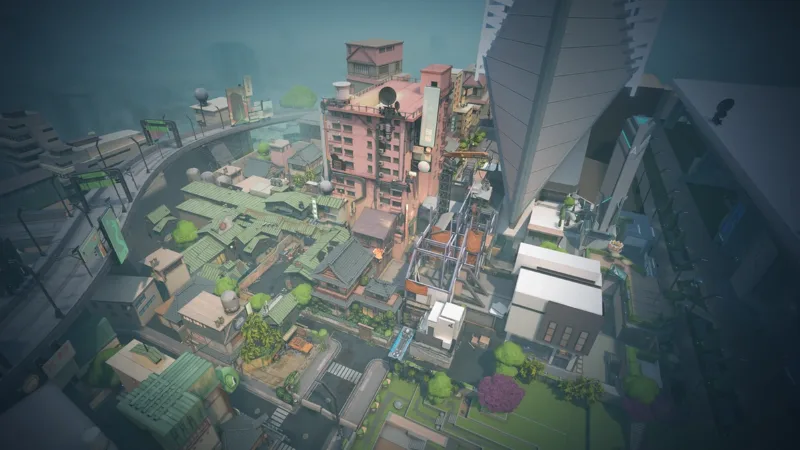
Split is played up high as much as on the ground: each site is overlooked by a platform, and ropes let you climb up to it. Mid commands both, which makes it the most contested area on the map.

The Split map in Valorant
LocationTokyo, Japan
Spike sites 2 sites
LayoutMid and verticality
Mechanic Verticality
Added in2020
The ground

THE SPLIT MAP LAYOUT

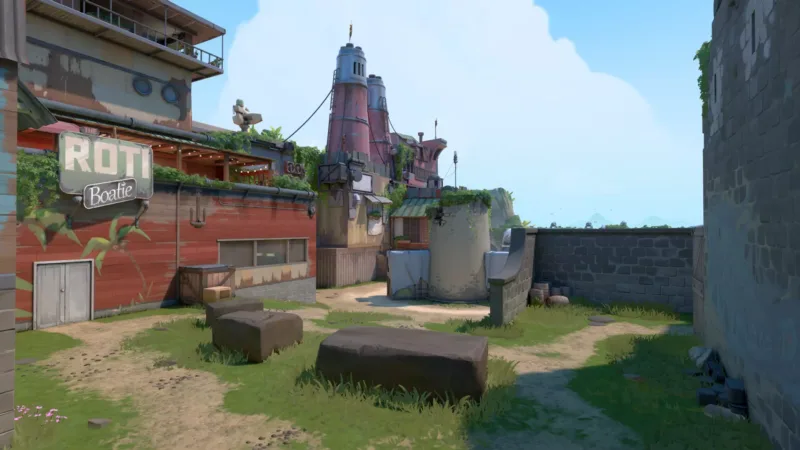
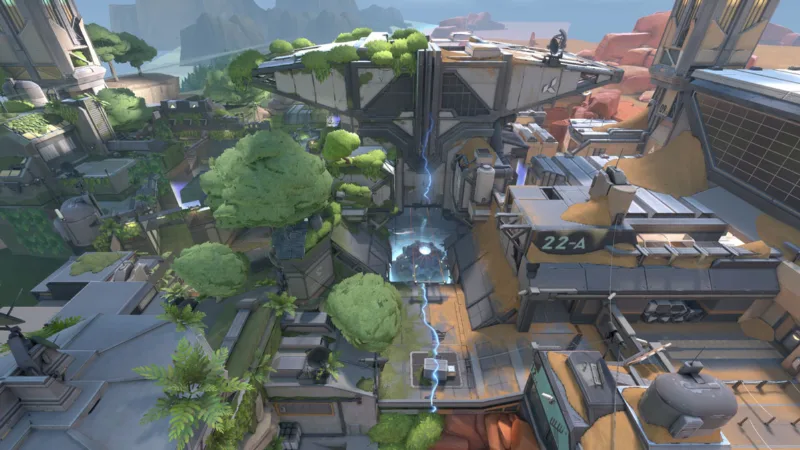
Split puts two spike sites face to face, separated by a narrow raised middle. Each site is dominated by a high platform, A Tower and B Tower, reached from mid, which gives the map its vertical dimension. It is also the first map in the game to have introduced ropes. In the lore, the map sits in Tokyo, in Japan, in a modern district crossed by industrial installations.

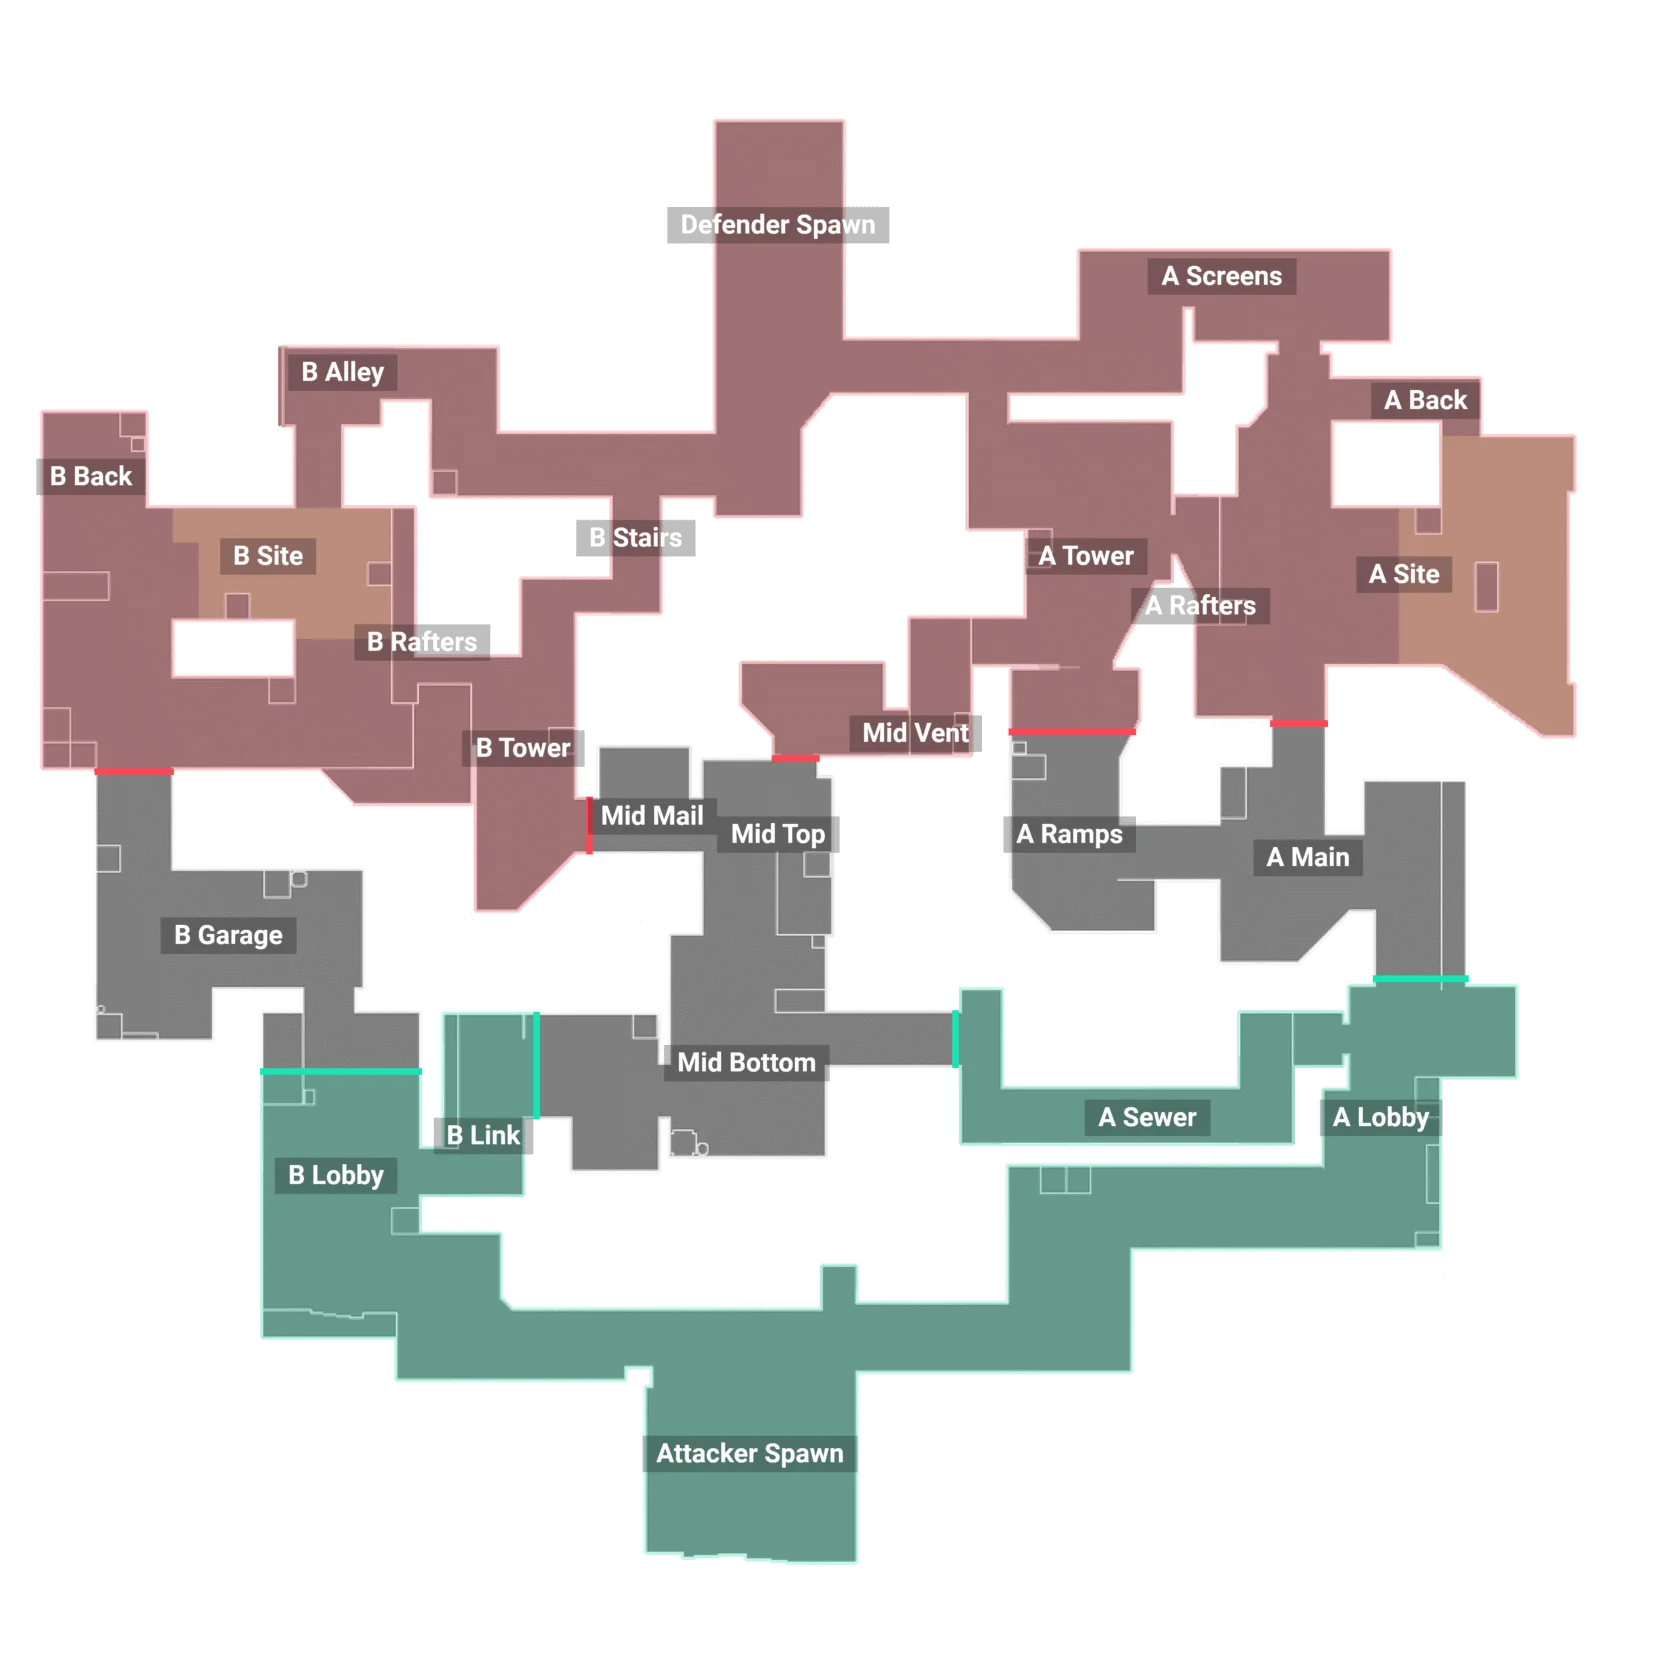
Annotated callout map of Split
A Site A frontal entrance through A Main, preceded by A Ramps, and a high access through A Tower from mid. The defenders stack up their angles there, between the platform, the Rafters and A Screens, which makes a dry entry very costly.
Mid A narrow sloping corridor, extended by Mid Vent on one side and Mid Mail on the other. Holding it means having a high access onto both sites at once, and that is why almost every round is decided there.
B Site A closed site, approached head on by a single narrow corridor, and overlooked by B Tower and B Rafters. It is one of the hardest entrances in the game, and it is practically never crossed without utility.

The ropes and the height

Split is the first map in the game to have introduced ropes, those cables that let you climb a level. There are some between A Lobby and Sewers, between B Hell and B Tower, and in Mid Vent to reach the height on the A side. The thing to remember is that climbing a rope makes noise and leaves the player unable to shoot during the ascent: you take it covered by team noise, never in a silent round. Coming down by jumping from a platform is possible, but a fall from too high costs health.

Vocabulary

ALL THE CALLOUTS ON SPLIT

The area names on Split have one particularity: half of them refer to high positions. Saying whether a player is up high or down low is therefore often worth more than the name of the area itself.

Callout In plain English Tactical role
A Lobby The A lobby The attacker starting area on the A side. Ropes there let you go down towards Sewers, and so go for mid from below.
A Main A main entrance The frontal entrance corridor into A Site. It comes out below the high angles of the defenders, which makes it a way through not to be crossed without a smoke.
A Ramps The ramps on A The climb located just before A Site, on the way through A Main. A classic advanced position for a defender who wants information early.
A Tower The tower above A The high platform overlooking A Site, linked to mid by Mid Vent. Many players simply call it Heaven.
A Rafters The rafters on A The platform adjoining A Tower, with a slightly different angle onto the plant area. It completes the tower to cover the whole site from above.
A Screens The screens The position on the defender side that gives a long sightline towards A Main and A Ramps. To be smoked as a priority during an execute.
A Elbow The bend on A The bend at the back of A Site, towards the defender spawn. A retake route and a fallback shelter.
A Back The back of A The back part of A Site, more sheltered. An area to clear before planting, and a post plant position for the attackers.
Sewers The sewers The low passage linking the attacker side to the bottom of mid and to the entrance of Mid Vent. One of the two ways of going for mid.
Mid Bottom The bottom of mid The lower part of mid, on the attacker side. The first objective of a team wanting to build its attack through the center.
Mid Top The top of mid The upper part of mid, held by the defenders at the start of the round. Taking it opens access to both towers.
Mid Vent The ventilation shaft The duct that climbs from mid up to the height on the A side, fitted with ropes. It is the shortest way to A Site once mid is taken.
Mid Mail The post office The way through in mid located on the B side, which climbs towards B Tower. A common holding angle for the defenders who deny mid.
B Lobby The B lobby The attacker starting area on the B side. It leads to the entrance corridor of the site and gives an access to the bottom of mid.
B Main B main entrance The only frontal entrance corridor into B Site, narrow and entirely covered by the high angles. Its sheltered part just before the site is often called Garage.
B Tower The tower above B The high platform overlooking B Site and its entrance. It is reached from mid through Mid Mail, or from below by the rope at B Hell.
B Rafters The rafters on B The platform adjoining B Tower, with another angle onto the plant area. As on the A side, the defenders stack up their positions there.
B Hell Under the tower on B The area located under B Tower, at site level. A rope there lets you climb straight back onto the platform.
B Alley The alley on B The narrow corridor linking B Site to the defender spawn. The main retake route on the B side.
B Back The back of B The back part of B Site, sheltered from the high angles. A fallback area for the defenders and a holding area after the plant for the attackers.

The callouts of Split, with their zone and their tactical role.

Remember

THE KEY POINTS OF THE MAP

Mid

Mid Vent and Mid Mail

The two high exits from mid, one towards A Tower, the other towards B Tower. Holding them means being able to attack both sites from above.

B Site

B Main

A single narrow entrance, covered by the tower and the Rafters. Crossing it without smokes or flashes amounts to offering a duel you start out losing.

A Site

A Tower and A Rafters

Two stacked platforms that see the whole plant area. They force the attack to spend utility before even setting foot on the site.

Gameplan

THE COMMON STRATEGIES

Attacking

Take mid, enter from above

  • Go for the bottom of mid through Sewers rather than attacking a site head on at the start of the round.
  • Swing through Mid Vent or through Mid Mail once mid is held, so you arrive on a site from the height.
  • Systematically smoke the high platforms before an entry, since they see the whole of both plant areas.
  • Climb the ropes while the team is making noise, never in silence, since the ascent is audible and leaves no way of firing back.
Defending

Hold the height, do not give it away

  • Keep a player on a high platform at all times, the most profitable position on the map.
  • Contest mid with utility rather than with a duel, since the area is narrow and easy to block.
  • Listen for the ropes, whose noise announces a climb to the height or a rotation.
  • Prepare the retakes through A Elbow and B Alley, which bring you back onto the site without crossing a long sightline.
Explore

THE OTHER MAPS

FREQUENTLY ASKED QUESTIONS ABOUT SPLIT

Ropes, platforms and a middle under pressure: the questions that come up most often from players discovering Split.

It is easy to memorize but hard to attack. Two sites and a middle makes for few areas to remember, and the structure is understood in a few games. The defenders, on the other hand, have plenty of high positions, and an improvised entry there almost always ends badly. The first reflex to acquire is to look up: on this map, an opponent is as often above you as in front of you.

The ropes are cables you grab hold of to climb a level, and Split is the map that introduced them into the game. There are some between A Lobby and Sewers, between B Hell and B Tower, and in Mid Vent to reach the height on the A side. Two limits matter in practice: the ascent is noisy, and the player cannot shoot while climbing. So you take them at the moment when the team is already making noise, and you plan what you are going to do on arriving at the top rather than climbing on reflex.

Because it does not only lead from one side to the other: it gives access to the two high platforms that overlook the sites. A team holding mid can attack A through Mid Vent or B through Mid Mail, arriving from above instead of presenting itself in a corridor. Conversely, an attack that neglects the center condemns itself to entering head on, which is precisely the situation the map punishes most. That is also why the defenders contest mid very early, often with utility.

The map calls for a lot of utility able to close a way through or to clear out a high position. A controller remains essential, since no site entry happens cleanly without smoking the platforms beforehand. An initiator geared towards enclosed spaces is worth more than a long range reconnaissance agent, as the fights are played in short corridors. Finally, a sentinel takes on a lot of value here, both for holding a site while the team plays mid and for watching the ropes, which are the fast means of movement on the map.

THE MAPS OF VALORANT

Every map in the game, filterable by number of sites and by mechanic, each with its own detailed page.

See every map →