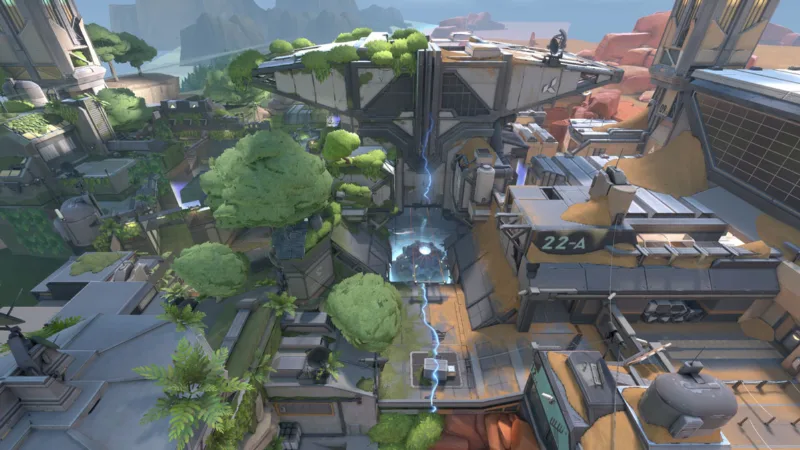
Map · 2 sites

Bind

🇲🇦 Rabat, Morocco

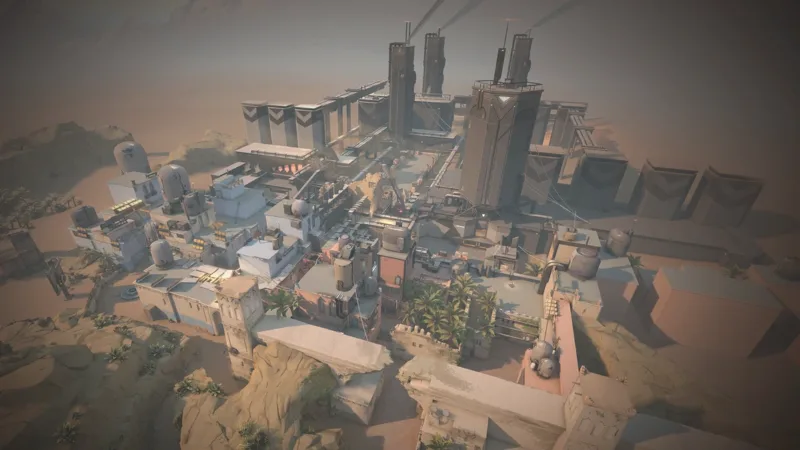
Bind is the only map in the game with no middle: two sites, four ways in, and nothing between the two halves of the map except two teleporters. You choose your side early here, and you live with that choice.

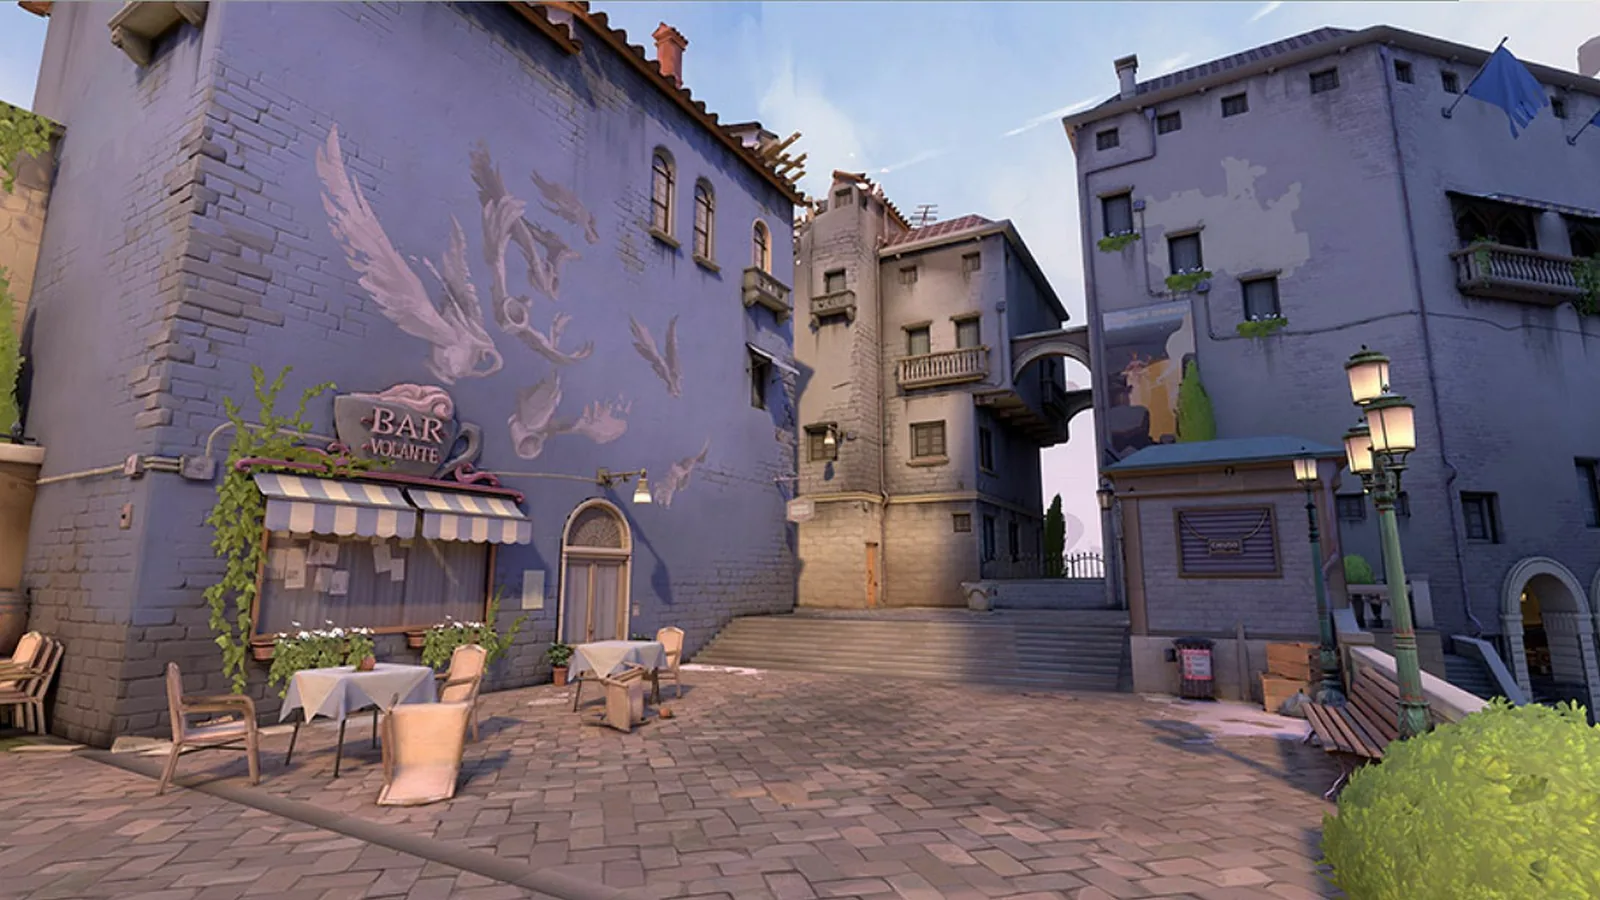
The Bind map in Valorant
LocationRabat, Morocco
Spike sites 2 sites
LayoutTwo sites, no middle
Mechanic Teleporters
Added in2020
The ground

THE BIND MAP LAYOUT

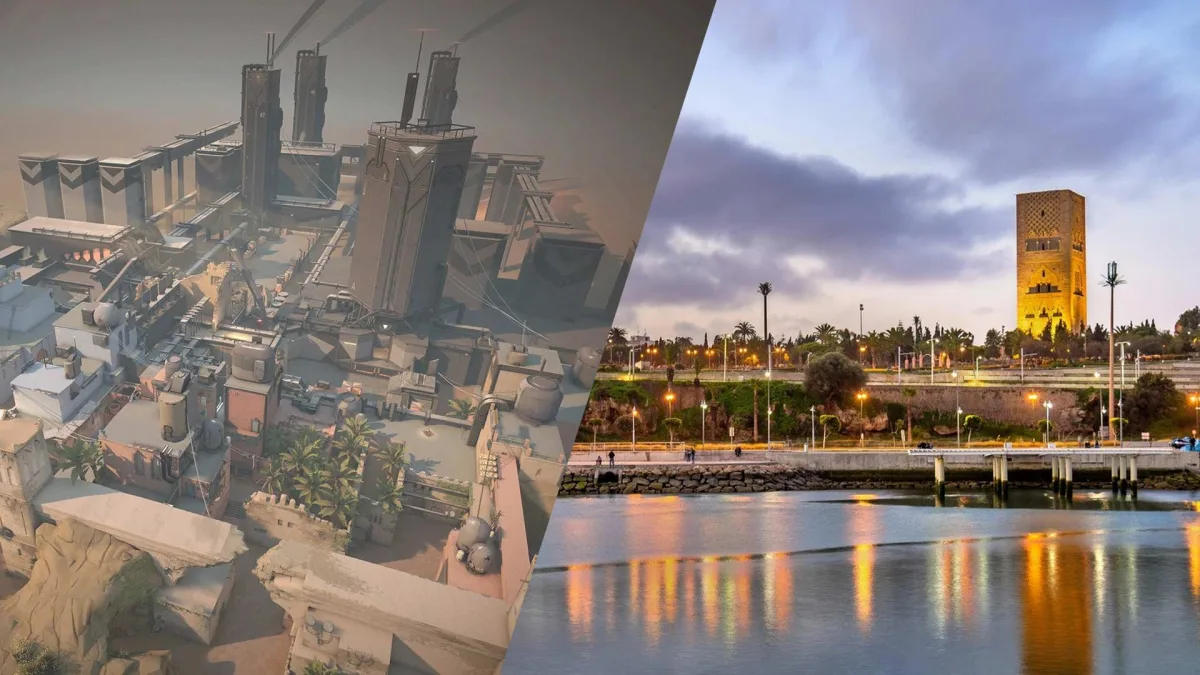
Bind puts two spike sites face to face with no middle area between them: the ground splits cleanly into two halves, linked only by two one way teleporters and by an underground passage on the attacker side, the cave. Each site is taken through two separate routes, which rules out betting on a single frontal entrance. In the lore, the map sits in Rabat, in Morocco, even though its scenery evokes the dunes of the Sahara more than the capital itself, a deliberate artistic choice.

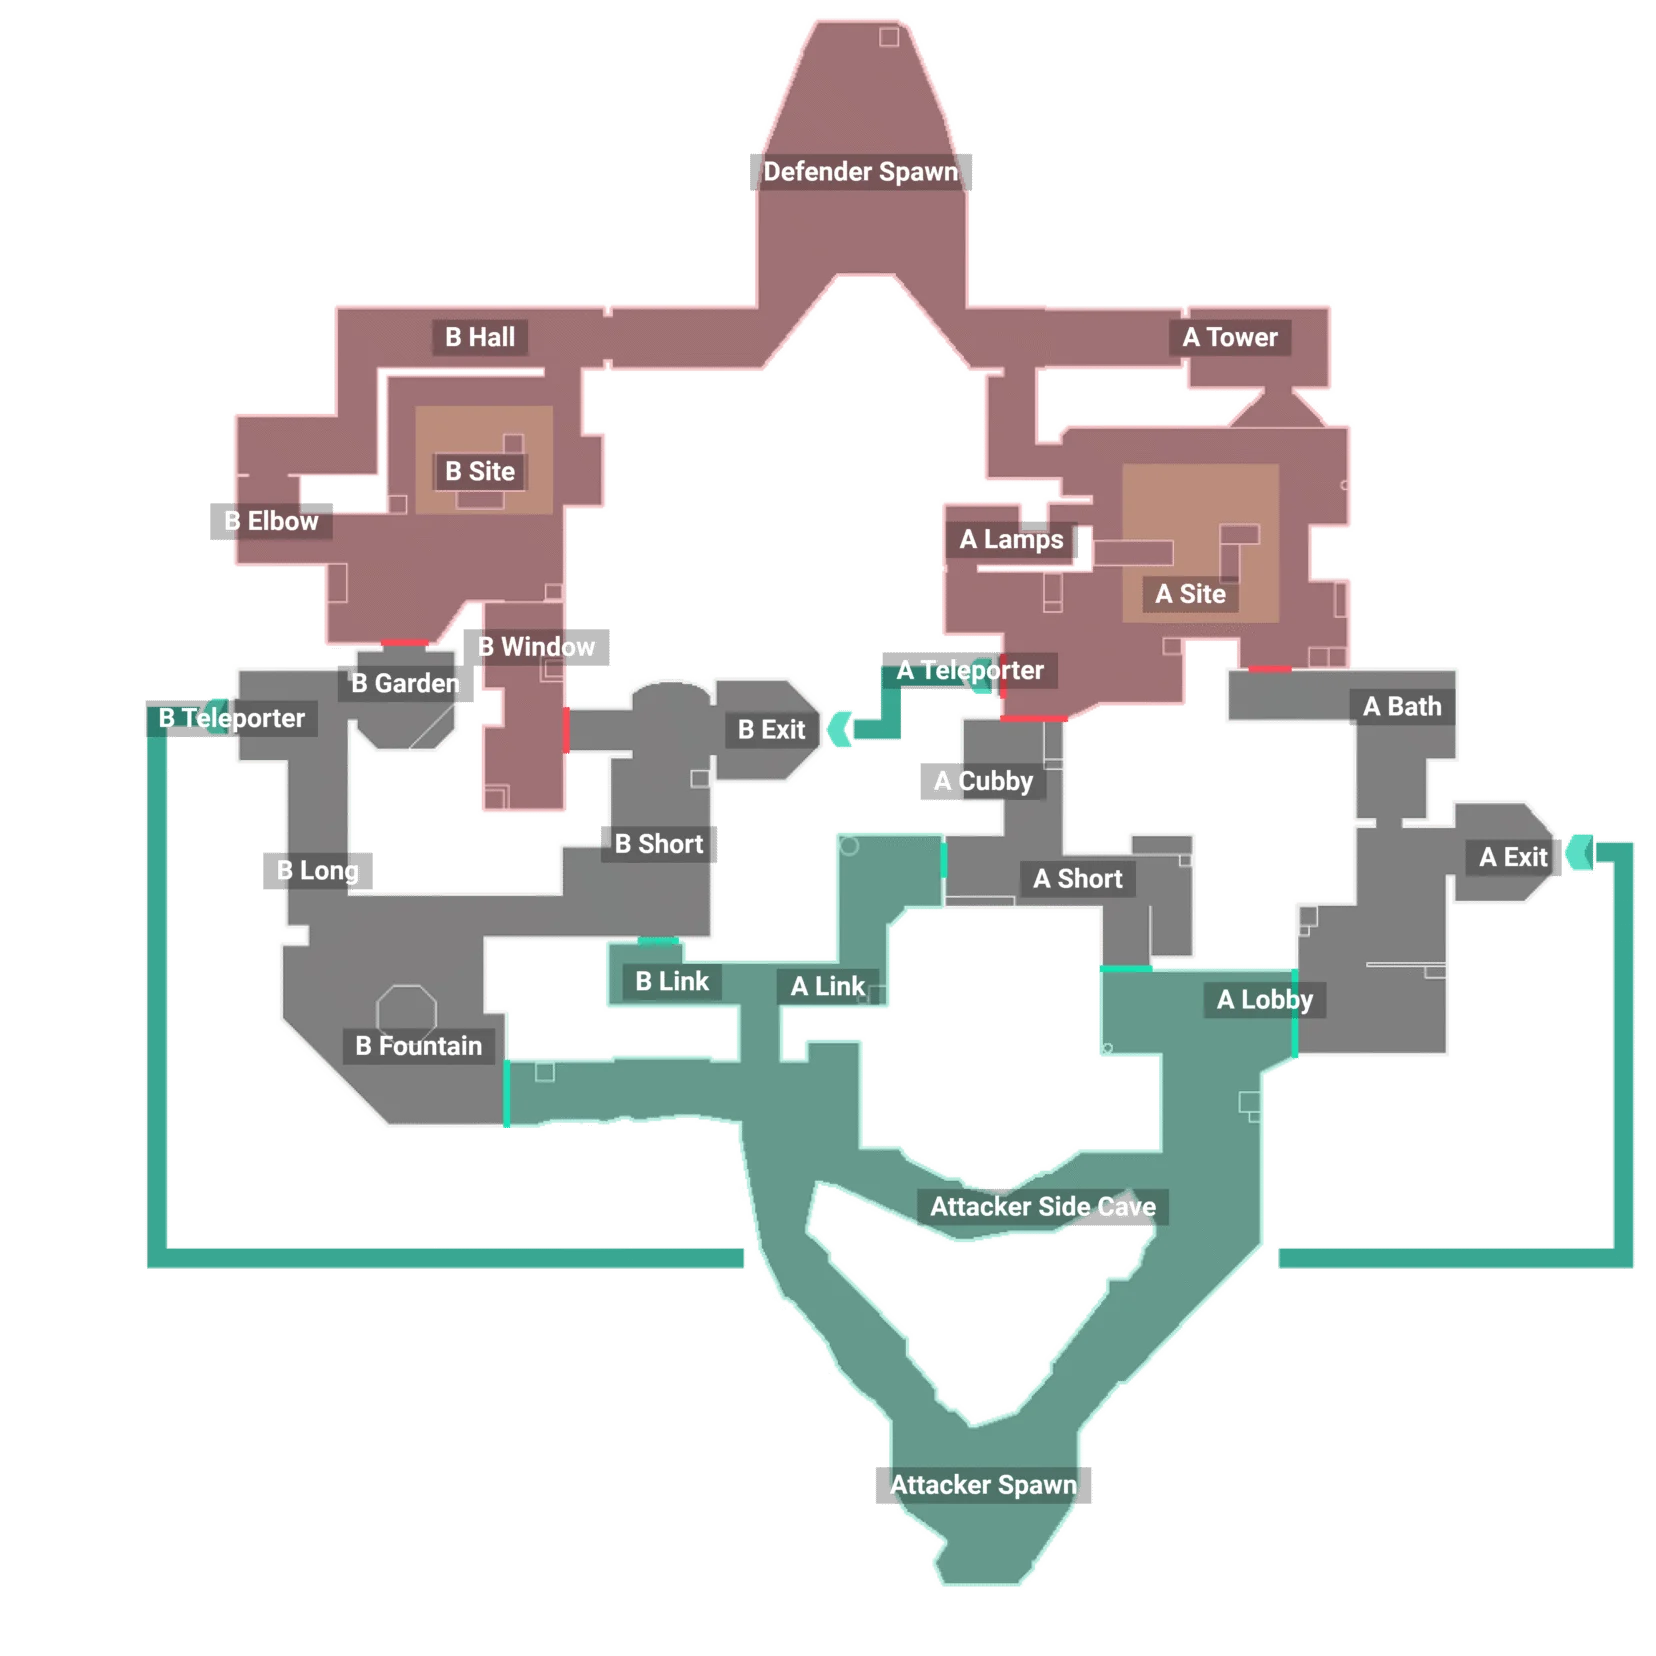
Annotated callout map of Bind
A Site Two main ways in: A Short on one side, A Bath (Showers) on the other. A Lamps (U-Hall) and A Tower (Heaven) then shape the defense of the site, with A Tower serving as a rotation axis towards the central spawn. The teleporter entrance on A Short sends you to B Short.
No middle Bind offers no middle area where the two camps meet. The defender spawn, at the center of the map, only gives access to A Tower and B Hall, the only genuine defensive rotation. On the attacker side, the Attacker Side Cave links the two halves of the map on the ground, without going through a teleporter. The two one way teleporters remain the only way of crossing instantly.
B Site Two main ways in: B Short through B Window (Hookah), and B Long through Garden. B Elbow closes off a corner of the site on the short side, and the teleporter entrance on B Long sends you to A Lobby.

The one way teleporters and the attacker side cave

Bind is the only map with no middle area that both camps can move through: two one way teleporters (A Short to B Short, B Long to A Lobby) let you switch instantly from one half of the map to the other, with no way of coming back out by the same path. It is a real rotation and flanking tool, but never a discreet one: the activation is heard across the whole map, including when it is an object that goes through, and the door of the exit room (A Exit, B Exit), closed by default, opens from the inside. The attackers also have a route on the ground, the attacker side cave, which links the two halves of the map on their side without going through a teleporter: slower, but silent. The defenders, for their part, have only one genuine rotation option, from their central spawn through A Tower or through B Hall, a trip on foot and therefore slower than a teleporter.

Vocabulary

ALL THE CALLOUTS ON BIND

On Bind, callouts also serve to read the rotations: a teleporter activation is heard across the whole map, but it is the callout that says which one, and therefore where the opponent is going to reappear. Several areas also carry a community name (Showers, Hookah, U-Hall, Heaven) that is heard in game more than the minimap name: those are the ones to learn.

Callout In plain English Tactical role
A Lobby The A lobby The attacker starting area on the A side. It opens onto A Short and onto A Exit, the two routes towards the site.
A Short The short way into A The short route to A Site, going through A Cubby. The most direct of the two entrances.
A Cubby The cubby on A The recess along the way through A Short, just before the entrance to the site.
A Teleporter The teleporter on A The teleporter entrance on the A side, on A Short. It sends you instantly to B Short, with no way back by the same path, and its activation is heard across the whole map.
A Exit The exit on A The exit room of the teleporter coming from B Long, near A Lobby. Its door, closed by default, opens from inside the room.
A Bath The baths on A The second way into A Site, between A Lobby and the site. In game, everyone says Showers.
A Lamps The lamps on A A direct entrance onto A Site, next to A Tower. The community calls it U-Hall.
A Site The A site The spike site, framed by A Lamps and overlooked by A Tower on the defender side.
A Tower The tower on A A position held by the defenders, linked to the central spawn. A defensive rotation axis towards B Site. In game, it is Heaven.
A Link The A link The linking passage on the edges of A Site, on the attacker side. A callout rarely used in game.
B Hall The hall on B The covered corridor running down from the defender spawn to B Site. A defensive rotation axis, symmetrical to A Tower.
B Site The B site The spike site, with B Elbow closing off a corner and B Window overlooking the entrance through B Short.
B Elbow The bend on B The corner that closes off B Site on the short side.
B Window The window on B The opening onto the B Short route, overlooking the entrance to the site. This is Hookah, one of the most shouted callouts in the game.
B Garden The garden on B A way through on the long route, between B Long and the site.
B Teleporter The teleporter on B The teleporter entrance on the B side, on B Long. It sends you instantly to A Lobby, with no way back by the same path, and its activation is heard across the whole map.
B Exit The exit on B The exit room of the teleporter coming from A Short, near B Short. Its door, closed by default, opens from inside the room.
B Short The short way into B The short route to B Site, going through B Window (Hookah).
B Long The long way into B The long route to B Site, going through B Fountain and then B Garden. The most exposed trip on the map.
B Fountain The fountain on B The start of B Long on the attacker side, before B Garden.
B Link The B link The linking passage on the edges of B Site, on the attacker side. A callout rarely used in game.
Defender Spawn The defender spawn The area where the defenders spawn, at the center of the map. It gives access to A Tower and to B Hall, the only genuine defensive rotation since no teleporter can be reached from it.
Attacker Side Cave The cave on the attacker side The underground passage on the attacker side, which links the two halves of the map without going through a teleporter. A rotation on the ground, a silent one, and a callout rarely used in game.
Attacker Spawn The attacker spawn The area where the attackers spawn, in the south of the map. It opens directly onto the attacker side cave, the common starting point before choosing a site.

The callouts of Bind, with their zone and their tactical role.

Remember

THE KEY POINTS OF THE MAP

Rotations

The teleporters, fast but never discreet

Taking A Teleporter or B Teleporter switches you instantly to the other side, with no coming back out by the same path, and the whole map hears the activation. It is a real rotation and flanking tool, provided you accept the noise that announces it.

A Site

A Short and Showers, two entrances to deal with together

A Site is taken through two separate routes, A Short and A Bath (Showers), which come out at different places on the site. Watching only one of the two amounts to leaving the other wide open.

B Site

B Long, the most exposed trip on the map

The long route to B Site crosses several open areas before reaching B Fountain. It is played with utility rather than with a duel in the open.

Gameplan

THE COMMON STRATEGIES

Attacking

Switch fast, but never in silence

  • Use the teleporters for what they are: a very fast rotation or flank, that the whole map hears. The noise is part of the cost, and it can also serve as a false announcement with a simple object sent through.
  • Use the attacker side cave to move players from one side to the other without noise, when discretion counts for more than speed.
  • Open A Short and A Bath (Showers) at the same time rather than betting on only one of the two entrances to A Site.
  • On B, combine B Short (Hookah) and B Long to force the defenders to cover two angles at once rather than only one.
Defending

Hold without a genuine fast rotation

  • Read the sound signal of the teleporters, audible from the whole map: an activation announces a switch, the callout says which one. Beware of false announcements, an object sent into a teleporter sounds the same.
  • Accept that a rotation through the defender spawn, via A Tower or B Hall, takes time: do not strip a site on a single piece of uncertain information.
  • Hold the positions that see a long way without exposing yourself entirely, such as A Tower (Heaven), B Elbow or B Window (Hookah).
  • Fall back towards the defender spawn if a site is lost, because it is the only point that keeps access to both rotation axes.
Composition

THE AGENTS THAT SHINE ON BIND

Two sites that never see each other, teleporters as fast as they are noisy and very tight corridors: Bind rewards information gathered from a distance and the ability to lock a site down with few players. Six agents are particularly suited to it, without the list forming a fixed ranking.

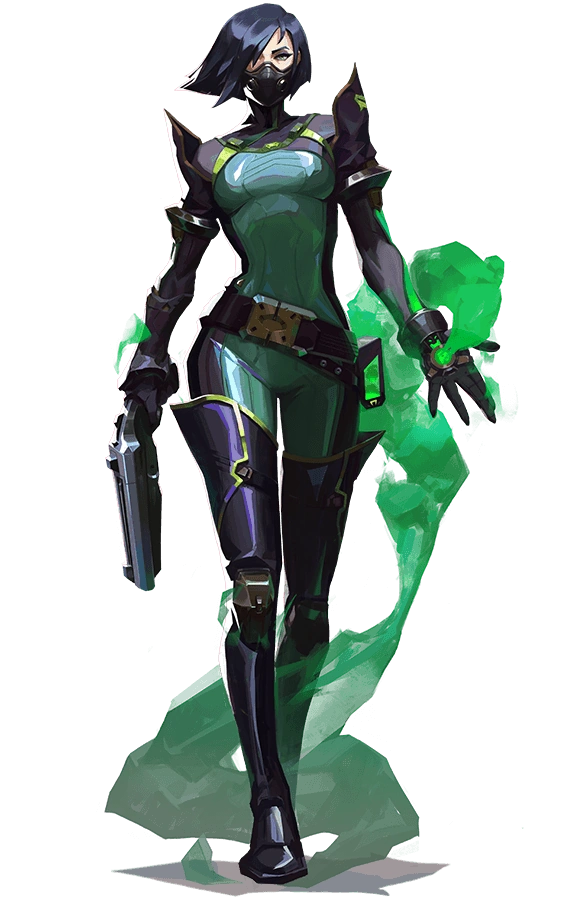
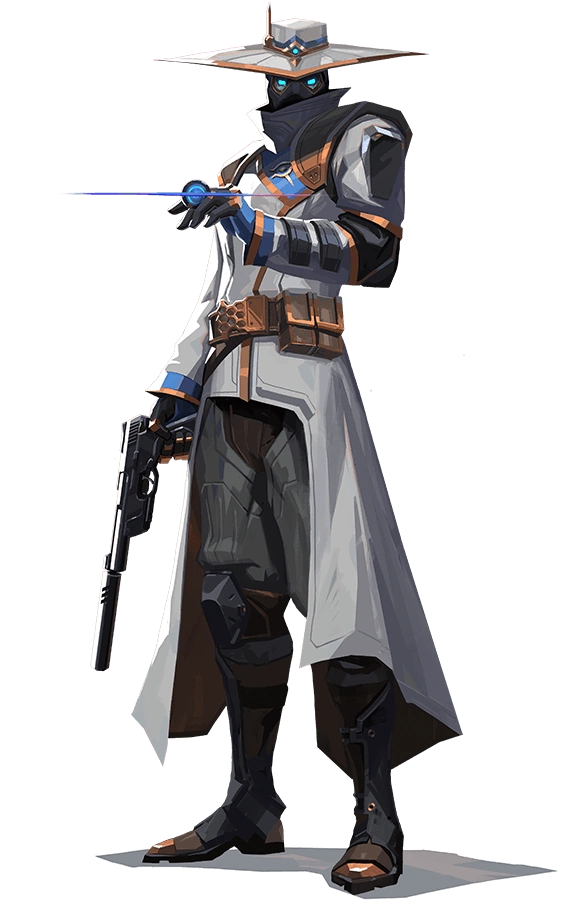
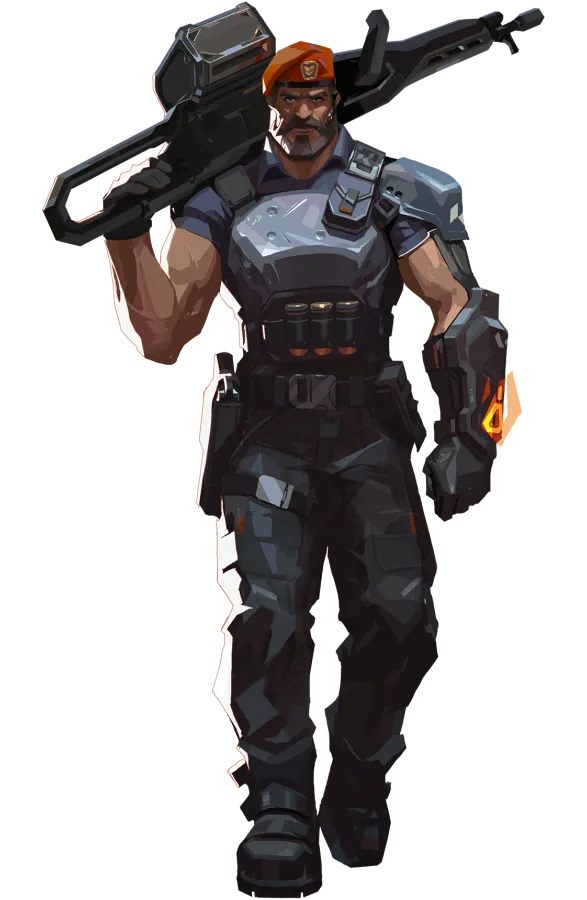
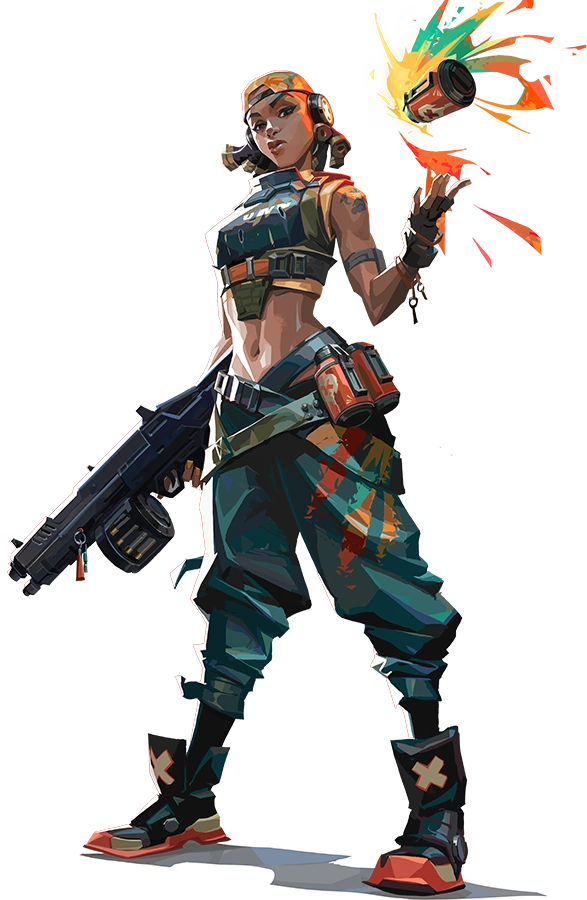
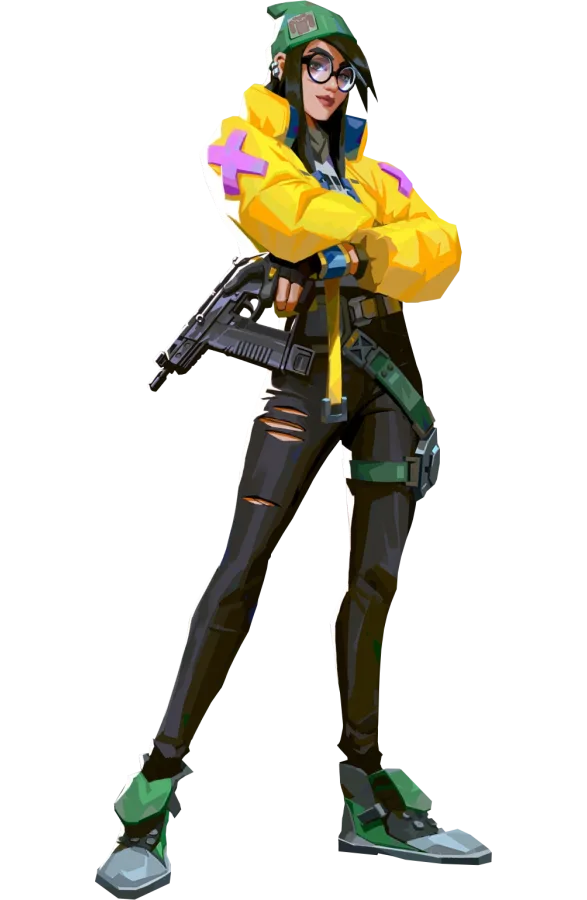
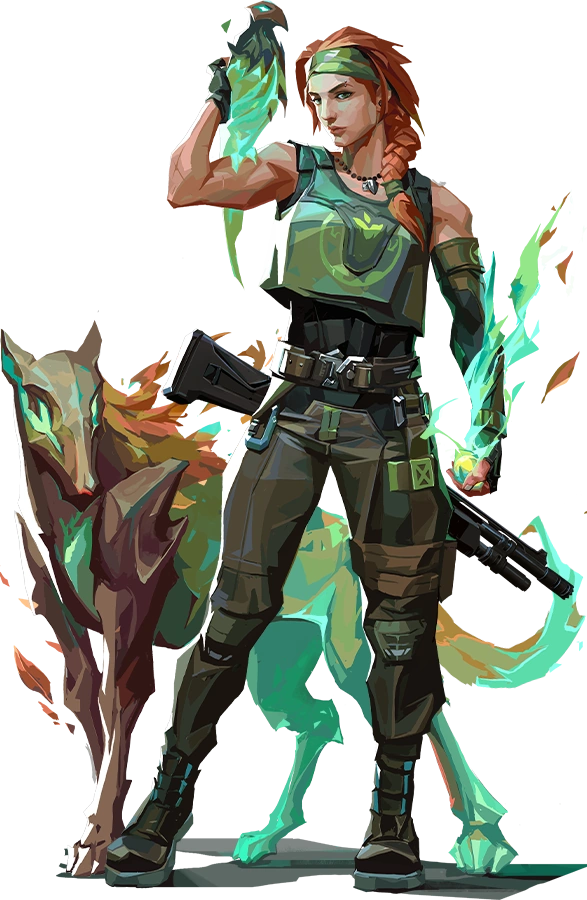
Viper Controller Her wall on its own covers a whole entrance, a luxury on a map where every site is taken through two routes, and her toxic zones make a plant holdable without having cleared everything. She is the most consistent agent in the recent compositions on this map. Cypher Sentinel His cameras and his Trapwire cover both entrances to a site at once, a rare luxury on a map where every site is taken through two separate routes. His camera also confirms by sight what a teleporter announces by sound, without moving anyone. Brimstone Controller His Sky Smoke covers both tight entrances to a site in an instant, which the narrow corridors of Bind make particularly profitable. His Stim Beacon also speeds up the two route entries that the map imposes almost everywhere. Raze Duelist Her Blast Pack gets past the corners and the blind spots that saturate the entrances of Bind, including right after a trip through a teleporter. Her Paint Shells empty a tight site without having to expose yourself at close range. Killjoy Sentinel Her setup holds a site on its own while part of the team locks the other one down, a real asset on a map where no genuine fast rotation exists between the two halves. Her Turret covers one of the two entrances while she watches the other. Skye Initiator Her Guiding Light opens the two route entries without exposing the attacker who throws it, a constant need on a map with corridors this tight. Her Trailblazer brings back information on a site before any engagement, useful when a teleporter has just changed the situation.
Explore

THE OTHER MAPS

FREQUENTLY ASKED QUESTIONS ABOUT BIND

A map with no middle, one way teleporters and tight corridors: what players ask most often about Bind.

Its structure is simple to remember: two sites, no middle to learn how to read. The distances are short compared with maps like Breeze, which limits very long range duels. What takes a little time is the teleporters: one way and audible from the whole map, they change the way you think about a rotation, and that is not something you guess in a single game.

There are two of them, one way: the one on A Short sends you to B Short, the one on B Long sends you to A Lobby, each coming out in an exit room whose door, closed by default, opens from the inside. Switching is instant but never discreet: the activation is heard across the whole map, even when it is an object that goes through. A second option exists on the attacker side, the cave, a passage on the ground between the two halves that depends on no teleporter, slower but silent.

The map is designed as two isolated halves rather than as one continuous ground: nothing links A and B directly without going through a teleporter, the attacker side cave, or the defender spawn. That choice removes the classic duel for mid control and replaces it with a bet earlier in the round, on the site to invest in. Changing your mind stays possible, but it is paid for in time through the cave or in noise through a teleporter.

The map asks for information from a distance, since going to check a teleporter or a corner yourself often costs too much. A controller able to cover a two route entrance with a single smoke changes the pace of an assault, and a sentinel who locks a site down while the rest of the team plays the other one takes on a lot of value, for want of a genuine fast rotation. A mobile or explosive agent also makes the difference in the tight corridors that surround both sites.

THE MAPS OF VALORANT

Every map in the game, filterable by number of sites and by mechanic, each with its own detailed page.

See every map →