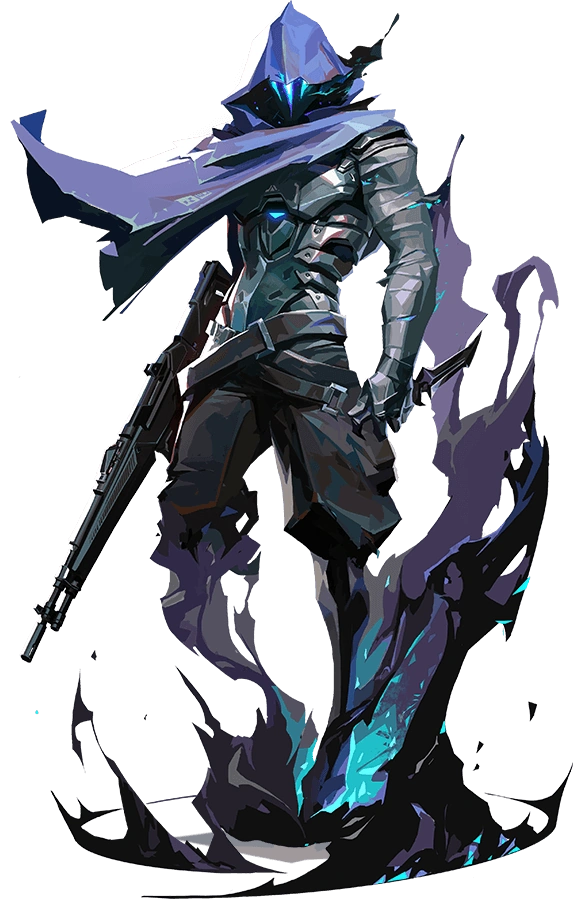
The informant who already knows where you are
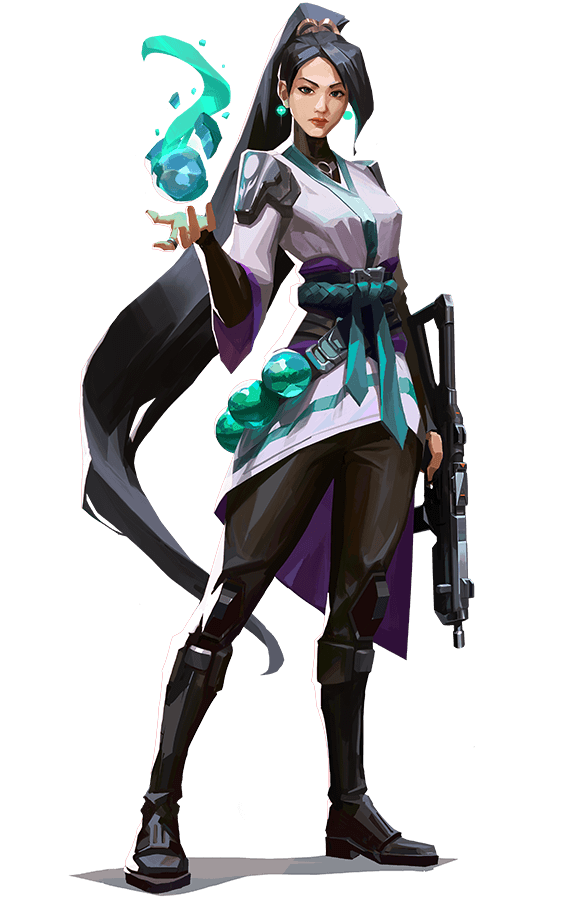
See the agent page →Agent figurines, engraved LED crystals, keycaps and apparel. The part of your setup that will never win a duel.
From the discovery of Radianite to the conflict between the two Earths, the complete timeline of the VALORANT Protocol.
Follow the timeline →

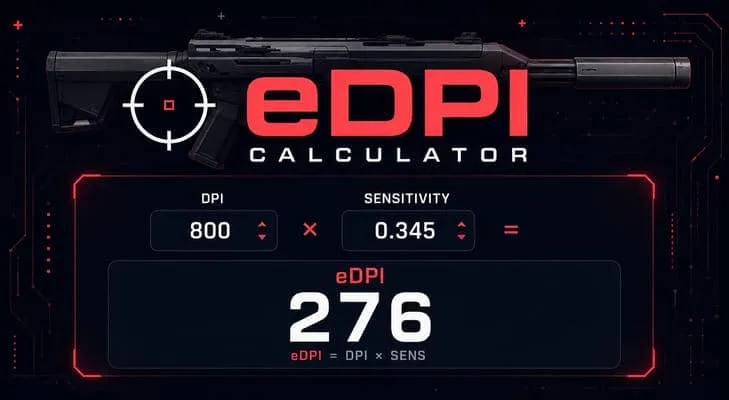
Type your DPI and your in-game sensitivity: your eDPI, the distance for a full 360° and the mousepad width you need show up straight away.
Try the calculator →Abyss is the only map with no boundaries: the void surrounds the ground and a fall is lethal. You die there as much from a wrong step as from a bullet.
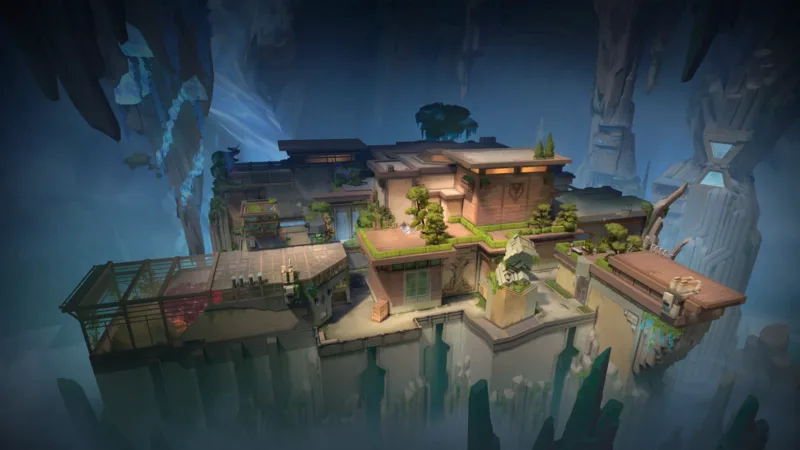
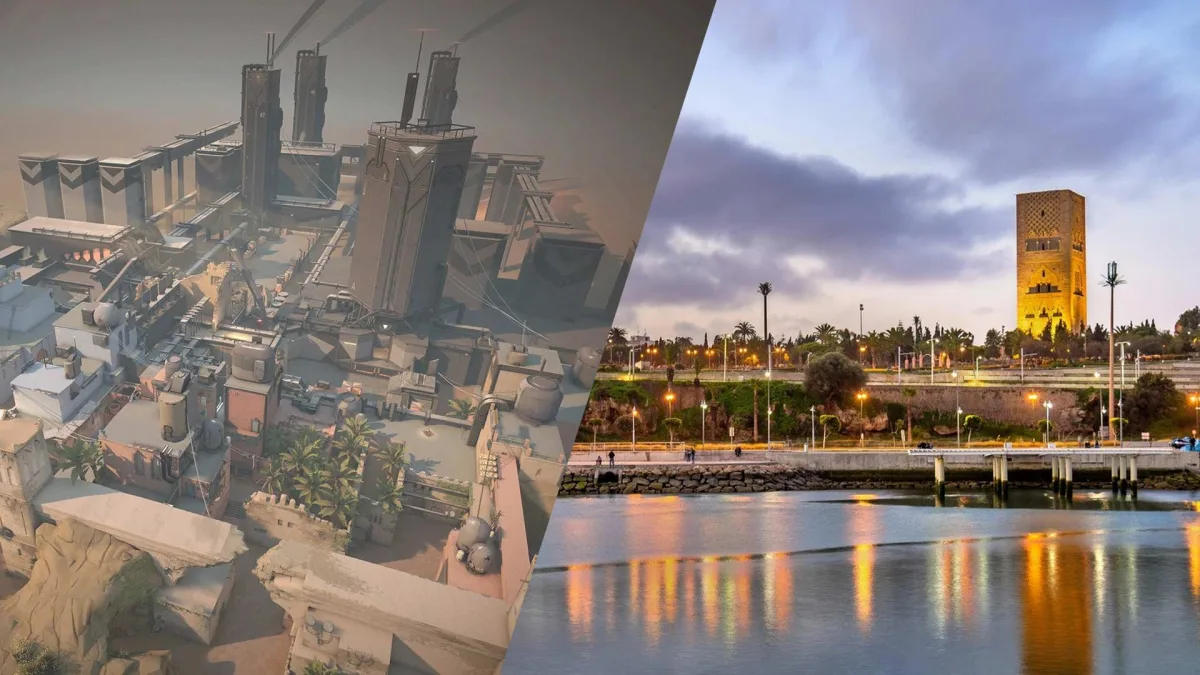
Abyss puts two spike sites face to face, separated by a middle that a chasm cuts in two. The layout stays classic, three lanes, but the absence of boundaries changes everything: some areas can only be reached by jumping over the void, and a well placed ability can make an opponent fall. In the lore, the map sits in a secret facility suspended above a precipice.
Abyss is the only map in the game with no outer boundaries: the ground is edged by the void and a chasm cuts through mid, so <strong>every fall is immediately lethal, including when an enemy ability causes it</strong>. Some areas can only be reached by jumping over that void, and Catwalk can only be reached directly from Mid Top or Library by crossing the chasm to grab a rope. Three other ropes exist, from A Site up to A Tower, from B Main up to Mid Bend, and one in the attacker spawn. Finally, both entrances to the Vent are closed by doors that absorb bullets and damage for as long as they hold, whose color changes as they take damage, and the way stays open until the end of the round once the door is destroyed.
On Abyss, callouts also serve as a warning: calling an opponent near an edge tells a teammate that he is risking something other than a duel.
| Callout | In plain English | Tactical role |
|---|---|---|
| A Lobby | The A lobby | The attacker starting area on the A side. It opens onto A Main, the only frontal entrance to the site. |
| A Main | A main entrance | The only frontal attacking route into A Site. It is heavily anticipated, and it is rarely crossed without smokes and flashes. |
| A Bridge | The bridge on A | A crossing overlooking the void on the A side. An exposed walk, not one to start without knowing what is waiting on the other side. |
| A Link | The A link | The passage linking the A side to the rest of the map. A rotation route and a retake axis for the defenders. |
| A Tower | The tower above A | The high position overlooking A Site, reached by a rope from the site itself. A major defensive angle, to be dealt with before any plant. |
| A Vent | The vent shafts | A narrow passage linking the A side to mid. Both of its entrances are closed by destructible doors, which makes it a conditional flanking route. |
| A Secret | The secret passage | A narrow ledge on the outer edge of the map, used as a shortcut by jumping. One step too many there is fatal. |
| A Security | The security post | The area set back on the A side, near the defender spawn. A classic holding position and the starting point for retakes. |
| Mid Bottom | The bottom of mid | The lower part of mid, connected to the B side. A way through for building an attack through the center. |
| Mid Top | The top of mid | The upper part of mid. It is one of the two places from which you can attempt the jump to Catwalk. |
| Mid Bend | The bend in mid | The bend in mid, linked to B Main by a rope. It allows a quick swing between the center and the B side. |
| Mid Catwalk | The walkway across mid | The high walkway in mid, leading towards the Vent and the A side. It can only be reached directly by jumping over the chasm to grab a rope. |
| Mid Library | The library | The room with shelves that offers hard cover, on the B Site side. Its very narrow sightlines make it a corridor that favors precision weapons. |
| B Lobby | The B lobby | The attacker starting area on the B side. It leads to B Main and to the edges of mid. |
| B Main | B main entrance | The frontal attacking route into B Site. A rope there lets you climb to Mid Bend, so you can swing towards the center without backtracking. |
| B Link | The B link | The passage linking B Site to the rest of the map. A rotation axis for the defenders and a retake axis after a plant. |
| B Tower | The tower above B | The high position dominating B Site. It sees the plant area and forces utility before any entry. |
| B Nest | The nest on B | A support position on the edges of B Site, used by attackers to back up an entry. An angle to check on a retake. |
| B Danger | The ledge around B | The outside ledge that goes around the back of B Site, taken by jumping. It offers a second entrance to the site, at the cost of a risk of falling. |
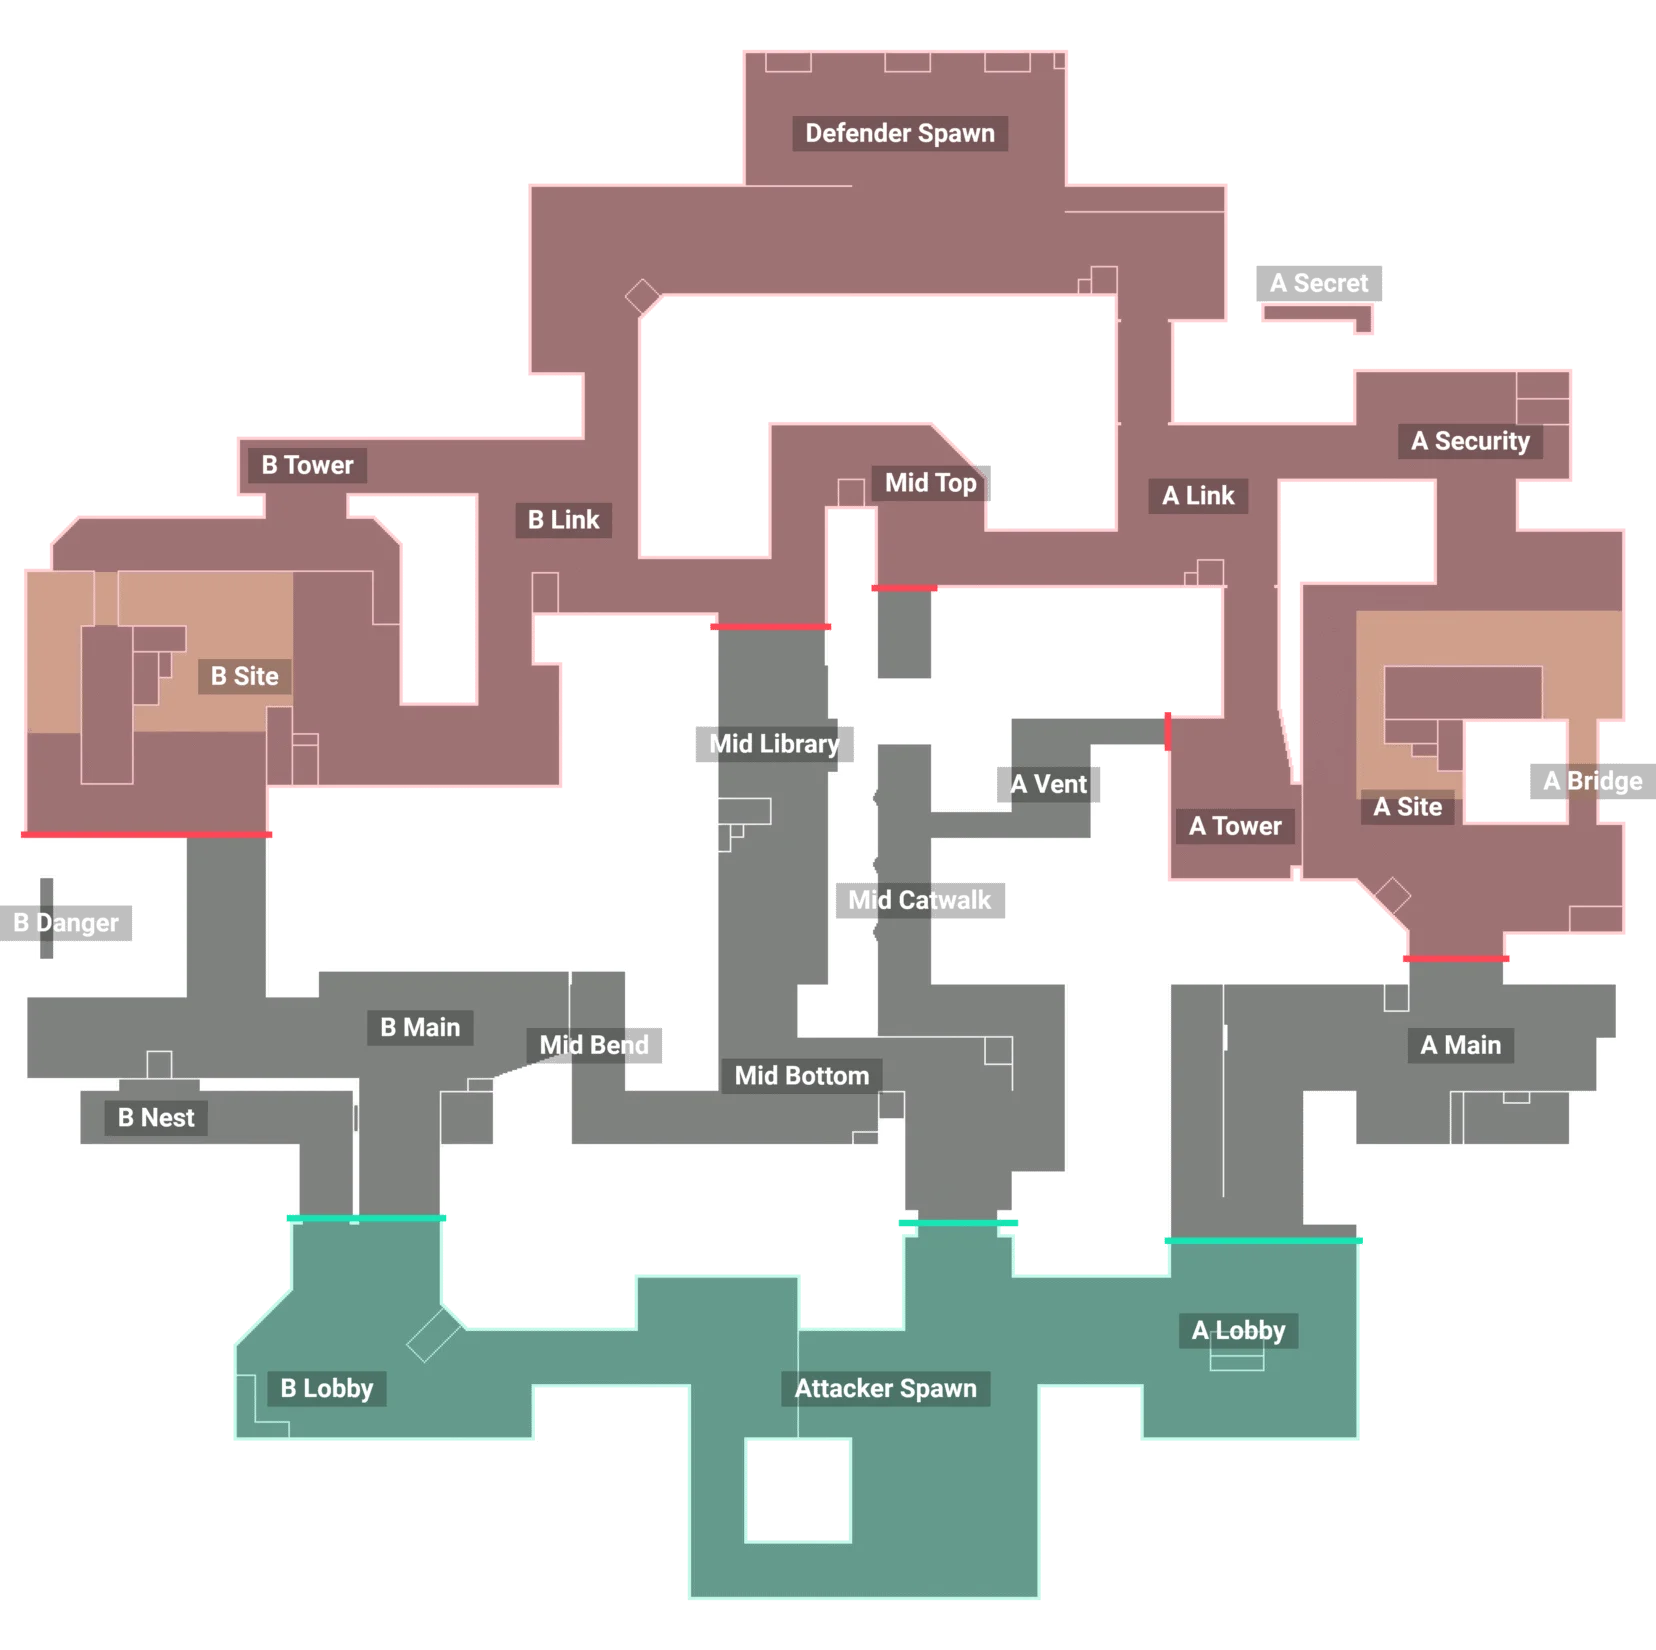
The callouts of Abyss, with their zone and their tactical role.
The walkway can only be reached directly by jumping over the void to grab a rope. A missed jump does not cost a position, it costs the player.
The only way into A other than A Main. The Vent doors therefore decide whether a pincer attack on this side can exist at all.
The outside ledge that goes around B Site. It gives the attackers a second entrance that A Site does not have, provided they accept the risk of falling.
Riot Games' official map overview, useful for picturing the volumes and the heights before you set foot on it.
The video only loads when you click, so it does not slow the page down.
A map with no boundaries, destructible doors and jumps over the void: what players ask most often about Abyss.
Its layout is simple, but it punishes in a way that no other map does. Two sites and a middle is quick to remember, and a beginner will not stay lost for long. The absence of boundaries, on the other hand, turns every sloppy movement into a risk of death, which is unsettling at first. The right reflex is to play a few games watching mainly where you put your feet, before trying to use the shortcuts.
The ground is edged by the void and a chasm cuts the middle in two. Every fall is immediately lethal, with no gradual damage and no way to catch yourself. That also applies when an opponent moves you with an ability, which makes some duels near the edges very asymmetrical. The other way round, this constraint becomes a tool: pushing an opponent into the void is a kill like any other, and several areas can only be reached by jumping over the precipice.
The Vent is the passage linking the A side to mid, and both of its entrances are closed by doors that absorb bullets for as long as they hold. Their color changes as they take damage, which tells you how far along they are, and once they are destroyed the way stays open until the end of the round. The ropes, for their part, build the verticality: one climbs from A Site up to A Tower, another links B Main to Mid Bend. The walkway in mid is a special case, since you can only reach it directly by jumping over the chasm to grab a rope.
The map favors mobile agents, able to cover a distance without depending on a risky jump. A controller is still essential, since both sites are overlooked by a high position that has to be blinded before you enter. An initiator who can gather information from a distance gives a lot here, because going to check an angle yourself sometimes costs more than a position. Finally, a sentinel takes on particular value on A Site, whose frontal entrance is the only one, and for watching the outside shortcuts that attackers take by jumping.
Every map in the game, filterable by number of sites and by mechanic, each with its own detailed page.