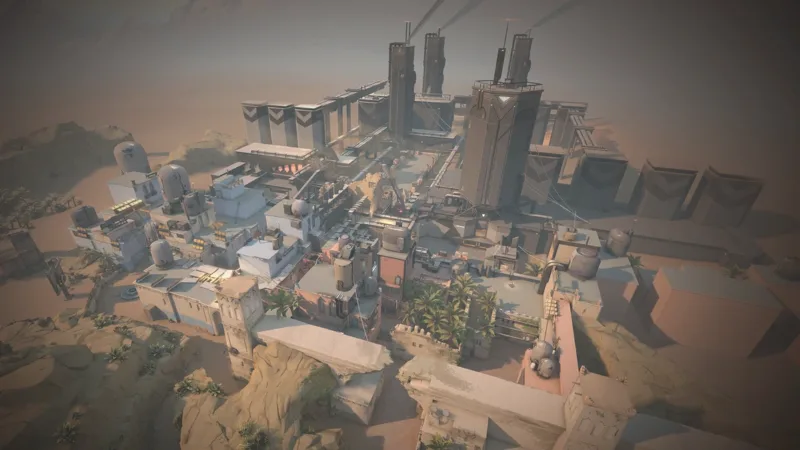
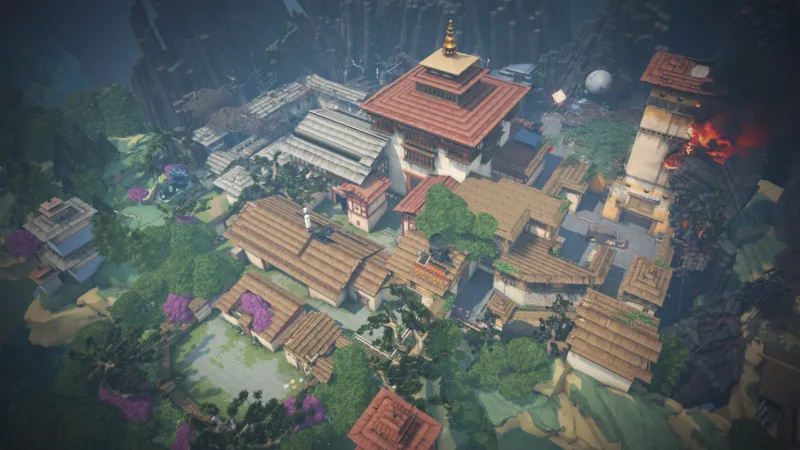
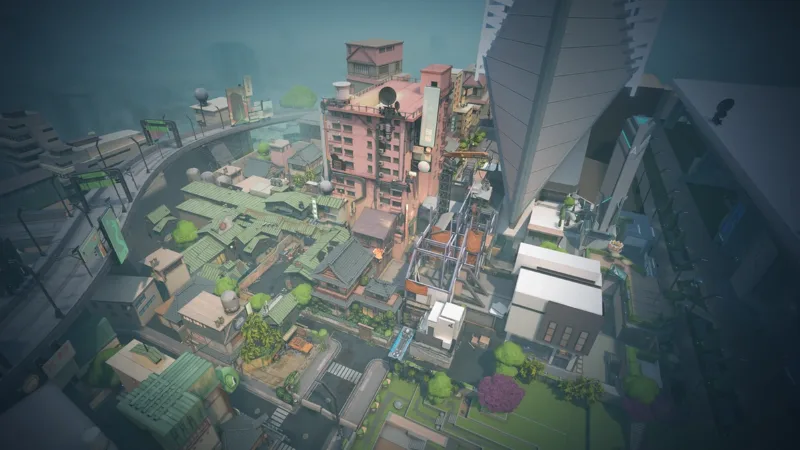
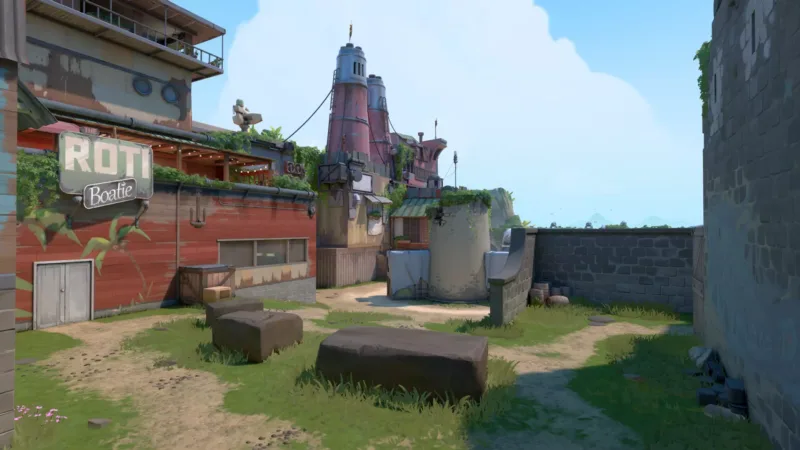
Corrode is a deliberately classic map: two sites, three lanes, no mechanic. Its difficulty comes from no gadget at all but from the number of corners to clear before every entry.
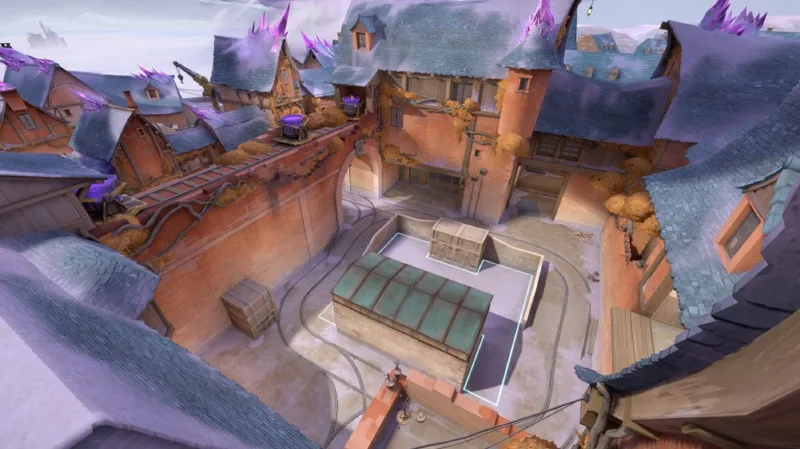
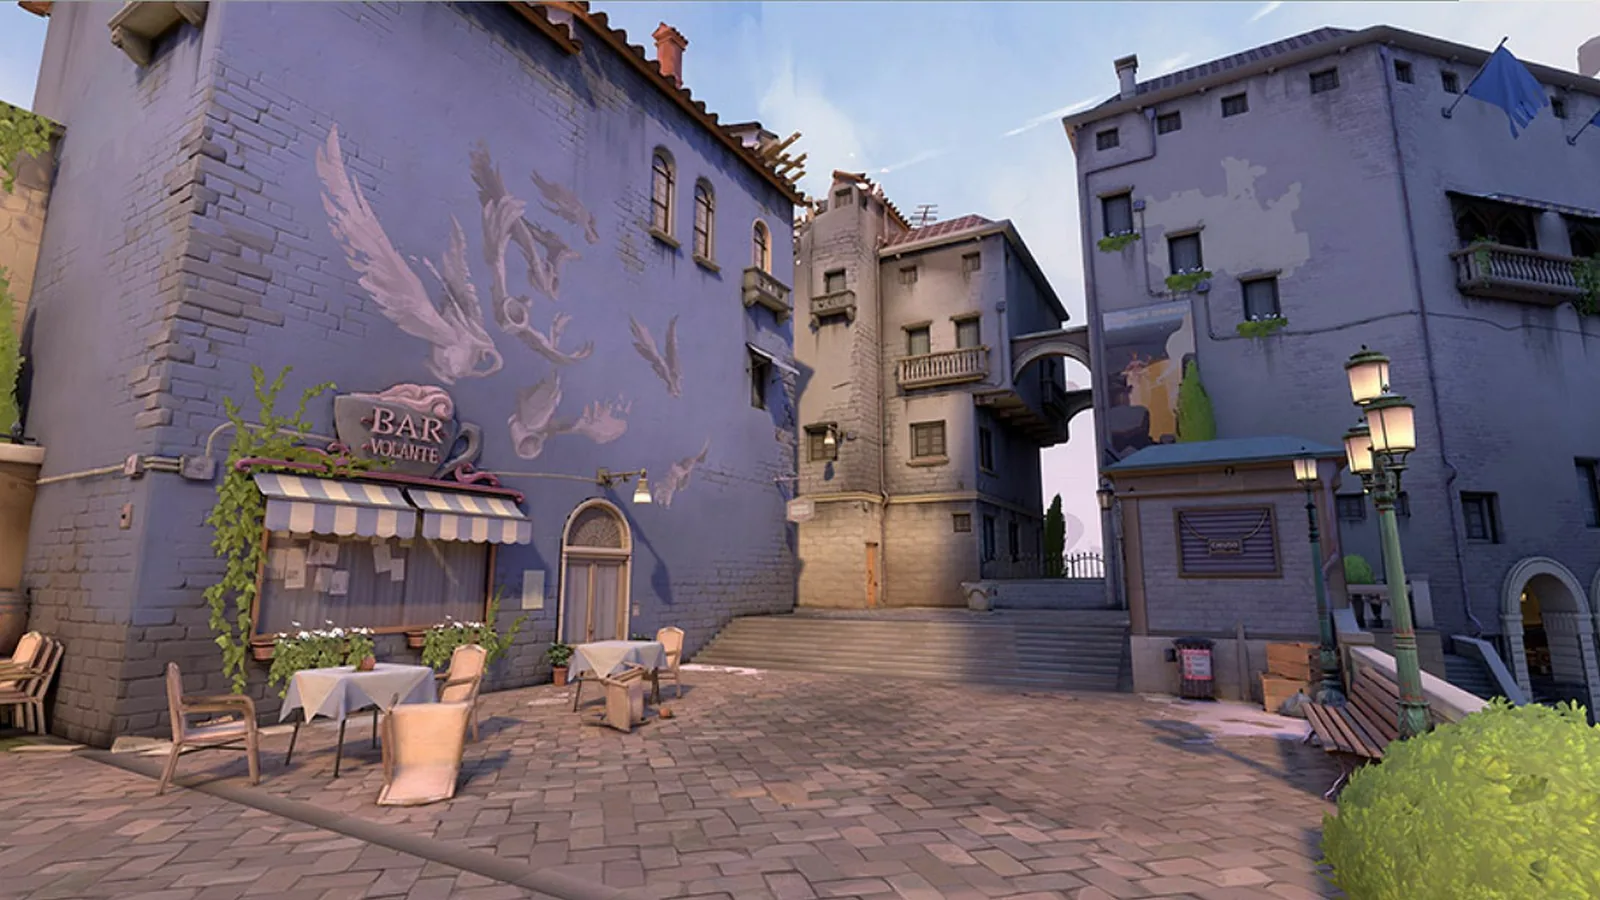
Corrode puts two spike sites face to face, linked by a long middle, on a very readable three lane layout. Mid is played on several levels, from the bottom up to the top through the stairs, with a window watching the whole area. In the lore, the map sits at Mont-Saint-Michel, on Omega Earth, an island town turned into a radianite salt extraction facility.
A SiteTwo separate entrances, one through Yard, the other through Elbow, which lets you pinch the site. Pocket and Elbow pile up tight angles, so the entry means clearing a lot of them before you plant.
MidA long area climbing from Mid Bottom up to Mid Top through the stairs, watched over by Mid Window. Holding it opens both sites, which makes it the main objective for the attack as much as for the defense. Its length also makes it a scope lane: an Operator or an Outlaw held in mid can cut the attackers' rotation.
B SiteThe hardest site to force, with narrow ways in and angles up high. It is rarely taken head on without a full investment in utility.
Vocabulary
ALL THE CALLOUTS ON CORRODE
The callouts on Corrode matter all the more because the map piles up corners: a vague call sends a teammate to clear the wrong angle.
Callout
In plain English
Tactical role
A Lobby
The A lobby
The attacker starting area on the A side. It opens onto A Main and serves as a gathering point before the execute.
A Main
A main entrance
The main attacking route on the A side, from A Lobby. It leads to Yard and is the frequent first point of contact on that side.
A Yard
The yard on A
The space in front of A Site, one of its two entrances. It is taken from A Main and from A Link at once, which makes it the target of a pincer attack.
A Elbow
The bend into A
The second entrance to A Site, a bent corridor. It piles up tight angles, so it is rarely crossed without a flash.
A Pocket
The pocket on A
The recess next to A Site, full of short angles. Its entrance is exposed from A Link, which makes approaching it delicate.
A Link
The A link
The passage linking mid to the A side. It gives the second attacking axis onto Yard and watches the entrance to Pocket.
A Crane
The crane
The crane landmark on the A side. It mainly serves to locate a position and as an aiming point for prepared shots.
Mid Bottom
The bottom of mid
The lower part of mid, on the attacker side. The starting point of any push for the center, and an area exposed to the window.
Mid Stairs
The stairs in mid
The stairs linking the bottom and the top of mid. A major choke point, to be smoked before moving up towards the A side.
Mid Top
The top of mid
The upper part of mid, on the defender side. Holding it delays any push through the center.
Mid Window
The window
The opening that watches mid along its length. A favored position for a precision weapon, and one of the first to smoke on attack.
B Lobby
The B lobby
The attacker starting area on the B side. It leads to B Main and serves as a gathering point.
B Main
B main entrance
The main attacking route into B Site. Narrow and anticipated, it demands a full investment in smokes and flashes.
B Link
The B link
The passage linking mid to B Site. It is the second entry axis for whoever controls the center.
B Arch
The arch
The arch area, on the edges of B Site. A useful landmark for saying where pressure is coming from.
B Tower
The tower above B
The high position watching B Site. To be dealt with using utility before any entry, or you plant under an angle from above.
B Elbow
The bend on B
The bent corridor on the B side. A fallback route for the defenders and a retake angle after a plant.
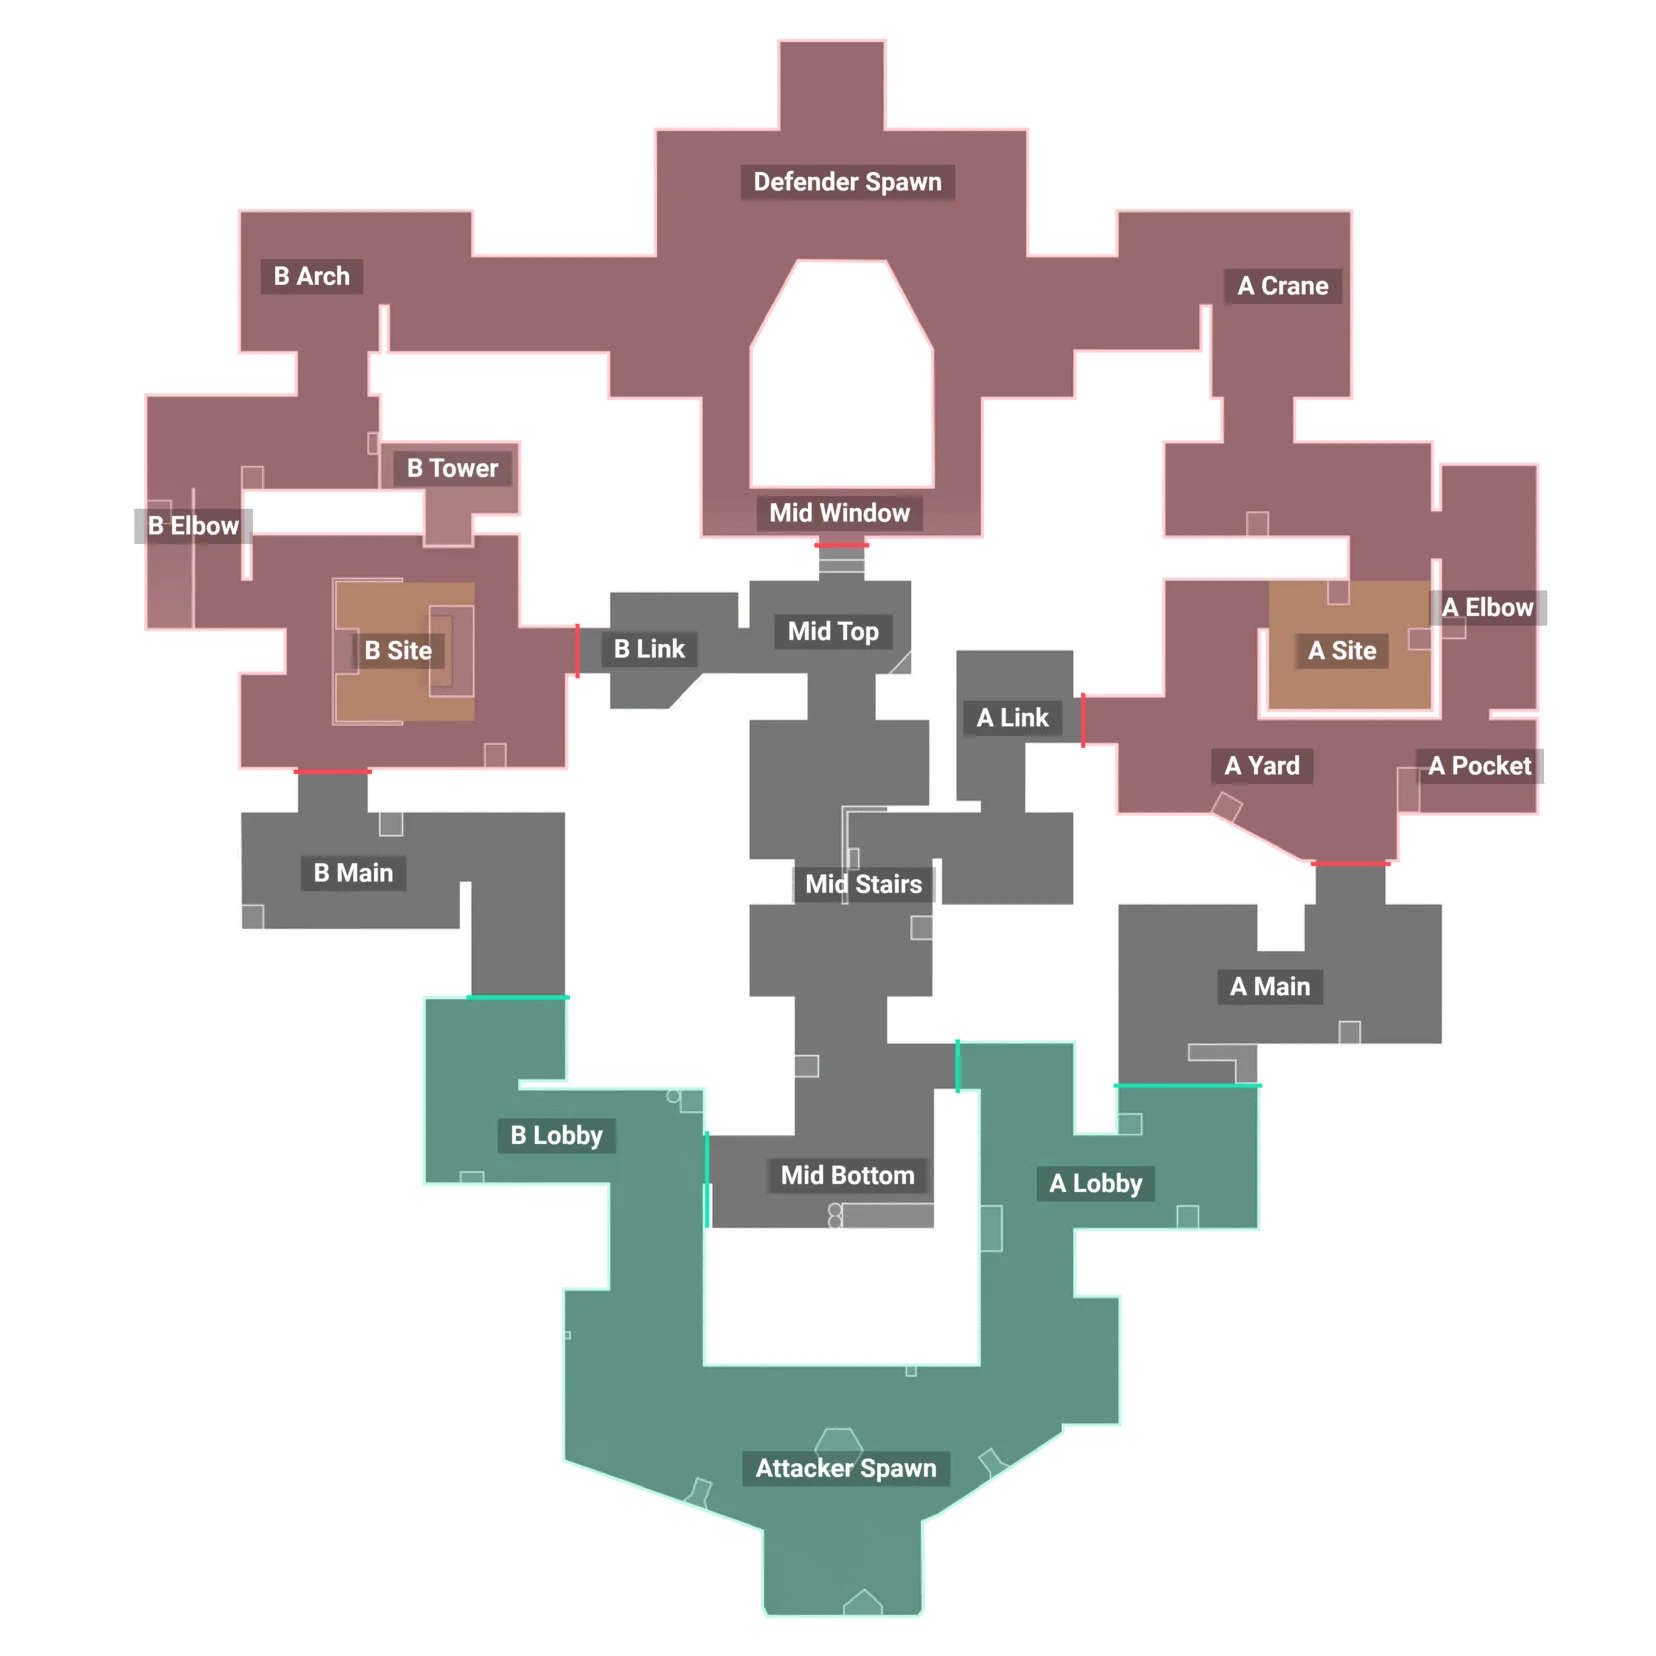
The callouts of Corrode, with their zone and their tactical role.
Remember
THE KEY POINTS OF THE MAP
Mid
Mid Stairs and Mid Window
The two locks on the center. The stairs command the climb towards the A side, the window watches the whole length: dealing with both together is the condition for taking mid.
A Site
Pocket and Elbow
The two areas that make A Site hard despite its two entrances. They pile up short angles, and neglecting them means planting with a player behind you.
B Site
B Tower and B Link
The high angle and the second way into B Site. Without dealing with them, the attack comes down to a frontal entry through B Main, which is exactly the situation the defenders are waiting for.
Gameplan
THE COMMON STRATEGIES
Attacking
Take mid, then split the site
Contest mid from the start of the round, because it opens both sites and decides everything else.
Smoke the stairs and the window before moving up through the center, since those two areas command the push.
Attack A through Yard and through Elbow at the same time rather than lining the team up on a single entrance.
Invest heavily in utility to enter B, because the frontal entrance on its own is very costly.
Defending
Delay in layers, do not die on first contact
Contest mid early, then fall back to a secondary position as soon as you have the information.
Hold the top of mid and the window, which delay the push without demanding a duel in the open.
Lean on the many corners of the A side to multiply the angles to clear rather than to camp a single spot.
Keep a high position on B, which lets you contest a plant without exposing yourself on the ground.
Composition
THE AGENTS THAT SHINE ON CORRODE
No mechanic to exploit, a decisive middle and a lot of short angles: Corrode rewards the agents who gather information before the entry and the ones who block a sightline. Six picks stand out, each one argued.
A classic layout, a decisive middle and flooded passages: the most common questions about Corrode.
Its structure is simple, but what it demands is real. Two sites, three lanes, no mechanic to absorb: from that point of view it looks like Ascent and is understood quickly. The difficulty comes from the number of corners around the sites, which punishes a badly prepared entry immediately. A beginner progresses here mainly by learning not to enter alone and to clear the angles in the right order rather than at random.
No. The official description of the map states that it has no dynamic element: no teleporter, no rope, no operable door, no zipline. Everything is played on positioning, utility and duels, which makes it a map where the fundamentals count for more than knowing a gadget. The map does have flooded passages where running produces splashes that are heard from far away, and where walking cuts the noise down sharply: a terrain feature, in the same way as any noisy surface, and not a mechanic.
Because it gives access to both sites and it sets the speed of the rotations for both teams. An attack that holds it can threaten A through its link and B through the other one, which stops the defenders from regrouping in advance. The other way round, a team that gives it up condemns itself to entering a site head on, in the only direction being watched. Mid is therefore contested with utility, by closing the stairs and the window first, rather than with an improvised duel.
The map asks for a lot of blocking utility, because the plant areas are compact and surrounded by angles to clear. A controller able to close several directions at once therefore changes the cost of an execute, and many teams play two of them. An initiator geared towards short angles is more useful than a long range recon agent, since the fights happen mostly at close distance once the entrances are crossed. Finally, a sentinel gains value here, both to hold a site while the team plays mid and to watch the links that the flanks come through.
THE MAPS OF VALORANT
Every map in the game, filterable by number of sites and by mechanic, each with its own detailed page.