The fortress out of China
See the agent page →Agent figurines, engraved LED crystals, keycaps and apparel. The part of your setup that will never win a duel.
Browse the shop →
From the discovery of Radianite to the conflict between the two Earths, the complete timeline of the VALORANT Protocol.
Follow the timeline →


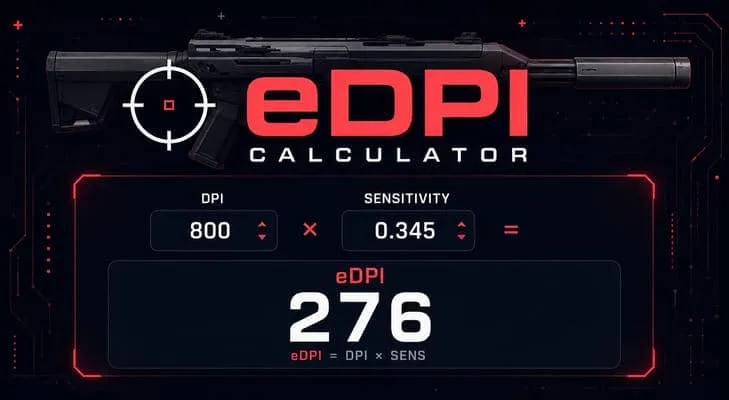
Type your DPI and your in-game sensitivity: your eDPI, the distance for a full 360° and the mousepad width you need show up straight away.
Try the calculator →Lotus takes up the principle of the three spike sites and adds rotating doors, a door that can be destroyed and a silent descent. It is the map with the highest density of shortcuts in the game, and the one where a piece of position information three seconds old is already not worth much.
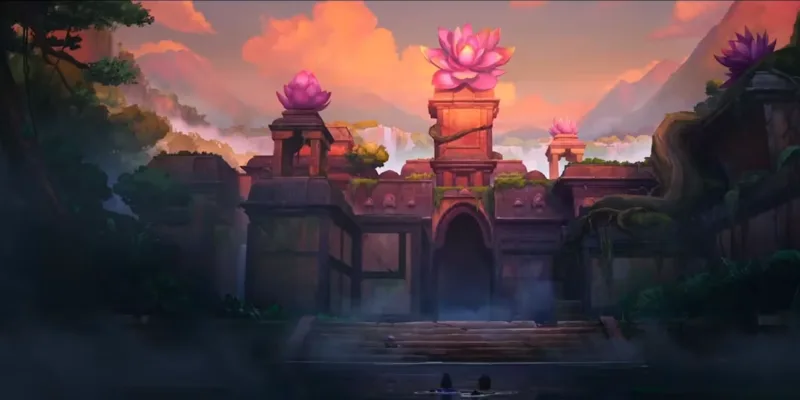
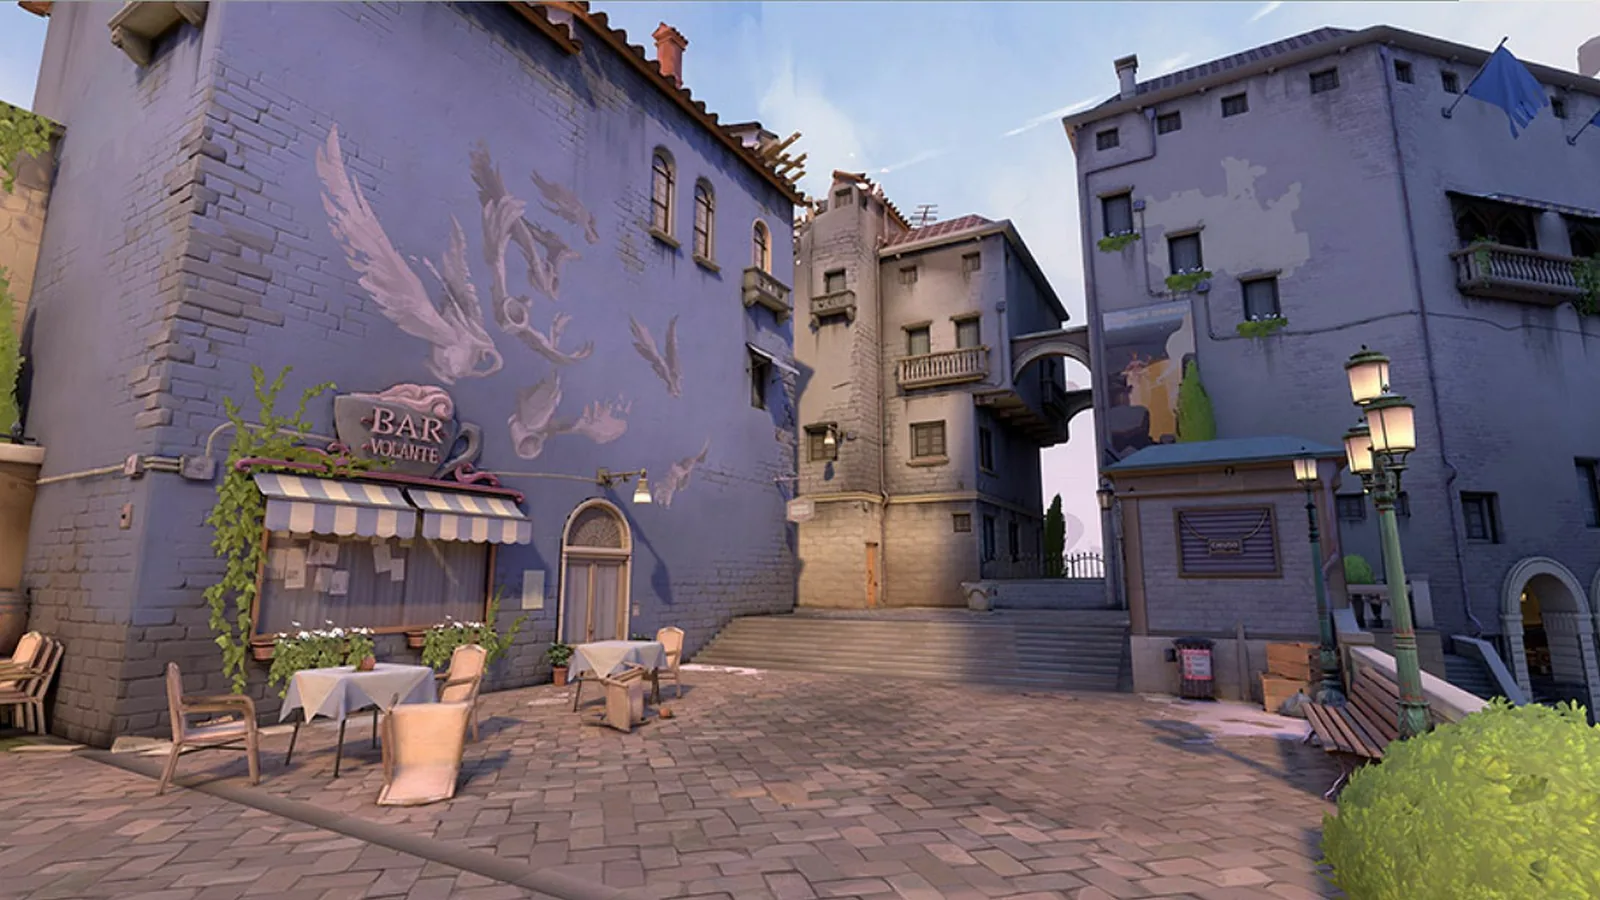
Lotus spreads out three spike sites, A, B and C, linked by a network of corridors rather than by a central courtyard. Two rotating doors and one breakable door open extra passages, which multiplies the possible routes towards each site and makes the flanks constant. In the lore, the map sits in the Western Ghats, in India, around an ancient temple overrun by vegetation.
The map has two rotating doors operated by a button present on both sides: one on the A side, between the area of A Main and A Rubble and A Tree, and one on the C side, between C Mound and B Main. Once triggered, they pivot slowly, open a temporary shortcut and destroy any utility placed in their path, traps and cameras included. There is also a breakable door between A Main and A Link: it is destroyed by gunfire, makes a lot of noise and stays open until the end of the round.
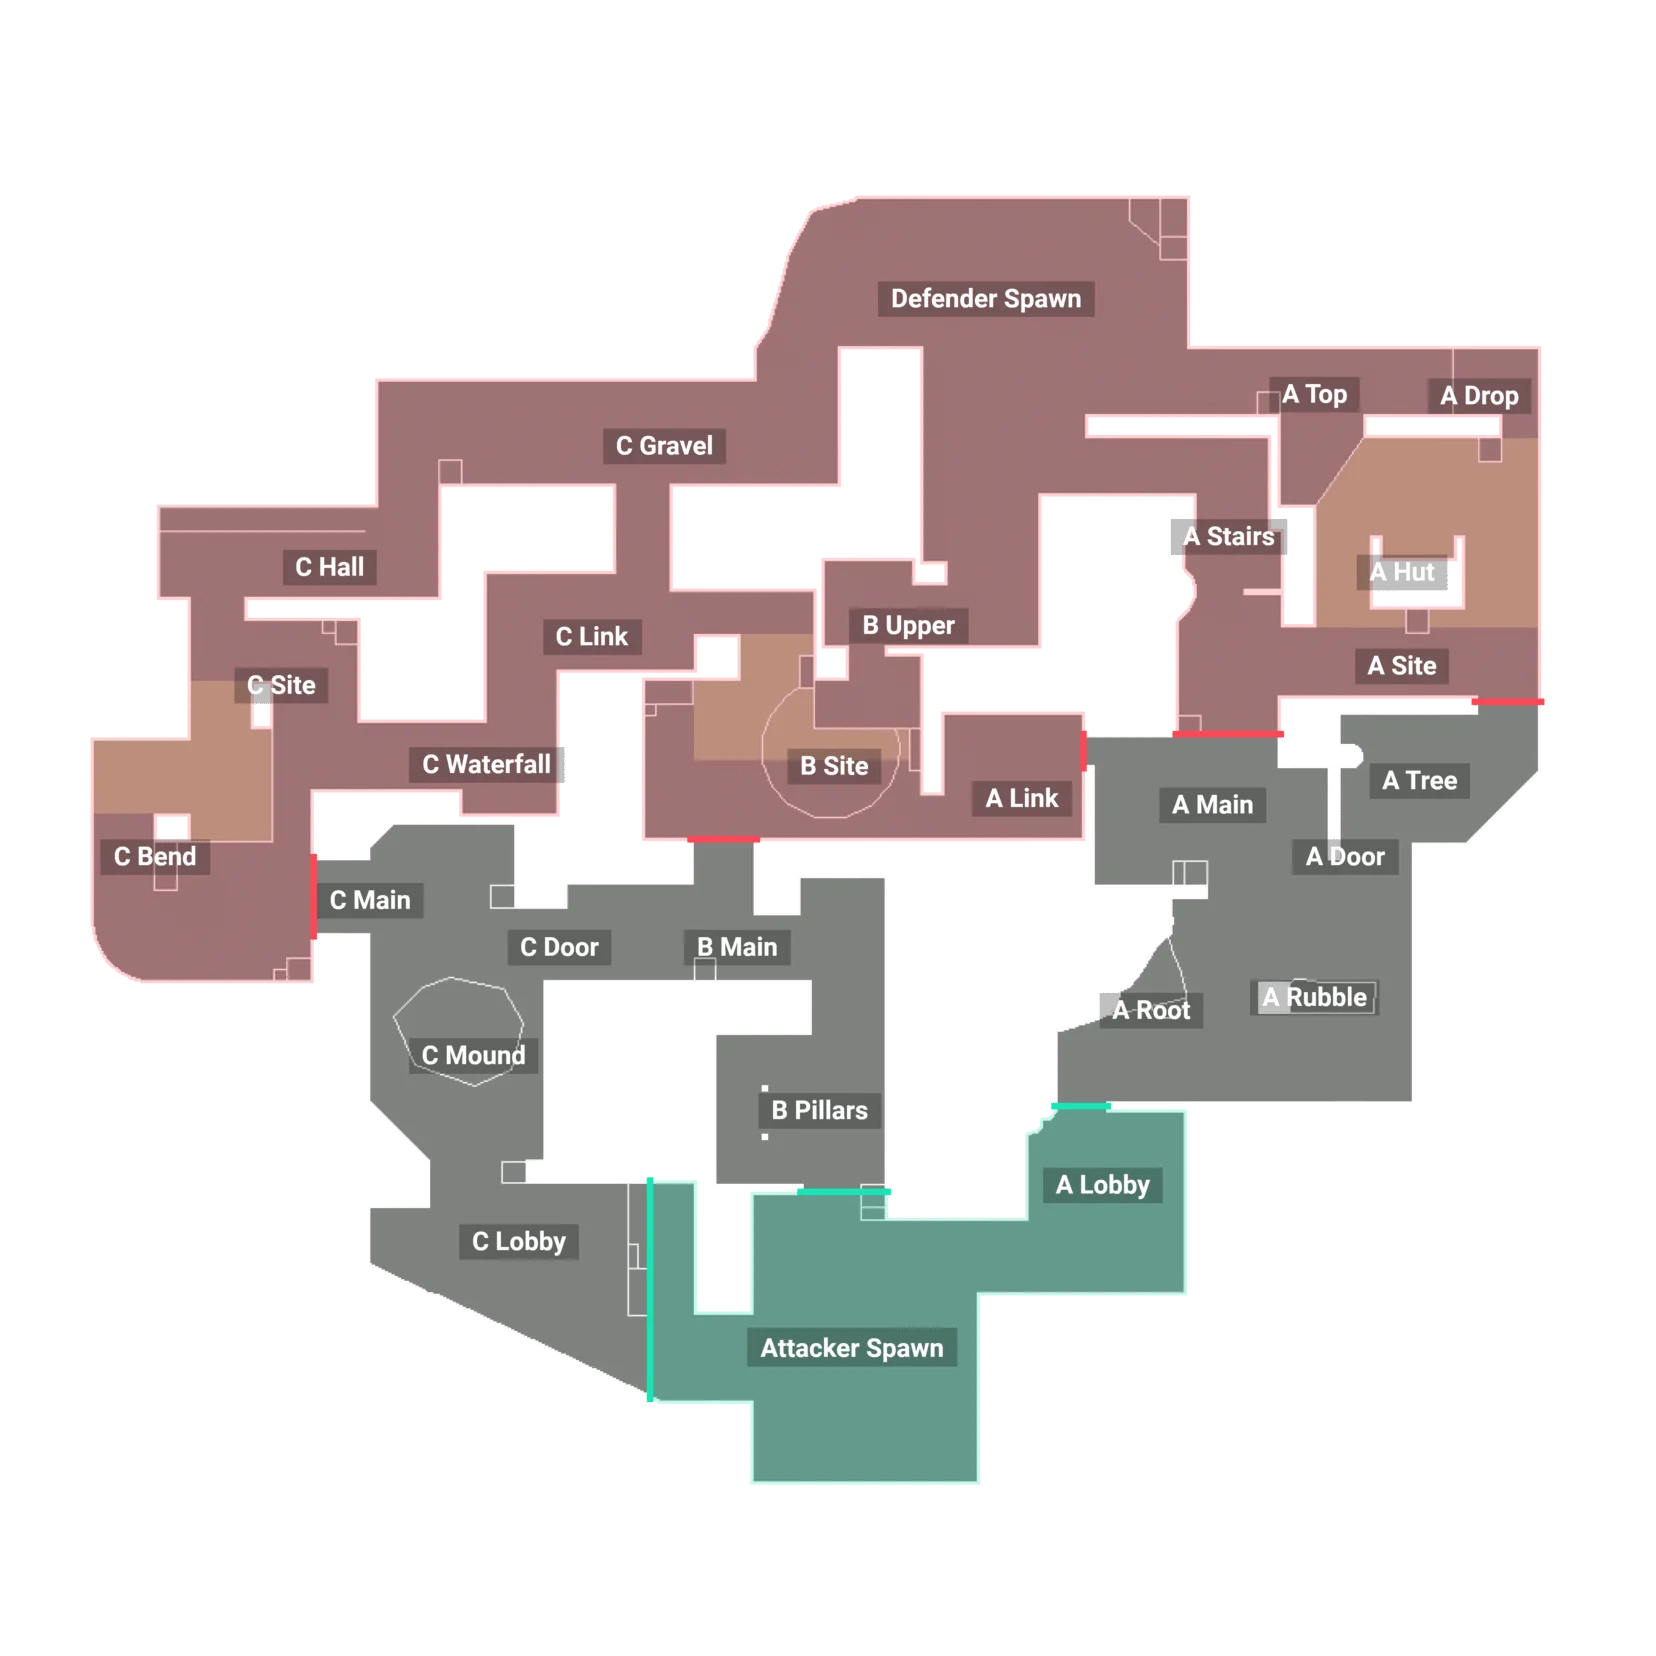
Lotus has a lot of callouts, because the map is large and the routes look alike: it is the map where an imprecise call costs the most.
| Callout | In plain English | Tactical role |
|---|---|---|
| A Lobby | The A lobby | The attacker starting area on the A side. It opens onto A Main and is easily trapped to cover the flanks. |
| A Main | A main entrance | The major attacking route into A Site, well suited to duels at range. One of the first areas contested in the round, and one of the ways through towards A Link. |
| A Rubble | The rubble | The area of debris adjoining A Main, on the attacker side. Together with A Main, it is the sector both teams fight over from the opening. |
| A Root | The roots | A passage lined with large roots, running parallel to A Rubble. A classic sightline for an Operator player early in the round. |
| A Stairs | The stairs on A | The stairs linking A Main to the upper part of the site. A flanking route popular with lurkers and a common holding angle on defense. |
| A Tree | The tree on A | A position on A Site, next to the large tree, and the end of the rotating door on the A side. A good place to surprise a player planting the Spike. |
| A Top | The top of A | The upper part of A Site, reached by the rope at the back of the site. It gives a view down over the plant area. |
| A Drop | The drop on A | The area you land in coming down from A Top. The descent makes no noise at all if you walk instead of running, which makes it the most discreet way of taking someone from behind on the map. |
| A Link | The A link | The corridor linking the A side to B Site. The breakable door of A Main comes out into it, which makes it the fastest rotation on the map once it is open. |
| C Link | The C link | The corridor linking the C side to B Site. A major retake axis for the defenders and a discreet way in for an attacker playing back. |
| B Pillars | The pillars on B | The central corridor the attackers take to go down towards B Main. It is the middle route in the literal sense, the one that leads to B Site by the shortest way. |
| B Main | B main entrance | The frontal entrance to B Site, narrow and heavily watched. It is also the end of the rotating door on the C side, and therefore a possible second way out from C Mound. |
| B Upper | The top of B | The upper part overlooking B Site and its entrance. The best holding angle on the site, and a spot to clear before any plant. |
| B Lower | The bottom of B | The central hollow below B Site, the only genuine cover in the plant area. You also hear it called B Pit. |
| C Lobby | The C lobby | The attacker starting area on the C side. It leads to C Mound and to C Main. |
| C Mound | The mound on C | The earth mound upstream of C Site, the lock on the C side just as A Rubble is on the A side. It commands the access to C Main and to the rotating door towards B Main. |
| C Main | C main entrance | The main attacking route into C Site. Long and open, it calls for smokes to be crossed cleanly. |
| C Door | The door on C | The name given to the rotating door on the C side, between C Mound and B Main. Its opening is visible to both teams, and therefore never discreet. |
| C Waterfall | The waterfall | The waterfall area, on the flank of C Site. A common flanking angle on defense and a way through used by the attackers to pinch the site. |
| C Bend | The bend on C | The bend in the C Main corridor, just before the site. A natural breaking point where you pause before entering. |
The callouts of Lotus, with their zone and their tactical role.
The first point of friction in every round. The side that takes this sector chooses whether to attack A or to swing onto B through A Link.
The equivalent of A Rubble on the C side. Holding it gives access to C Main and to the rotating door that comes out onto B Main, and therefore to two sites instead of one.
Once the door of A Main is destroyed, A Link becomes the fastest rotation on the map. It stays open until the end of the round, for both teams.
Three sites, plenty of nooks and permanent flanks: Lotus rewards the agents who flush out the short angles and the ones who hold an area with no help. Six agents stand out here, and here is why.
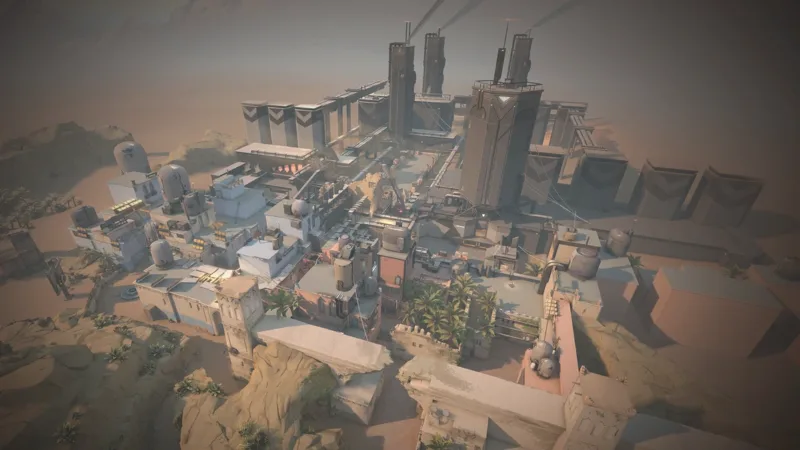
Riot Games' official map overview, useful for picturing the volumes and the heights before you set foot on it.
The video only loads when you click, so it does not slow the page down.
Rotating doors, three sites, a silent descent: the questions that come up again and again about Lotus.
It is one of the most demanding maps in the game, but it stays playable as a beginner. The difficulty does not come from the doors, which you understand in a single game, but from the number of routes: three sites, two links, two rotating doors and one breakable door make a lot of directions to watch. The useful reflex is to learn the names of the big areas first, A Main, A Rubble, B Main, C Mound, before going into the detail. The rest comes with the games, and it is better to play a simpler map alongside it to work on the fundamentals.
There are two rotating doors on the map, one on the A side and one on the C side, and each of them is triggered by a button that can be reached from both sides. Once activated, the door pivots slowly then closes again, which opens a shortcut for a limited time. Two important consequences: its opening is visible to both teams, so it never serves as a discreet way through, and it destroys any utility placed in its path, traps, cameras and turrets included. In practice, it is used more as a tool for a fast rotation or for an openly assumed fake than as a surprise entry.
A Site has a rope that climbs to A Top, and you can come back down from A Top into A Drop. The particular feature is that this descent produces no noise at all as long as you walk instead of running. It lets you reposition without being heard, on defense to take an angle back, on attack to arrive behind a player holding the site. That is the reason why a defender should always know who, in their team, is covering this area.
The map pushes towards agents able to search short angles and to hold an area with few players. An initiator geared towards the nooks is often worth more than a long range reconnaissance agent, because the fights are played mostly at short range once you are past A Main. A sentinel who locks a site down frees a player up to contest A Rubble or C Mound, the two sectors that decide the opening. Finally, a controller with smokes available often is valuable, because a map with three sites multiplies the fakes and the executes in the same round.
Every map in the game, filterable by number of sites and by mechanic, each with its own detailed page.
Author: Yassine